GCam Port | Google Camera APK v9.6 (February 2025) › Forums › Google Device Forums › Google Nexus Generic Forum › How to Unlock Bootloader on Google Nexus or Pixel
- This topic has 0 replies, 1 voice, and was last updated 8 years, 11 months ago by Linux User.
- AuthorPosts
- September 3, 2024 at 12:56 PM #15941Linux UserParticipant
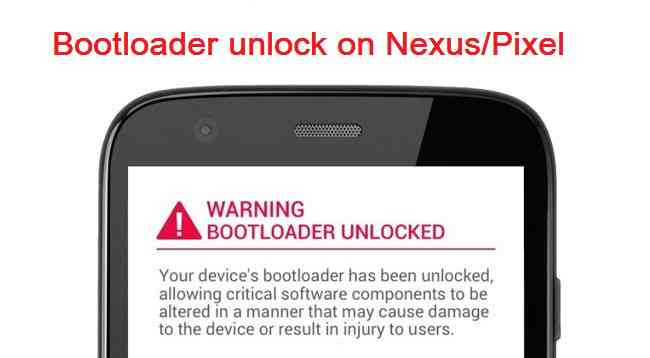
This is an advanced guide meant ONLY for advanced users, which explains how to unlock bootloader on a Google Nexus/Pixel phone. In order to install a Custom recovery like TWRP or CWM or a custom ROM like: Lineage OS, CyanogenMod, Resurrection Remix etc., your Android phone or Tablet’s bootloader needs to be unlocked. This guide may work for other Android phones but this post is only meant for Bootloader unlock on Google Pixel/Nexus devices.
DISCLAIMER:
Unlockin bootloader on Google Nexus/Pixel phone may VOID your warranty and may delete all your data kept on phone’s storage. Before proceeding further you may consider backup all data on the phone. You are the only person making changes to your phone and I cannot be held responsible for the mistakes done by YOU.
REQUIRED DOWNLOADS OR LINKS TO UNLOCK BOOTLOADER ON GOOGLE NEXUS/PIXEL PHONE:
- ADB and Fastboot utility on your PC (Windows, Linux or MAC)
– 15 Seconds ADB Installer for Windows
– Minimal ADB and Fastboot for Windows
– adb and fastboot on MAC or Linux - Google USB Drivers
- Enough battery backup. (More than 60% of battery charge will be good enough)
- A PC with USB driver (mentioned above) installed for your Nexus/Pixel phone [MOSTLY THIS IS NOT REQUIRED IF YOU HAVE INSTALLED ADB AND FASTBOOT UTILITY FROM ABOVE LINKS].
How to Unlock bootloader on Google Nexus/Pixel Phone:
- Enter into fastboot or bootloader mode by pressing Volume Down + Power button key combinations
- Put the phone into bootloader mode and connect to the PC with a USB cable.
– Press volume up or down button and select the power button when you see the Bootloader mode. After pressing power button you will be in Bootloader mode.
– And then connect your phone to the PC using a USB cable. - Open a command console on your PC/Linux/MAC and then execute the following command on the console:
$ fastboot oem unlock
OR
$ fastboot flashing unlock
– This will Unlock the bootloader and delete all user data present on the phone. Here is a Step by step guide to take full backup of your phone data
Voila!!! You have now successfully unlocked the Bootloader of your Google Nexus/Pixel phone and welcome to the developer world where you are yet to experience many more advanced things on Android customization. The very NEXT STEP you may want is to install TWRP recovery on your Android or want to ROOT it. Here goes some more guide for you:
– How to install TWRP on Android phone - ADB and Fastboot utility on your PC (Windows, Linux or MAC)
- AuthorPosts
- You must be logged in to reply to this topic.