GCam Port | Google Camera APK v9.6 (February 2025) › Forums › Google Device Forums › Android One 2nd Gen – seed › Download & Install CyanogenMod 13 for Android ONE 2nd Gen CM13 Qualcomm Devices [codename: seed]
- This topic has 0 replies, 1 voice, and was last updated 9 years, 9 months ago by Linux User.
- AuthorPosts
- September 3, 2024 at 12:56 PM #3974Linux UserParticipant
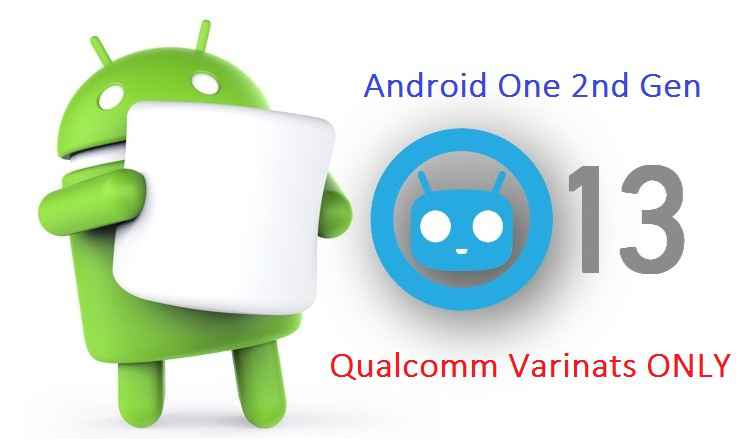
CyanogenMod 13 for the Android ONE 2nd Gen CM13 Marshmallow Custom ROM is brought to you by developer arvinquilao. As per the developer’s terms this seems to a stable CyanogenMod 13 release for the Android One 2nd Gen Qualcomm variants.
NOTE:
This is for the Qualcomm (MSM8916) variants of the 2nd Gen Android One only. This will not work on the Mediatek version and should not be installed on Mediatek devices for any reason.
DISCLAIMER:
Installing custom ROM requires a custom recovery to be installed on your device, which may VOID your warranty and may delete all your data. Before proceeding further you may consider backing up your all data. Understand that YOU are the only person making changes to your phone. Neither we nor the developer can be held responsible for the disaster that may happen to your device after following this guide.
REQUIRED DOWNLOADS NAD LINKS FOR THIS ANDROID ONE 2ND GEN CM13 MARSHMALLOW ROM:
- TWRP recovery download link for the Android One 2nd Gen Qualcomm variant.
- ROM: CyanogenMod 13 for Android One Second Gen CM13 ROM download link
- GAPPS: Google Apps download link
- Make sure that you have the the bootloader unlocked and installed a custom recovery. If you don’t have a custom recovery then follow the below link:
RECOVERY: Installing custom recovery for Any Android phone.
– Before flashing the TWRP the Bootloader must be unlocked. Here is a guide explaining how to unlock bootloader on Android devices.
(Qualcomm variants ONLY)
Root binary is inbuilt since CyanogenMod 12, so you don’t need a separate SuperSu package to install to gain ROOT access. Here is How to Enable ROOT Access on CM13/CyanogenMod 13
FLASHING CYANOGENMOD 13 FOR ANDROID ONE SECOND GEN CM13 MARSHMALLOW CUSTOM ROM:
Follow this if you are flashing CyanogenMod 13 for the first time to your Android One 2nd Gen (Qualcomm variants, codename: seed), or coming from another ROM:
- Unlock the bootloader (if it is unlocked) and then install the TWRP recovery on the Android One 2nd Gen (seed) device.
– Here is a guide explaining how to unlock bootloader on Android devices.
– Here is a simple guide for Installing custom recovery for Any Android phone. - Then download and Copy the GApps and CyanogenMod ROM ZIP to your Android One 2nd Gen phone.
- Take a backup using a synchronization application or using Samsung Smart Switch or if you have TWRP installed then boot into TWRP recovery and take a NANDROID backup using the TWRP itself.
- Boot into the custom Recovery.
- Wipe data factory reset, Cache partition, Dalvik Cache and Format the System partition. Here is a guide explaining how to wipe data using TWRP recovery.
- First flash the CM ROM ZIP from device. Then flash the GApps zip from your device memory.
– Here is a post explaining how to flash a custom ROM using TWRP recovery.
Use the same guide to flash the GApps too. - Reboot and Enjoy the CyanogenMod 13 Marshmallow ROM on your Android One 2nd Gen (seed) device.
- Unlock the bootloader (if it is unlocked) and then install the TWRP recovery on the Android One 2nd Gen (seed) device.
Upgrading from earlier version of CyanogenMod 13.0:
- Copy the CyanogenMod 13 ROM ZIP file to your phone.
- Boot into Recovery.
- Flash the latest CM ROM ZIP from your phone.
– Here is a post explaining how to flash a custom ROM using TWRP recovery. - Reboot and Enjoy
Points to NOTE:
– Try to avoid restoring apps backup using Titanium Backup. It may break things up.
– Don’t restore system data using Titanium Backup! It will definitely break the current installation.
– It is also discouraged to Restoring Apps + Data using Titanium Backup.The first boot may take long time, so don’t panic and be sure that you have enough battery backup. Let the phone reboot and then enjoy the official CyanogenMod 13 Marshmallow ROM on Android One 2nd Gen (seed) device.
That’s all guys. This is a beta build and an unofficial build. An unofficial build means you will not get daily updates and OTA updates. If you have some concerns regarding this ROM then login to reply and I assure you that you will get an instant reply from us.After this CM13 installation you may want to enable ROOT access on your phone and here is how you can do that:
How to Enable ROOT Access on CM13/CyanogenMod 13. - AuthorPosts
- You must be logged in to reply to this topic.
