
In this guide, you will learn how to install TWRP and root the Vivo Z1 Pro. The Vivo Z1 Pro is the newest smartphone that is launched by the company here in India and will go on sale, live from the 11th of July 2019. This smartphone falls under the budget category where there is a lot of competition from the likes of Xiaomi, Redmi, and even Samsung. However, once you get your hands on the device, you can root the device and also make a whole lot of customizations and unlock the true potential of the device.
But, before we head straight into the article, let us first understand some basics;
What is Root?
Rooting any device gives the users the privilege controls or the developer controls and totally unlocks your device so that you can manipulate all the settings, even the finest ones on your device. Rooting gives your device the administrative privileges or permission to overcome the limitation your OEM might have put on your device or your carrier. Some, of the mod applications or the specialized apps, require some special permission which is not possible with a device that does not have root. But, if you have gained root access to your device then, you can install such apps and extend the features of your device.
Devices are locked by the OEMs so that, the user by mistake or by will, do not uninstall the files that are required by the smartphone to operate seamlessly. However, there are times when the true potential of the device is also locked.
Advantages of Root
Moreover, you can do the following, if you root your device;
- Install a custom ROMs like (Lineage OS)
- Remove preinstalled bloatware.
- Block Ads in any apps.
- Install incompatible Apps and modded applications.
- Keep up to date with the latest Android OS.
- Change skin for your Android.
- Boost your Android device’s speed and battery life.
- Make complete backups of your smartphone.
Disadvantages of Root
- Rooting can brick your smartphone or cause permanent damage if not done properly.
- You straight away void the warranty of your smartphone.
- You will no longer receive the stable and official OTA updates from your OEMs.
Quick Specs Review of Vivo Z1 Pro

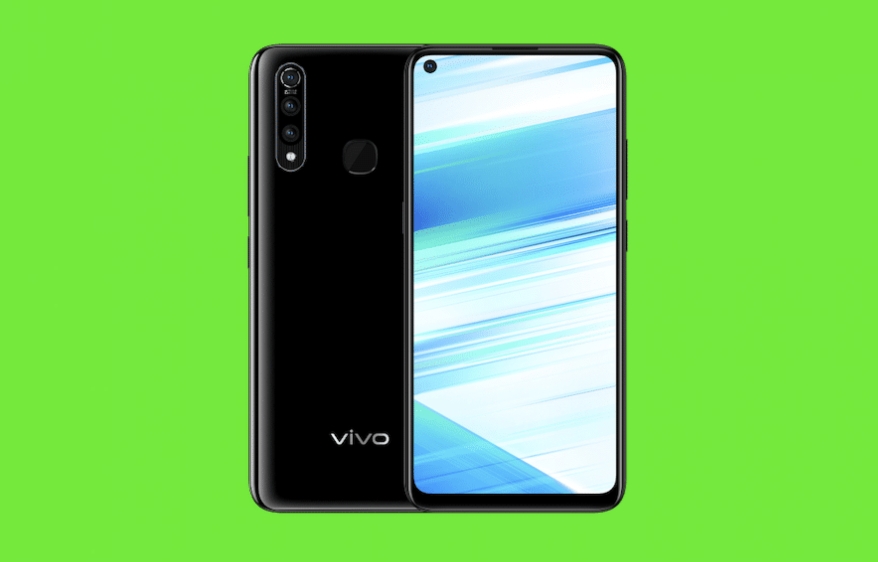
The Vivo Z1 Pro is announced very recently for India and will go on sale on July 11th, 2019. It is powered by the Qualcomm Snapdragon 712 processor which is paired with 6GB/4GB of RAM and coupled with Adreno 616 GPU. The device has a massive battery capacity of 5000 mAh, which will last you for a full day easily. In the front, you get a 6.53-inch IPS LCD capacitive touchscreen display with a resolution of 1080 x 2340 pixels with an aspect ratio of 19.5:9 along with 395 PPI. The phone runs on Android 9.0 Pie out of the box and has few preloaded Vivo apps.
Moreover, in the camera department, you get a triple camera setup with a 16 MP, f/1.8, (wide) Auto Focus, an 8 MP, f/2.2, 16mm (ultrawide), and a 2 MP, f/2.4, depth sensor. The camera has an LED flash, HDR, panorama, etc. In the front, you get a single punch-hole selfie camera which is a 32MP shooter with an f/2.0 aperture. The device will come with 64GB and 128GB variants of storage capacity. The device also has a fingerprint scanner the back.
How To Install TWRP and Root the Vivo Z1 Pro
What is TWRP?
TWRP stands for TeamWin Recovery Project. It is a custom touch recovery that is GUI based. TWRP allows the following features:
- Backups of partitions in TAR or raw Image format
- Restore backups from internal storage, external SD storage or OTG devices
- Custom Firmware installation
- Partition wiping
- File deletion
- Terminal access
- ADB Root Shell
- Theme Support
- Possible decryption support depending on the device
Pre-requisites
Before heading to the instructions, please take a look at the list below;
- This guide is only for the Vivo Z1 Pro. So, it should not be attempted on any other device.
- Make sure to charge your device at least 60%.
- More importantly, please make a complete backup of the device storage and all the files in your device before rooting your device.
- Also, make sure that you have already unlocked the bootloader of your device.
Steps To Install TWRP Recovery
- First of all, enable the USB Debugging on your Vivo Z1 Pro. To do that go to Settings>>System>>About Phone>>Tap on Build Number 7 times. Now you need to go back to Settings>>Advanced Settings>>Developer Options>>enable USB Debugging.
- Now download the ADB and Fastboot tools from here, and set up on your PC/laptop.
- Once you have set-up the ADB and Fastboot tools, then you need to download the latest TWRP Recovery Image from here.
- After you have downloaded the TWRP image file on your PC/laptop and rename the image file name to twrp.img
- Once all the files are downloaded go to Platform Tools Folder, and open the command prompt in that folder by holding the shift button and right clicking.
- Connect Your Phone To PC/Laptop via the USB cable, and type the following command: [highlight color=”#0d0c0c”]adb devices[/highlight]
- Now, you need to type the following code in order to boot your smartphone into the Fastboot mode: [highlight color=”#000000″]fastboot reboot bootloader[/highlight]
- Then, type the following command to install TWRP Recovery on your device: [highlight color=”#000000″]fastboot flash twrp.img[/highlight]
- The flashing process will start so, you need to wait until that completes.
- Once the flashing is complete, type the following command to Reboot Your Phone: [highlight color=”#000000″]fastboot reboot[/highlight]
- That’s it! You have successfully installed TWRP Recovery on your device.
Steps to Root the Vivo Z1 Pro
- To get started, download SuperSU and save it on your computer.
- Once done, connect your Vivo Z1 Pro to the computer using the original USB data cable and transfer the SuperSU file to its internal memory.
- After successfully transferring the file to the internal memory, unplug your device from the computer.
- Now, you need to boot your device into the TWRP recovery by pressing and holding the Volume Up, Power and HomeButtons simultaneously.
- Once your device boots into the TWRP recovery mode, you need to click on “Install” and select the SuperSU file which is stored in your device’s internal memory to launch the flashing process.
- Once the flashing process is finished, reboot your Smartphone.
- That’s it! Now you have successfully finished rooting Vivo Z1 Pro.
Conclusion
So, there you have it from my side in this post. Hope you guys liked this post and also were successful in rooting and installing the TWRP Recovery image on your Vivo Z1 Pro device. Please do let us know in the comments below if you faced any difficulties while following any of the above-mentioned methods. Until the next post…Cheers!
The command line for unlock not working in 2024
Is the bootloader unlocked for us to be able to flash TWRP on Vivo X1 Pro?