Backup of a computer system is very important as it can prevent you from data loss in case of system failure. There are various tools that can be used to back up a Linux system Bacula is one of them.
Bacula is an open-source, cross-platform, enterprise-level backup and recovery tool. You can access and use this tool from the command line, GUI, or web interface. It is designed to automate the backup of systems that often needs system admin’s intervention. It can be used for backing up local or remote systems over the network.
In this article, I will discuss how to install the Bacula Ubuntu system.
Features of Bacula
The key features of Bacula are given below –
- Virtual environment and database backup
- Container environments such as Docker, Kubernetes backup
- Compression and accurate backup
- It has the ability to find and repair damaged files
- Support TLS authentication
Prerequisites
To follow this guide you need to have the following.
- A system running on Ubuntu
- Access to a user account that has root permissions.
How to install Bacula server
Before you install and start using Bacula in your Ubuntu system make sure to refresh the local package repository and upgrade all the packages to the latest version on your system.
Use the following command to update your system –
sudo apt update && sudo apt upgrade -y
Next, use the following command to install Bacula –
sudo apt install bacula
When it asks for confirmation press y and then enter.
Now during the installation, it will prompt you to select a postfix mail server, select OK by pressing the Tab key and then press Enter to proceed.
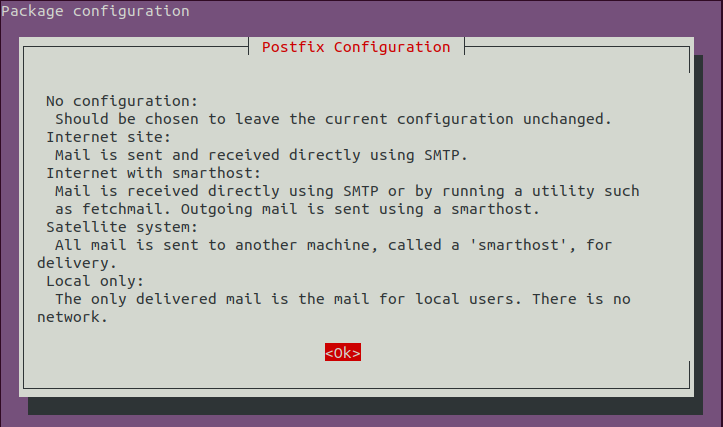
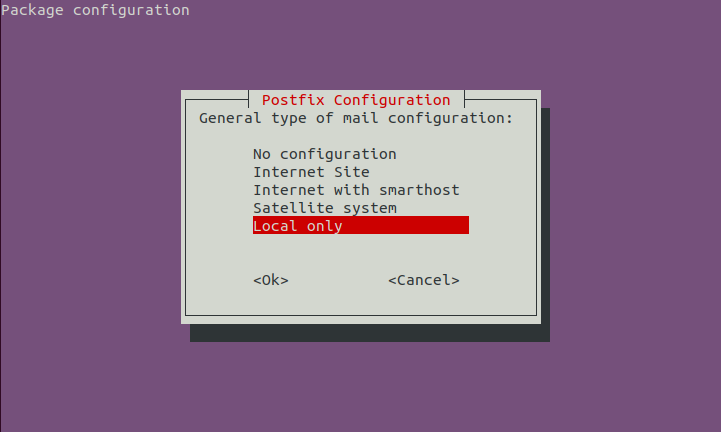
Select your desired option by navigating using the Tab key and press Enter.
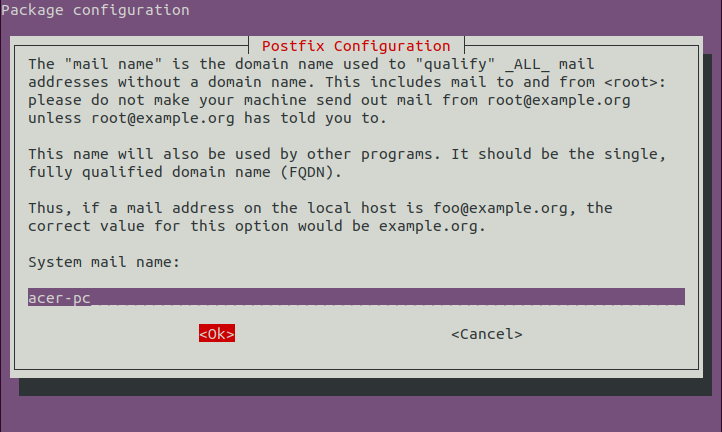
Provide system mail name and click on OK.
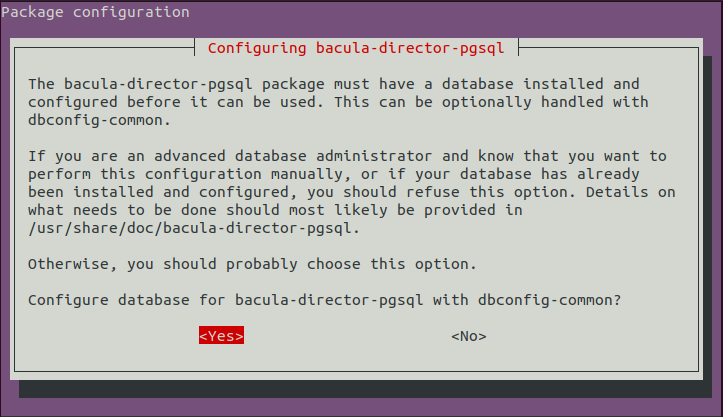
Next, you will be asked to set up a database for the bacula director select and YES and press Enter.
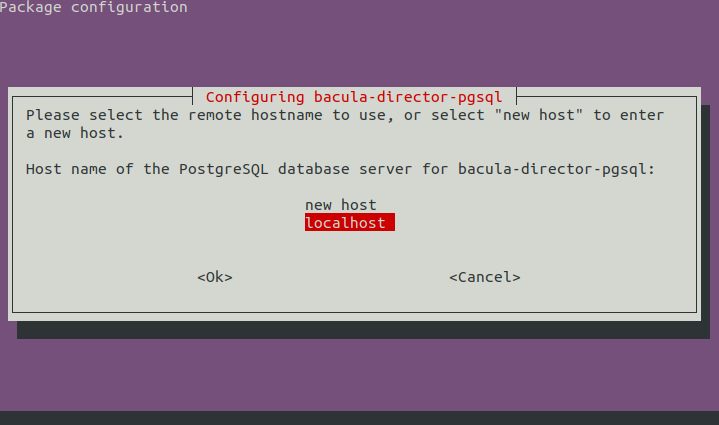
Next select host for PostgreSQL and press Enter.
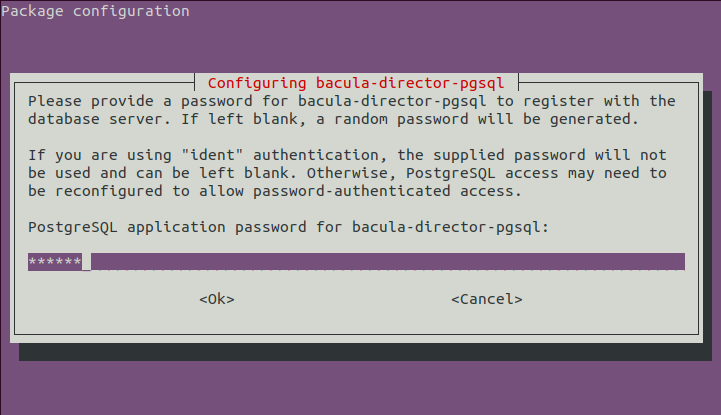
Enter your desired password to set of PostgreSQL application for bacula-director-pgsql and press Enter. Bacula director is a program that supervises all the operations of Bacula.
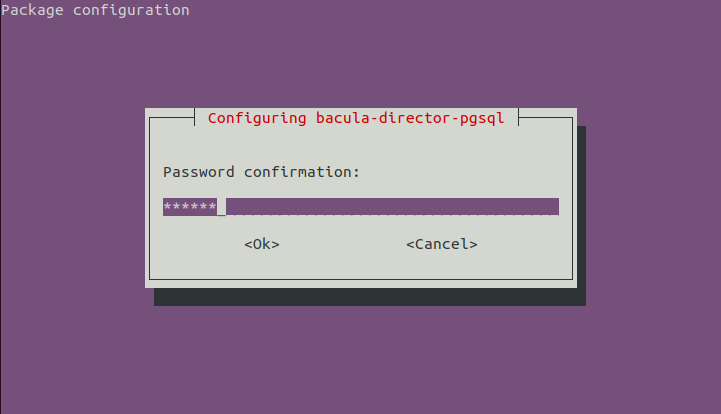
Confirm the password to proceed with the installation process.
Once you complete all the above things move to the next step.
How to Configure Bacula Server
To start using Bacula for taking backup you need to configure a few things.
Configuring bacula storage
Create a directory for storing backups of the system. By using the given command you can create a directory on your system.
sudo mkdir /backup
Change the ownership of this directory to bacula username and group by executing the given command.
sudo chown -R bacula:bacula /backup
Next, edit the bacula configuration file to the device and location of the storage. Use the following command to open the configuration file –
sudo nano /etc/bacula/bacula-sd.conf
Comment out all autochanger and device sections by placing the # sign before each line as you can see in the image below.
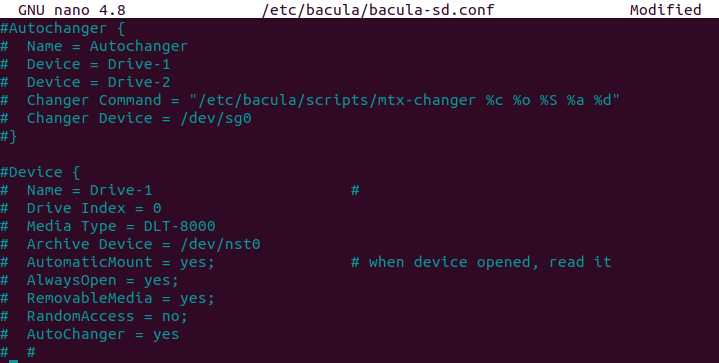
Next, add the following lines to this file.
Device {
Name = Local-device
Media Type = File
Archive Device = /backup
LabelMedia = yes; # lets Bacula label unlabeled media
Random Access = Yes;
AutomaticMount = yes; # when device opened, read it
RemovableMedia = no;
AlwaysOpen = no;
Maximum Concurrent Jobs = 5
}
Save this file by press Ctrl+s and then exit from the editor by pressing Ctrl+x.
Next restart the bacula storage service to make all the changes effective.
sudo systemctl restart bacula-sd.service
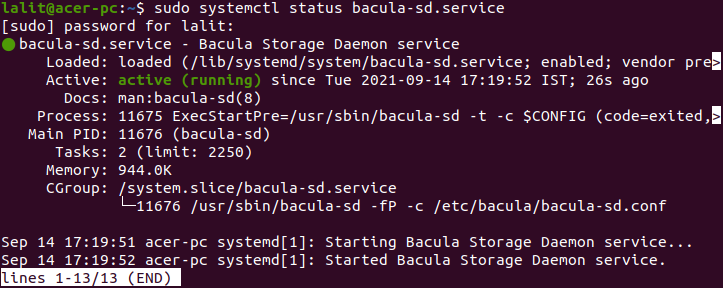
Now you can check the status of the Bacula storage service –
sudo systemctl status bacula-sd.service
This should display the output as given in the image below.
Configuring bacula director
After configuring bacula storage you now have to configure the Director which supervises all backup, restore, verify and archive operations.
Open the Director configuration file with the following command –
sudo nano /etc/bacula/bacula-dir.conf
Now add the following line at the bottom of this file –
Storage {
Name = acer-pc-sd  # This must be equal to the "Name" parameter of the "Storage" section in the /etc/bacula/bacula-sd.conf file
Address = 127.0.0.1
Password = "cwj98f5NxznLAgFOwCvD1mwn4Yy-880z8" # Password must match the password in the /etc/bacula/bacula-sd.conf
Device = Local-device
Media Type = File
}

FileSet {
Name = "Local-file"
Include {
Options {
signature = MD5
}
File = /etc
}
}

Schedule {
Name = "LocalDaily"
Run = Full daily at 05:00
}

Job {
Name = "LocalBackup"
JobDefs = "DefaultJob"
Enabled = yes
Level = Full
FileSet = "Local-file"
Schedule = "LocalDaily"
Storage = acer-pc-sd
Write Bootstrap = "/var/lib/bacula/LocalhostBackup.bsr"
}
Note – Change Name and Password parameters as given in the /etc/bacula/bacula-sd.conf file on your own system.
After making changes save this file and exit from the editor.
Next, use the following command to restart the bacula director service.
sudo systemctl restart bacula-dir
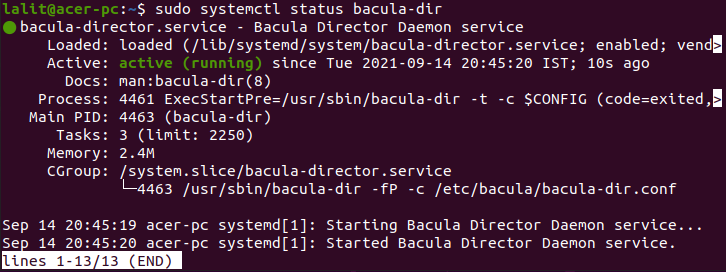
Now if you check the status it should be active and running.
sudo systemctl status bacula-dir
Verify the backup jobs
Bacula is now configured to run a daily backup of /etc directory at 5 AM. You can confirm that with the below command.
sudo bconsole
This will display the bacula console.

You can use the following command in the bacula console to start the backup.
run
Choose your desired option and press the Enter.

Again confirm by typing yes and then press Enter.

This will start the backup process.
You can check the status of backup on your system by typing the status command.
status
Next select 1 and press Enter. This will display all the running and finished jobs as you can see in the image below.
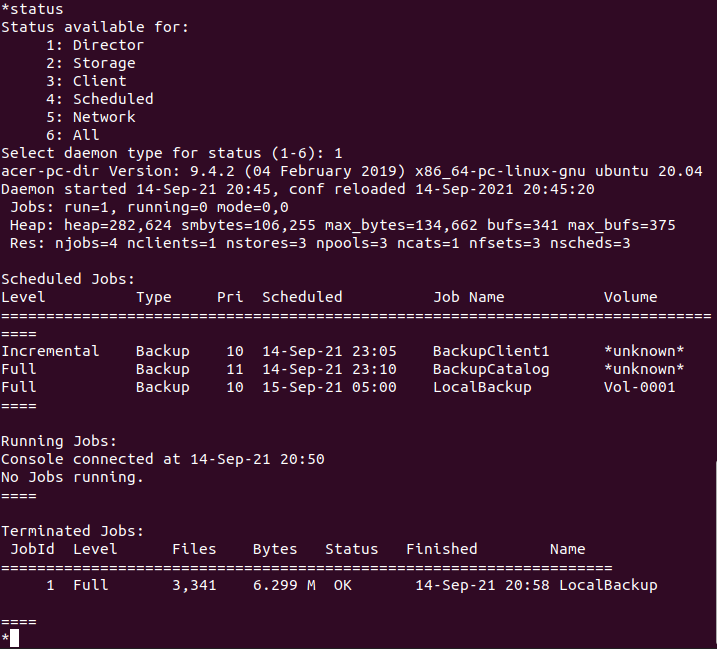
You can exit from the bacula console by entering the exit command.
exit
You can check the backup file in /backup directory.
ls /backup
Conclusion
You have successfully set up Bacula on your system. You can run backup jobs or automate them for running at a particular date and time.
Now if you have a query then write us in the comments below.

