
PgHero is a free and opensource dashboard for Postgres which shows system metrics such as resource usages, health checks etc. It offers web interface through which you can monitor how PostgreSQL database server is doing.
In this article I will discuss how to install and use PgHero in Ubuntu Linux.
Prerequisites
To follow this article you should have the following –
- A system running Ubuntu
- Access to a user account with sudo priviledge
How to install PgHero in Ubuntu
For using PgHero we should have PostgreSQL installed on our system. Now follow the step below to install Postgresql and then PgHero on your system.
Installing PostgreSQL in Ubuntu
First, update the local package repository using the following command.
sudo apt updateNext, use the given command to install PostgreSQL in Ubuntu.
sudo apt install postgresql postgresql-contribWhere postgresql-contrib package add some other functionalities that are not the part of postgresql package.
Press y and then enter to proceed with the installation process.
You can verify the installation by using –
psql -V![]()
Use the following command to start and enable PostgreSQL services –
sudo systemctl start postgresqlsudo systemctl enable postgresqlNow use the given command to view PostgreSQL services are running or not –
sudo systemctl status postgresql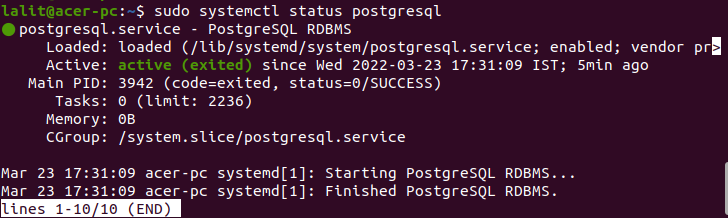
Creating a datebase
First change the default password of PostgreSQL database –
sudo passwd postgresNow switch to postgres user by using –
su - postgresCreate a new user for PostgreSQL –
createuser newdbuserUse the following command to access PostgreSQL database console –
psqlCreate a password for new user –
ALTER USER newdbuser WITH ENCRYPTED password 'Pass123';Next create a database named newdb and set the owner to newdbuser.
CREATE DATABASE newdb OWNER newdbuser;Grant all the required privileges to the user –
GRANT ALL PRIVILEGES ON DATABASE newdb to newdbuser;Now exit Postgres instance by using –
\qUse the given command to exit log back to your current user –
exitInstalling PgHero in Ubuntu
Use the following command to download PgHero GPG key –
wget -qO- https://dl.packager.io/srv/pghero/pghero/key | sudo apt-key add -Next use the given command to add the downloaded repository key to your system –
sudo wget -O /etc/apt/sources.list.d/pghero.list https://dl.packager.io/srv/pghero/pghero/master/installer/ubuntu/$(. /etc/os-release && echo $VERSION_ID).repoRefersh the local package database –
sudo apt updateFinally run the given command to install PgHero –
sudo apt -y install pgheroConfiguring PgHero
Before we use PgHero we need to do a some configurations. Define the database with database user name, database name and database password that you want to query.
sudo pghero config:set DATABASE_URL=postgres://dbuser:SecurePassword@localhost:5432/dbnameFor example –
sudo pghero config:set DATABASE_URL=postgres://newdbuser:pass123@localhost:5432/newdbDefine the port through which PgHero will be accessed –
sudo pghero config:set PORT=3001Add some more PgHero web server settings –
sudo pghero config:set RAILS_LOG_TO_STDOUT=disabled
sudo pghero scale web=1Start and enable the PgHero services –
sudo systemctl start pgherosudo systemctl enable pgheroAdjust firewall settings –
sudo ufw allow 3001/tcpsudo ufw allow 80/tcpFinally check if PgHero services are running or not –
sudo systemctl status pghero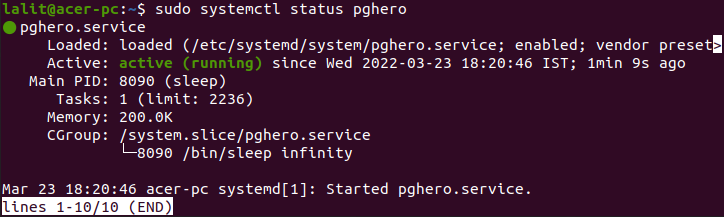
Configuring Nginx reverse proxy
To setup Nginx as reverse proxy first run the given command to install Nginx –
sudo apt install -y nginxUnlink the default Nginx configuration file –
sudo unlink /etc/nginx/sites-enabled/defaultCreate a new configuration file –
sudo nano /etc/nginx/sites-available/pghero.confAdd the given lines to this file –
server {
    listen 80;
    server_name  example.com;

    location / {
        proxy_pass http://localhost:3001;
    }
}
Replace the server_name with your own and save this file.
Enable the new configuration file by using –
sudo ln -s /etc/nginx/sites-available/pghero.conf /etc/nginx/sites-enabled/pghero.confNow restart Nginx services –
sudo service nginx restartAccessing PgHero web interface
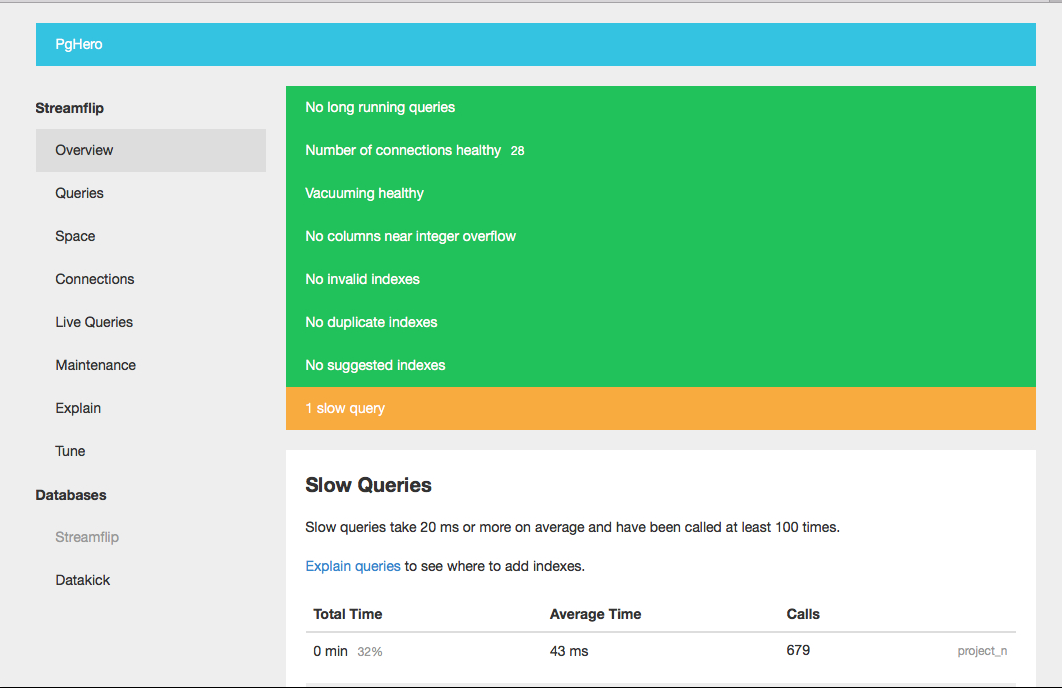
Once everything is setup correctly, open a web browser and type the given URL –
http://Server_IP_or_domain_nameFor example –
http://localhostThis will display output as given in the image below.
Conclusion
So I hope you have successfully setup PgHero for performance monitoring of PostgreSQL database server. Now if you have a query then write us in the comments below.