
The PyCharm is a fully-featured IDE for python. It is developed by JetBrains. PyCharm supports many other programming languages such as HTML, CSS, Javascript, SQL, etc. The features of PyCharm can be extended using the plugins. It has built-in graphical debugger, integrated unit tester, and embedded version control system. Using plugins, frameworks like Django, Flask, and Anaconda can be used. PyCharm comes in two versions community and professional.
In this article, we will see the installation of the PyCharm community edition in Linux Mint.
Installing PyCharm Using Snappy Package Manager
Snappy is a package manager developed by Canonical for the Linux operating system. And the packages used by this package manager are called snaps. Snaps themselves have no dependencies on any app store. It provides better package management. To install snappy package manager in your system –
sudo apt install snapd snapd-xdg-open
If it says the package already installed then you can move to the next step.
To download and install PyCharm snap package use the following command –
sudo snap install pycharm-community --classic
After installation get successful it will display the following information
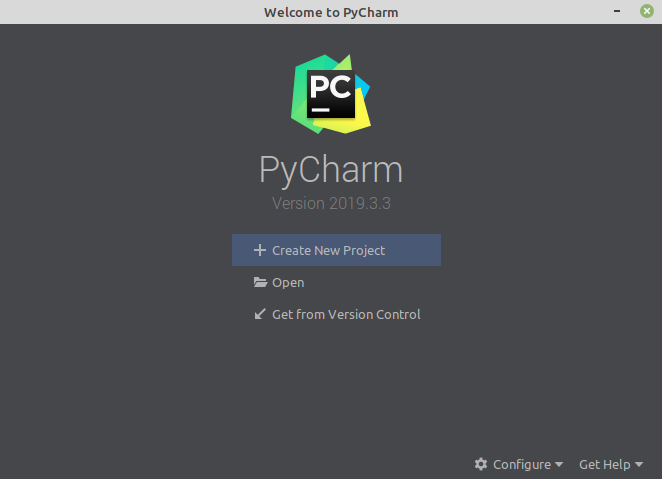
2020-02-29T08:07:58+05:30 INFO Waiting for restart...
pycharm-community 2019.3.3 from jetbrains* installed
Now run the following command to open PyCharm –
pycharm-community
Now if it displays output on terminal something like this –
Command 'pycharm-community' is available in '/snap/bin/pycharm-community'
The command could not be located because '/snap/bin' is not included in the PATH environment variable.
then you need to add /snap/bin in the PATH environment variable. To add this first open /etc/environment using a text editor –
sudo nano /etc/environment
and then add :/snap/bin into the string passed to the PATH variable. And then save and exit from the text editor and reboot your system. Then again use the following command to start IDE –
pycharm-community
Installing PyCharm Using .tar.gz Archive
First, download the .tar.gz archive containing PyCharm community edition from the Official Website of JetBrains. This method of installation probably works on any system but you have to manually extract it somewhere and the updates are also not easy. To extract and install PyCharm follow the given steps –
1. Unpack the downloaded PyCharm package to the directory where you want to install it –
tar xfz pycharm-*.tar.gz -C <location>
the recommended installation location according to filesystem hierarchy standard is /opt now to install PyCharm into this directory use the following command –
sudo tar xfz pycharm-*.tar.gz -C /opt/
2. Now change the directory to the bin subdirectory –
cd /opt/pycharm-*/bin
3. Run the following command from this subdirectory –
./pycharm.sh
Uninstalling PyCharm
If you want to remove PyCharm IDE from your system. You should use the following command –
sudo apt-get remove pycharm-community
If you used snap command to install then use the following command to uninstall it –
sudo snap remove pycharm-community
Conclusion
Other distributions based on Debian or Ubuntu follow a similar installation process. Now if you have a query or suggestion regarding the topic write us in the comments below.
Hi,
You can use either way but I would suggest using snap because snaps are self-contained applications and you need not navigate among the directories for installation, post-installation updates are also easy when you install it using snap.
Thanks