
Minecraft is a sandbox video game developed by Mojang Studios. It is one of the most popular video games of all time, available for different platforms. In this game, players can explore a blocky and procedurally generated 3D world with virtually infinite terrain. You can use craft tools and items to build structures and earthworks.
Having your own game server can have various advantages for example you get improved performance, better control over mods and plugins, better security and privacy, etc.
So in this tutorial, I will guide you on how to set up a Minecraft server on your Ubuntu system.
Prerequisites
You should have access to a user account with superuser privileges on the system where you are going to set up the Minecraft server.
Installing Java on Ubuntu
You will need to have java installed on your system to run Minecraft.
First, update the local package database to ensure you download the latest version of OpenJDK on your system.
sudo apt update
Next, use the given command to install the latest version of Java.
sudo apt install default-jdk -y
OR you can download and install a specific version of java by following how to install JDK and JRE in Ubuntu.
You can verify the installation by executing –
java --version

Install Screen
The screen is a console application that keeps the Minecraft server running in the background. Without using the screen if you start the server from the terminal and then close it, this will kill the session and stop your server. You can use the given command to install it on Ubuntu –
sudo apt install screen
If it asks for confirmation press y and then enter.
Adjust firewall
By default, Minecraft uses port 25565 you need to allow the traffic coming through this port to the server. Now add the necessary firewall rules by executing the given command in your terminal.
sudo ufw allow 25565
Now your firewall is properly configured for Minecraft.
Download and install Minecraft server
Go to the download page of the Minecraft server on its official website and then copy the download link of the Minecraft server. This is the current latest version of Minecraft.
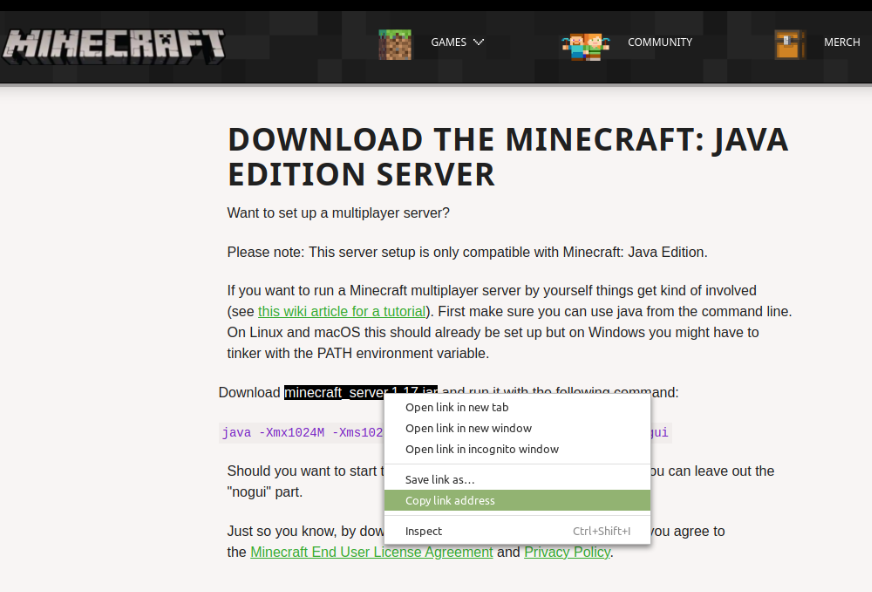
Use the wget command to download the file from the copied link. Use this command and paste the link in your terminal you can see this in the command below.
wget https://launcher.mojang.com/v1/objects/bb2b6b1aefcd70dfd1892149ac3a215f6c636b07/server.jar
If you want to upgrade or run a different version of Minecraft, rename the downloaded server.jar file to the current version minecraft_server.1.17.jarby using the given command.
mv server.jar minecraft_server.1.17.jar
Configuring and running Minecraft server
First, start a screen session by using the given command.
screen
On the next screen, you will see some text press Space this will move you to the move you to terminal like screen session.
Now execute the given command to start the server.
java -Xms1024M -Xmx1024M -jar minecraft_server.1.17.jar nogui
Where,
Xms1024M – means the server will start with 1024 megabytes or 1 gigabyte of RAM. You can increase or decrease its limit by changing the numbers.
Xmx1024M – the server will configure to use a max 1024MB of RAM you can increase this limit if you think the server is running slowly.
nogui – tells the server not to launch GUI
This will through an error you can see this in the below image.

You need to accept the EULA (End User License Agreement) of Minecraft. When you open the eula.txt file which is in your current working directory using a text editor you will see the given.
For example –
nano eula.txt
You will see a link is given in this file you can open it to see the End User License Agreement details.
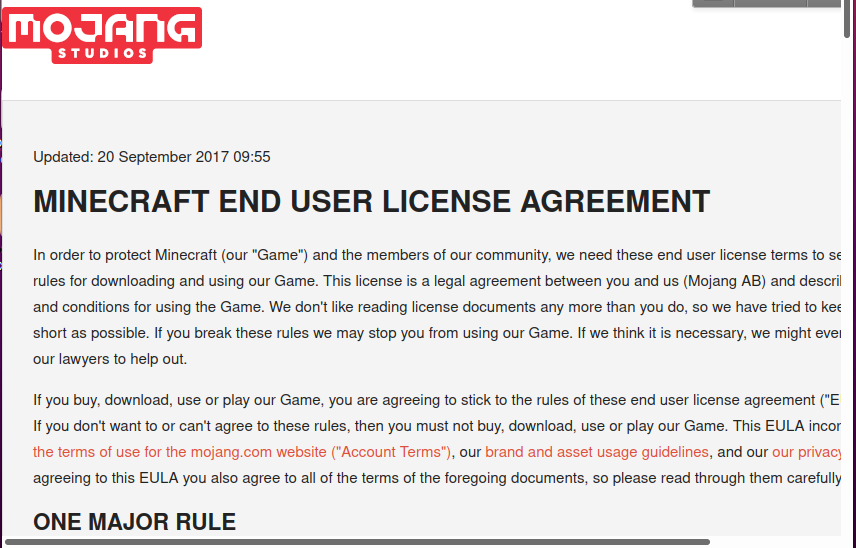
In the eula.txt file change eula=false to eula=true to accept this agreement now save this file and exit.
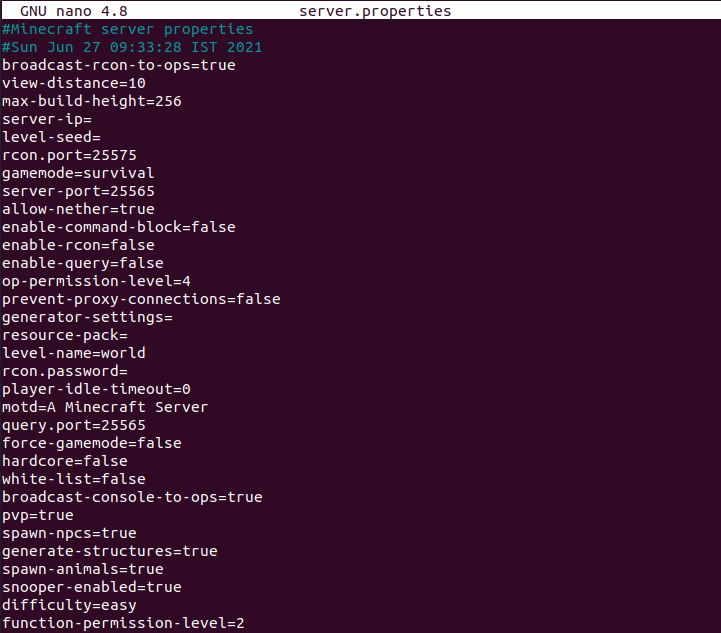
Another file that gets created when you execute the above-given command to start the server is server.properties this file contains all the configuration options of the Minecraft server.
You can configure it with your preferred setting by using –
nano server.properties
This will display –
Once you get done with all your settings start your server again by using the following command.
java -Xms1024M -Xmx1024M -jar minecraft_server.1.17.jar nogui
It will take some time to complete the process once completed you will see Done! message in your terminal. It will bring you to the server administration panel for help you can use.
help
Now your server is up and running you can detach the current session by pressing ctrl+a+d and if you want you can reattach it by using ctrl+r.
OR you can use the given command to resume the session –
screen -r 26653
Connect Minecraft client to your server
To connect the Minecraft client application to your server first launch your copy of Minecraft Java Edition and select Multiplayer in the menu. Next click on Add Server.
Now in the Edit Server Info screen give a name to your server and enter the IP address of your server once you press the enter it will bring you to the same multiplayer screen. Your server should be listed here select it and click on the Join Server.
Conclusion
You have successfully set up Minecraft server on your system. Now if you have any queries or feedback then write us in the comments below.