
Thonny is a Python IDE that is designed for beginners. You can also use it for full-fledged Python development. Thonny supports different ways of stepping through the code.
In this article, I will discuss how to install Thonny in Ubuntu.
Features of Thonny
Some features of Thonny IDE are given below –
- It has a built-in debugger
- Stepping through evaluation of expressions
- Variable Explorer
- Simple PIP GUI Interface
- Syntax highlighting
- Support code completion
- It has support for CPython and MicroPython
Prerequisites
To follow this guide you should have the following.
- A system running a recent version of Ubuntu
- Access to a user account that has superuser privileges
How to install Thonny in Ubuntu
There are multiple ways to install and use Thonny IDE in Ubuntu you can follow any one of the given methods to install it on your system.
Method 1: Installing Thonny from the Ubuntu repository
Thonny is available in the official Ubuntu repository you can use the apt package manager to install it on your system.
Before installing the package update your system repository index –
sudo apt update
Next, use the following command to install Thonny on your system –
sudo apt install python3-tk thonny -y
Method 2: Installing Thonny using pip
Python pip is a package management tool used to find, install, remove and list the packages from the Python Package Index (PyPI).
First, install the Python pip on your system and then use the following command to install Thonny using pip –
pip3 install thonny
Method 3: Installing Thonny using the installer script
You can also install Thonny Python IDE using the Linux installer script. It will download and install Thonny and python on your Ubuntu system.
Open your terminal and run the following command to install Thonny –
bash <(wget -O - https://thonny.org/installer-for-linux)
Now this will ask for your confirmation press Enter to continue.

Finally when installation is successful press the Enter to exit from the installer.
Start Thonny IDE on Ubuntu
Once the installation process is completed search Thonny in the activities dashboard and clicks on the icon as given in the image below to launch the Thonny IDE on your system.

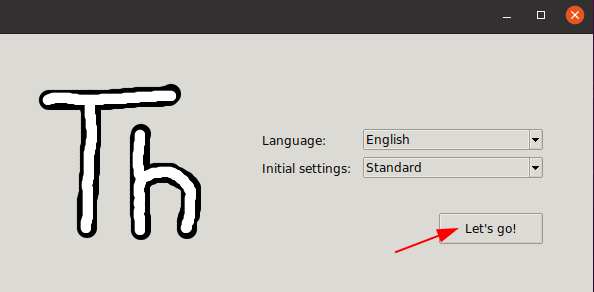
Choose your language and initial settings and click on Let’s go! to start the IDE.
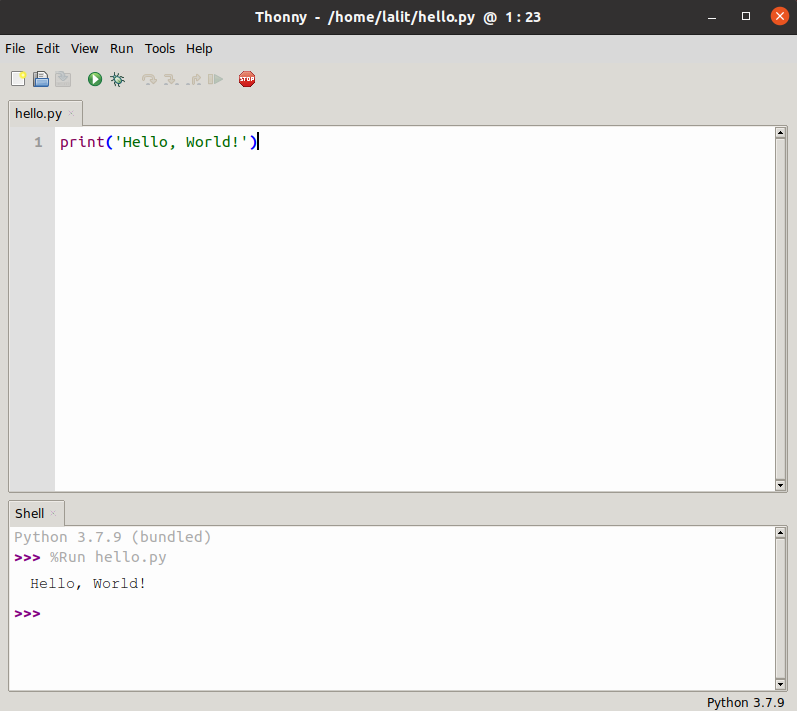
Now you can start writing and executing your code in Thonny IDE.
Conclusion
You have successfully set up Thonny on your Ubuntu system. Now if you have a query then write us in the comments below.