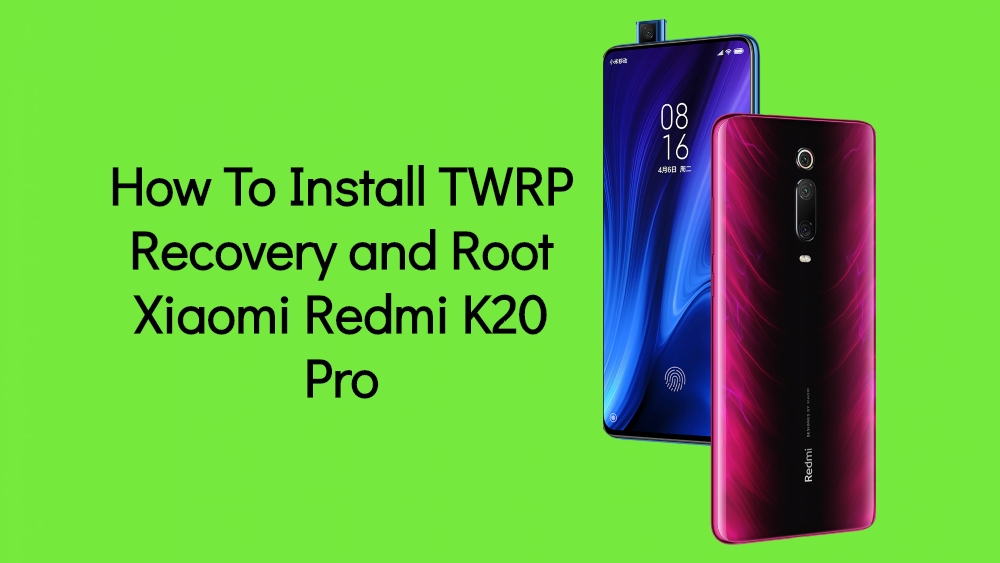
Installing a custom recovery and rooting the smartphone is one of the options for the tech enthusiasts to experience the new Custom ROMs and other mods on their smartphones. The Xiaomi Redmi K20 Pro is soon to be launching smartphone from the Xiaomi brand in India. It is slated to release at an event in India on July 17th, 2019, which is not too far away. You can check out the tweet by the Global VP and MD of Xiaomi India, Manu Kumar Jain, announcing the release date of the Redmi K20 and the Redmi K20 Pro;
https://twitter.com/manukumarjain/status/1147029822238892033
So, in this post, we bring to you how to install TWRP recovery and root your Xiaomi Redmi K20 Pro.
However, before rooting the Redmi K20 Pro, we will be going ahead with the installation of the TWRP recovery first then, we will root the Redmi K20 Pro with the SuperSu Zip. The reason is straight forward as to install the SuperSu on the Xiaomi Redmi K20 Pro, you need to have a custom recovery like TWRP installed on your device. So, without any further ado, let us get straight into the article itself;

Xiaomi Redmi K20 Pro Specs

The Redmi K20 Pro which is the talk of the town due to the pricing it is expected to get. It is powered by the new Qualcomm Snapdragon 855 processor which is paired with 6GB/8GB of RAM. The device has a battery capacity of 4000 mAh which can easily last a day. In the front, you get a 6.39-inch AMOLED display with a resolution of 1080×2340 and an aspect ratio of 19.5:9 and a 403 PPI density. It also has the Corning Gorilla Glass 5 protection and HDR as well.
Moreover, in the camera department, you get a triple camera set-up with 48MP + 8MP (telephoto) + 13MP (ultrawide) in the rear and in the front you get a motorized selfie camera which is a 2oMP shooter. The device comes with three variants of storage capacity i.e. 64GB/128GB/256GB which cannot be expanded. You can choose the device from 8GB RAM/256 GB ROM and 6GB RAM with the 64GB/128GB ROM variant. Besides, there is an under display fingerprint scanner as well.
How To Install TWRP Recovery and Root Xiaomi Redmi K20 Pro
Now, before we head into installing the TWRP recovery and rooting the Redmi K20 Pro, let us first understand what is TWRP recovery and its advantages as well as the disadvantages;
What is TWRP Recovery?
Team Win Recovery Project (TWRP) is an open-source software custom recovery image for Android-based devices. It provides a touchscreen-enabled interface that allows users to install third-party firmware and back up the current system which is functions often unsupported by stock recovery images. It is, therefore, often installed when flashing, installing, or rooting Android devices, although it isn’t dependent on a device being rooted prior to installation.
-Wikipedia
Now, on the official website, TWRP is explained as;
A custom recovery is used for installing custom software on your device. This custom software can include smaller modifications like rooting your device or even replacing the firmware of the device with a completely custom “ROM”. Today, TWRP is the leading custom recovery for Android phones.
However, in simpler terms, TWRP helps you in installing the flashable zip files on your smartphones like mods, custom ROMs, etc. You can get a hand on there mods and ROMs from various sources, the prominent one being the XDAdevelopers.
Advantages of TWRP
- You can install custom ROMs like LineageOS, Resurrection Remix, etc.
- Moreover, you can also root your device by flashing the SuperSu zip file.
- You can take Android backup of your device very easily.
- You can install MODs easily.
Disadvantages of TWRP
- You will lose the warranty of your device forever.
- Also, you might get a boot loop or permanent damage while installing any custom ROMs.
- You can brick your device if you do not pay attention while flashing any ROMs.
- Moreover, you will not receive the official OTA Updates from Company.
Pre-requisites
- Please note that this guide is only for Xiaomi Redmi K20 Pro.
- Your device’s battery must be 50% charged or above.
- You must have a working PC or Laptop along with USB cable provided with the phone.
- Take a complete backup of your important files, photos, etc.
- Download and Install ADB and Fastboot Driver
- Download TWRP recovery image
- Download SuperSu
Steps to Install TWRP Recovery
[su_note note_color=”#D7E3F4″ text_color=”#728095″ radius=”3″ class=”” id=””]Please make a note of this that, you need to first unlock the bootloader of the Redmi K20 Pro before going ahead with the installation of the TWRP Recovery and rooting of your device.
We have already covered a post on how to unlock the bootloader of the Redmi K20 Pro previously which you can access by clicking the button below;
[button anchor=”How To Unlock the Bootloader of Redmi K20 Pro” url=”https://cyanogenmods.org/how-to-unlock-the-bootloader-of-redmi-k20-pro/” size=”lg” style=”metro” color=”info”] [/su_note] [dropcap]So, assuming that you have gone through the requirements, downloads and unlocked the bootloader of the Redmi K20 Pro, let us now head towards the installation of the TWRP on your device;[/dropcap]- Firstly, you need to download the TWRP image from the above download link in your PC/laptop.
- Now, you need to Enable the USB debugging in your Xiaomi Redmi K20 Pro by going to Settings>>About Phone>>Build.
- Tap on the Build 7 times to enable the developer option.
- Then, again head to the Developer Option>> and toggle the Enable USB Debugging.
- Copy the TWRP image in the same folder where you have installed the ADB and Fastboot driver.
- Now, you need to open the Command prompt window in the same folder by holding shift and clicking the right button of your mouse.
- Boot your device into Fastboot mode, by switching off your device and then press the Volume Up button and the power button simultaneously.
- Connect your device to the PC with the help of USB cable and let the PC to detect your device so that it can install all the necessary drivers itself.
- Now, type this command in Command Prompt window:
[highlight color=”#000000″]adb devices[/highlight] - Then, you need to type this command:
[highlight color=”#000000″]fastboot reboot bootloader[/highlight] - Then, type this one:
[highlight color=”#000000″]fastboot flash twrp.img[/highlight] - You can replace the twrp.img to the actual name of the downlaoded TWRP image for the above command.
- Once the installation process is complete. You can type this command to reboot your device:
[highlight color=”#000000″]fastboot reboot[/highlight] - Voila! You have successfully installed the TWRP Recovery image on the Redmi K20 Pro.
Now, once you have successfully installed the TWRP REcovery on your device then, you can go ahead with the rooting of your smartphone using the SuperSu.
Steps to Root Xiaomi Redmi K20 Pro Using SuperSu
- First of all, you need to download the Latest SuperSu from the link given above and paste it in the root of your SD Card.
- Now, you need to Switch off your device and boot your device into custom recovery. You can do it by pressing and holding the Volume up button + Power button simultaneously.
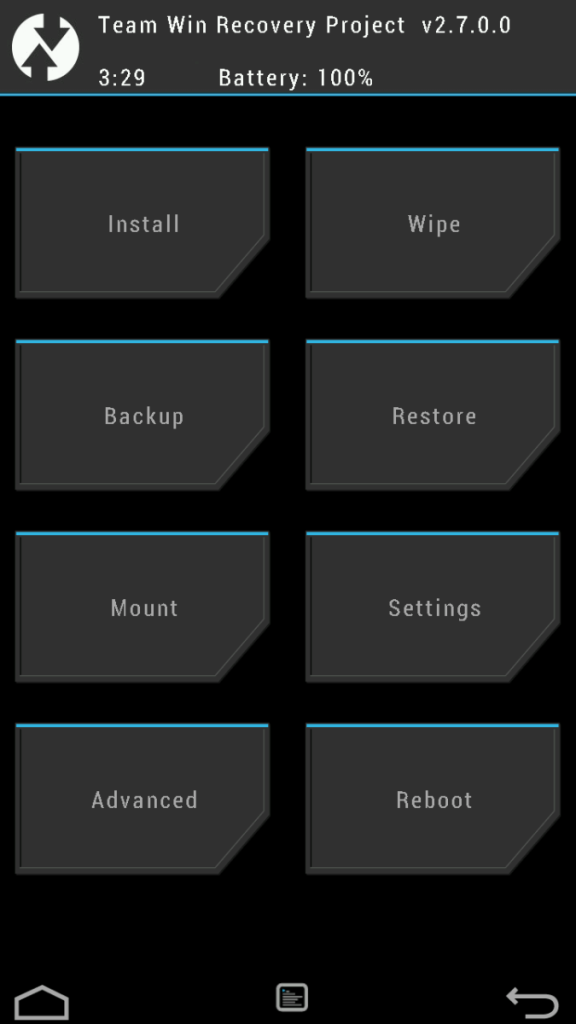
- Then, if you have TWRP installed then a screen will open something like the image shown below;

- You need to now install the SuerSu by browsing the location where you have pasted the SuperSu. Then you need to select the SuperSu file and then Swipe right to start the installation process.
- Wait for the installation process to get complete.
- Once the installation is complete, you need to Reboot your Redmi K20 Pro.
- Voila! You have successfully rooted your Redmi K20 Pro.
Conclusion
So, there you have it from my side in this post. Hope you have followed the above-mentioned steps and successfully installed the TWRP Recovery image as well as successfully rooted your Redmi K20 Pro using the SuperSu. Moreover, please let us know in the comments section below if you have faced any issues while following the above-mentioned steps and also do report if you come across any link failure as well. Until the next post…Cheers!

