
Mondorescue is a free command-line backup and data recovery tool. It focuses on stability and provides an easy-to-use interface to its users. Mondorescue can be used to recover data from different types of storage disks including tapes, CD/DVD, hard drives, LVM, and software & hardware RAID, etc.
In this article, I will discuss how to install and use Mondorescue in Ubuntu.
Features of Mondorescue
The key features of the Mondorescue data recovery tool are –
- Supports multiple types of storage devices
- You can also perform the partition management tasks such as resizing, partitioning, formatting, etc.
- It verifies the integrity of data
- It can be used to recover MBR
- Available for Linux and Windows operations systems
How to install Mondoresue in Ubuntu
Use the given commands to install Mondoresuce in your Ubuntu system.
First, add the Mondoresuce repository by using the given command in your terminal. This will work on Ubuntu 15.10 and earlier version for the latest version you can download the repo file and add it to /etc/apt/sources.list.d.
wget ftp://ftp.mondorescue.org/ubuntu/`lsb_release -r|awk ' {print $2}' `/mondorescue.sources.listsh -c " cat mondorescue.sources.list > > /etc/apt/sources.list"Now update the package list on your system using –
sudo apt updateFinally, use the given command to install the Mondorescue on your system –
sudo apt install mondoPress y and then enter when it asks for your confirmation.
Using Mondoresuce in Ubuntu
Once the installation of Mondorescue on your system is completed you can run the following command to display the mondo rescue menu options in your terminal.
sudo mondoarchiveThis will display a welcome screen, choose a backup media where you want to achieve data.

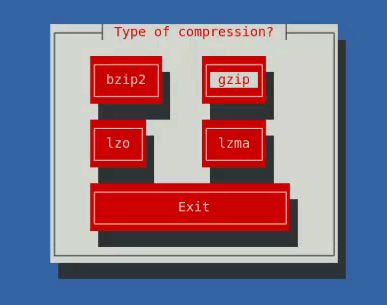
Select one of them and press enter. Next, it will ask you to specify the type of compression, choose one and press the enter to continue.
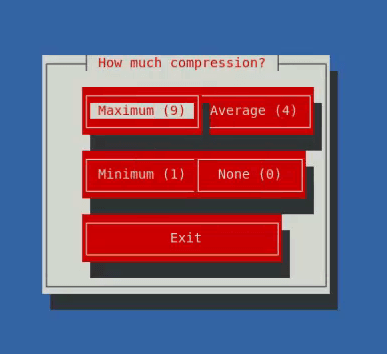
On the next screen choose the level of compression.
Similarly, you will be asked to enter the output size of each iso file you can enter the size between 700 to 4480 MB, You will also need to enter the prefix(for example you can enter modobackup the iso images will be created with the name mondobackup1, mondobackup2, and so on) for the iso files.
Next, choose the path to take backup by default it is / that means the whole system will be backed up. You can choose a specific file or directory to backup.
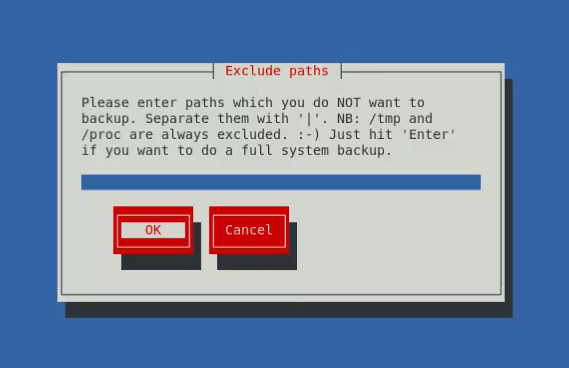
Next, you will be asked to add the path of directories that you want to exclude while taking backup this could be /tmp, /proc, etc. You can mention multiple files are directories separated by “|“.
Now you will be asked to choose Modo temp directory and mondo scratch directories select each one and click on ok.
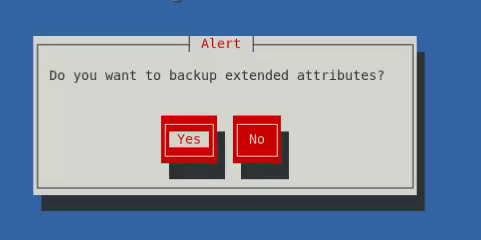
When it ask that you like to backup extended attribute just press the Enter.
This will detect the kernel of your system, next click on yes if you want to verify your backup.
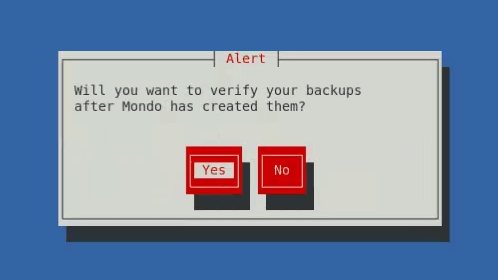
Next, choose yes to proceed this will start the backup of your system. Depending on the size this can take some time so be patient while it takes backup.
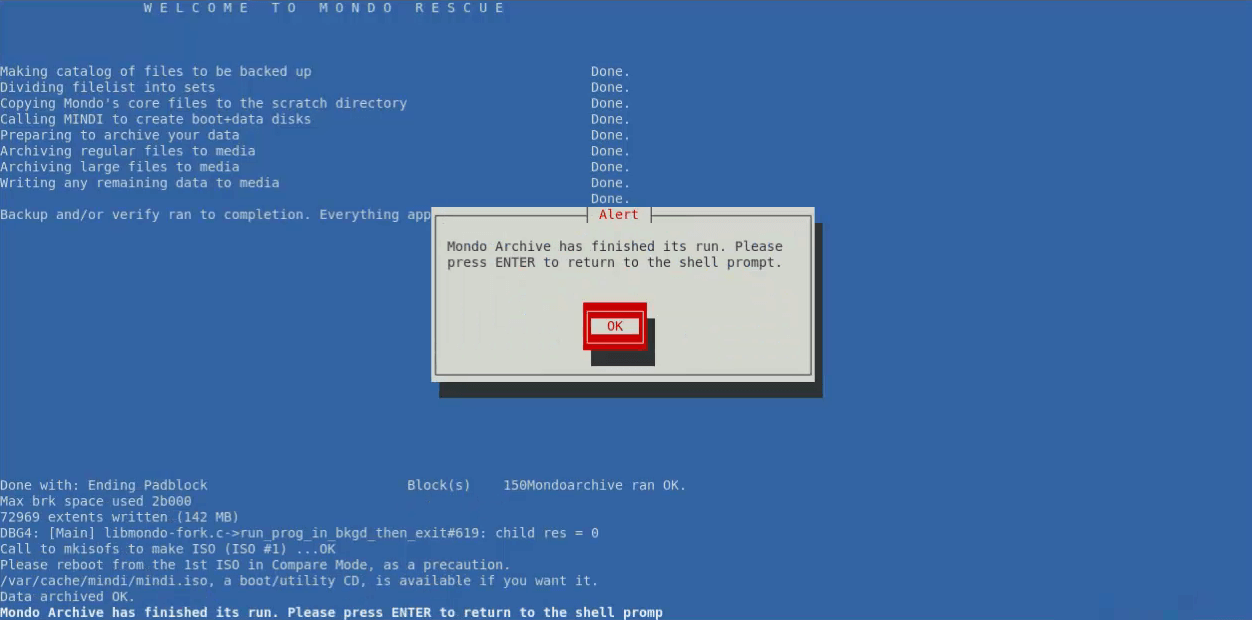
When everything is completed you will see the message that the mondo archive has finished its run. You can now press enter to exit to the terminal.
For more information, you can visit its official website.
Conclusion
Here we explained how to install and use Mondorescue on a Ubuntu system. Now if you have a query then write us in the comments below.
Hi.
Could You help me and tell me how install mondorescue on Ubuntu 20.04 ?
In folder 20.04 on ftp (wget ftp://ftp.mondorescue.org/ubuntu/`lsb_release -r|awk ‘ {print $2}’ `/mondorescue.sources.list) not exist mondorescue.sourecs.list
How I can do it?