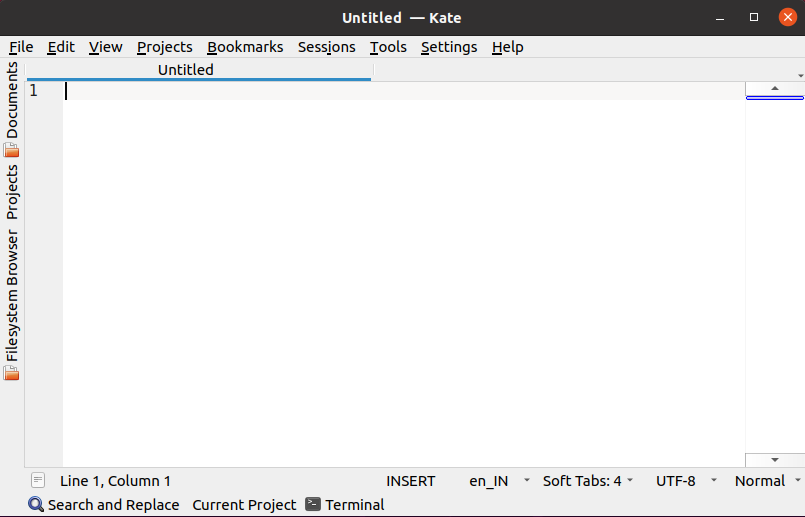
The Kate ( or KDE Advanced Text Editor ) is a free, cross-platform, powerful text and source code editor which is developed by the KDE free software community. It offers various features to view and edit a text file easily, also it supports editing multiple files at the same time.
In this article, I will discuss how to install and use the Kate editor in Ubuntu Linux.
Features of Kate editor
The key features of the Kate editor are given below –
- Support editing multiple files at the same time
- Offers embedded terminal
- Powerful search and replace plugin
- Supports various encoding schemes including UTF-8, UTF-16, etc.
- Syntax highlighting
- Multilingual support
- Uses swap files to recover data on system crash
- Advanced programming features such as scriptable auto-indentation, vi input mode, etc.
How to install Kate editor in Ubuntu
There are multiple ways to install Kate editor on a Ubuntu system. You can use one of the given methods to install it on your system.
Method 1: Installing Kate editor using apt command
The Kate editor is available in the official repository of Ubuntu. You can use the apt command or download and install it from the Ubuntu software.
First, use the given command to update the apt package repository –
sudo apt updateNow use the following command to install it on your system –
sudo apt install katePress y and then enter if it asks for your confirmation.
Method 2: Installing Kate editor using Snap
Snaps are containerized packages that can be used across the different distributions of Linux. You can use the following command to install the Kate snap package on your system –
sudo snap install kate --classicMethod 3: Installing Kate editor AppImage
The AppImage is a universal software package format that runs on most Linux systems without installation. To download the Kate AppImage package first go to the download page on its official website and click on Kate’s release (64bit) AppImage package.
OR use the given command in your terminal to download it from your terminal –
wget https://binary-factory.kde.org/job/Kate_Release_appimage-centos7/lastSuccessfulBuild/artifact/kate-21.12.3-448-linux-centos_64-gcc.AppImageOnce the AppImage package is downloaded make it executable using the given command –
sudo chmod +x kate-21.12.3-448-linux-centos_64-gcc.AppImageRun the application from your terminal by using –
./kate-21.12.3-448-linux-centos_64-gcc.AppImageThis will launch the Kate editor on your system.
Note- At the time of writing this article Kate 21.12.3 is the latest version
Open Kate editor on Ubuntu
Once the installation is successful you can launch it from Ubuntu’s activities dashboard. Search Kate and click on its icon when appears as you can see in the image below.

Now the following image shows the user interface of the Kate editor –

Here start writing or open a file for editing, you can explore different options from the main menu bar.
If you want to know more you can read the official manual page of Kate editor.
How to remove Kate from Ubuntu
If you want to remove Kate from your system then use the given command in your terminal –
sudo apt remove kate -yIf you install Kate snap package then use the following command to remove it –
sudo snap remove kateConclusion
So you have successfully installed Kate editor on your system. Now if you have a query or feedback then write us in the comments below.