
Gradle is a build tool used primarily for Java projects. It automates the tasks such as compilation, packaging to testing, deployment, and publishing in the software development process.
Gradle combines the features of Apache Ant and Apache Maven. Instead of using XML-based project configuration which is used by Maven, Gradle uses Groovy & Kotlin based domain-specific language.
In this article, we will discuss how to install Gradle on Ubuntu.
Prerequisites
You should have access to a user account with superuser privileges to install packages.
How to install Gradle on Ubuntu
By following the given steps you can install and configure Gradle on your Ubuntu system.
Installing Java
Gradle requires Java JDK version 8 or higher to be installed. To meet this requirement you can install OpenJDK which comes preinstalled in Ubuntu and many other distributions.
So first check and if it is not in your system then use the given command to install it.
sudo apt install default-jdk
This will install the default version of JRE on your system.
You can verify the installation of java by using the given command.
java --version
To install a specific version of JDK or JRE you can follow the full article on how to install java in Ubuntu.
Download Gradle
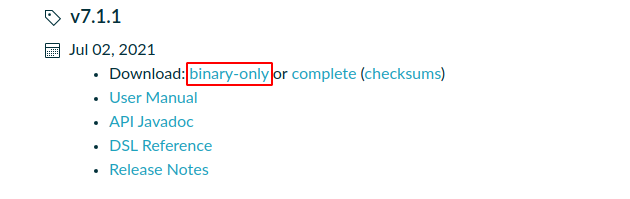
After installing Java next thing is to download Gradle. You can check and download the latest version from its official website. Here I will download and install Gradle v7.1.1 which is the latest software.
Go to the release page of Gradle click on the binary-only to download the given version directly in your browser.
OR right-click on binary-only and copy the download link and then use the given command to download it.
wget https://services.gradle.org/distributions/gradle-7.1.1-bin.zip
Once the download is completed extract the file in /opt/gradle directory.
sudo unzip -d /opt/gradle gradle-*.zip
Set up the environment variable
The next thing to do is configure the PATH environment variable to include the Gradle bin directory. Use a text editor to create a file named gradle.sh in /etc/profile.d/ directory.
sudo nano /etc/profile.d/gradle.sh
This will open the empty file now enter the given content into it.
export GRADLE_HOME=/opt/gradle/gradle-7.1.1
export PATH=${GRADLE_HOME}/bin:${PATH}
Now, this file will look something like this.

Save this file and exit from the editor.
Next, make this file executable by using the given command.
sudo chmod +x /etc/profile.d/gradle.sh
Now load the environment variable using the source command.
source /etc/profile.d/gradle.sh
Verify the Gradle installation
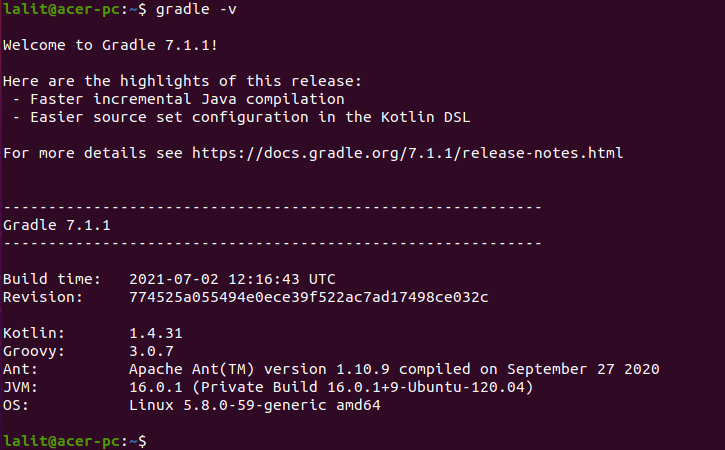
You can check if Gradle is installed properly on your system or not by using the given command.
gradle -v
If it is successfully installed on your system then you will see.
Conclusion
You have successfully installed Gradle on Ubuntu. Now if you have a query on this then write us in the comments below.