Atom is a free and open-source text and source code editor developed by GitHub. It is highly customizable you can download and install the package to enhance the features like auto-completion, code error checking, debugging, etc. It is very much similar to the sublime text editor.
In this article, I will discuss how to install Atom text and source code editor in Ubuntu Linux.
Prerequisites
To follow this guide you should have the following.
- A system running a recent version of Ubuntu
- Access to a user account that has superuser privileges
How to install Atom in Ubuntu
There are multiple ways to install Atom text editor and IDE in your system.
Installing Atom from using the apt repository
If you want to install Atom using apt you need to add a third-party repository. First, update the local package repository index by using the following command.
sudo apt update
Install the required dependencies by using –
sudo apt install software-properties-common apt-transport-https wget
Import repository GPG key –
wget -q https://packagecloud.io/AtomEditor/atom/gpgkey -O- | sudo apt-key add -
Next, add the repository by using –
sudo add-apt-repository "deb [arch=amd64] https://packagecloud.io/AtomEditor/atom/any/ any main"
Finally use the following command to install the Atom editor on your system –
sudo apt install atom -y
Installing Atom from its official website
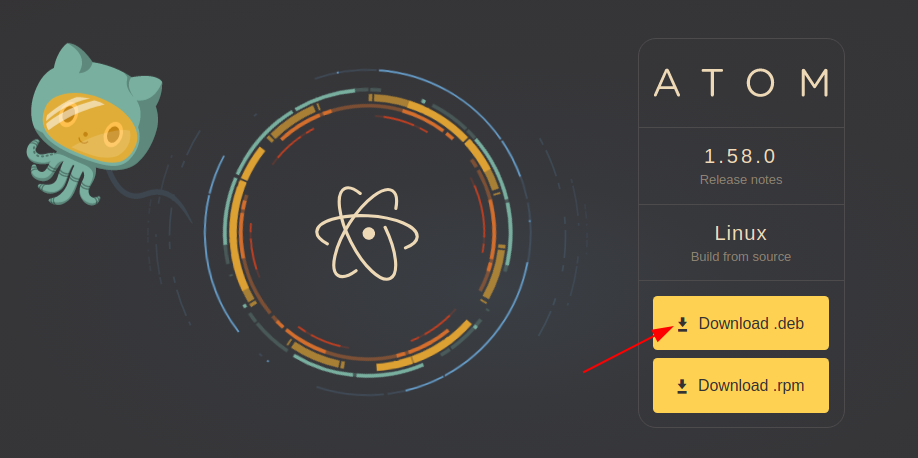
The benefit of Installing an Atom editor from the official website is that you get the latest version of it. Go to the official website and click on the Download .deb this will download the atom .deb file on your system.

Once downloaded right-click on it, click on Open With Software Install>Install
Installing Atom using Snap
Snaps are containerized packages that can be used across the different distributions of Linux. This is one of the easiest methods of installing packages on a Ubuntu system.
Use the following command to install the Atom snap package –
sudo snap install atom --classic
Start Atom text editor and IDE
In the activities dashboard search atom and if the icon as given in the image below appears click on it to launch the Atom text and source code editor.

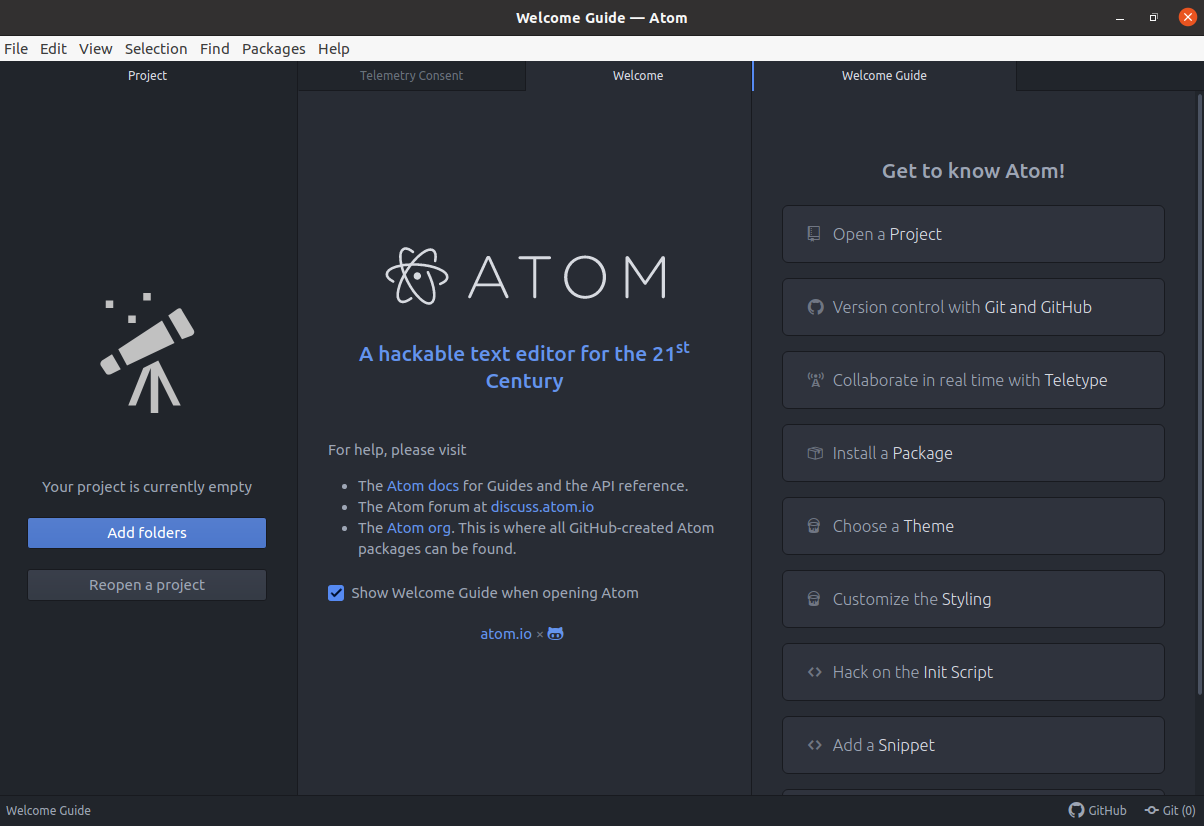
The atom’s interface will look something as given in the image below.

Here you can enhance the functionality by using extensions. Now you can start using it for writing or editing source code and text.
Conclusion
You have successfully installed Atom text and source code editor on your Ubuntu system. Now if you have a query then write us in the comments below.
