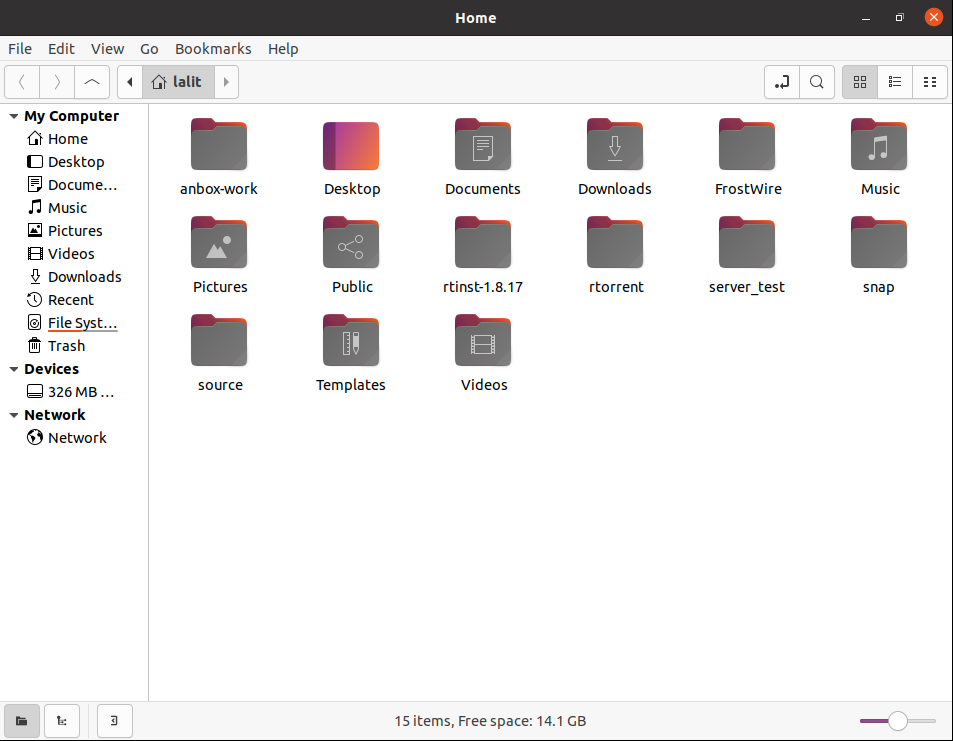
Nemo is a fork of GNOME Files and is the official file manager of Cinnamon desktop. It is lightweight and fast and comes with some great features.
It has native support for FTP and MTP. Its name was given after Jules Verne’s famous character Captain Nemo who is the captain of Nautilus.
In this article, I will discuss how to install and make Nemo your default file manager in Ubuntu Linux.
Features of Nemo file manager
The key features of Nemo file manager are given below –
- Free and opensource
- Uses GNOME’s virtual file system (GVfs and GIO)
- Display progress information of files or folder operations
- Full navigation options
- Ability to toggle between path entries
- Native support for FTP and MTP
How to install Nemo on Ubuntu
The Nemo file manager is available in the official repository of Ubuntu. You can install it either from Ubuntu Software or by using the apt package manager.
Before you install a package make sure the apt package repository is updated –
sudo apt updateNext, use the given command to install the Nemo using apt command –
sudo apt install nemoPress y and then enter if it asks for your confirmation.
You can verify the installation of Nemo file manager by using –
nemo --versionThis will display the version of the Nemo file manager installed on your system –
![]()
Accessing file and folder with Nemo file manager in Ubuntu
After installing the Nemo file manager successfully, you can launch it from the Ubuntu activities dashboard.
Search Nemo and click on its icon when appears as you can see in the image below.

OR use the given command in your terminal to open Nemo file manager –
nemoNow you can see the home directory opened with the Nemo file manager in the given image –

Set Nemo as your default file manager on Ubuntu
To display your current file manager use –
xdg-mime query default inode/directoryThis will display the given output –
![]()
Now use the given command to make Nemo your default file manager on Ubuntu –
xdg-mime default nemo.desktop inode/directory application/x-gnome-saved-searchHow to remove Nemo from Ubuntu
For any reason, if you want to remove Nemo from Ubuntu then use –
sudo apt remove nemo -yRemove any dependencies using –
sudo apt autoremoveConclusion
Ok, so I hope you have set up Nemo file manager on Ubuntu correctly. Now if you have a query or feedback then write us in the comments below.