
Jupyter Notebook is an open-source web application that allows you to create and share documents that contains live code, equations, visualizations, and narrative text. In other words, it is a document where you can run code, display output, add explanations, formulas, charts, etc. This makes your work more transparent, understandable, repeatable, and shareable.
It is used for data cleaning and transformation, numerical simulation, statistical modeling, data visualization, machine learning, and much more.
In this article, I will discuss how to install and use Jupyter Notebook in Ubuntu.
Installing Jupyter Notebook from Ubuntu repository
Before installing Jupyter Notebook from the Ubuntu repository first use the given command to update the local package index –
sudo apt update
Next, use the given command to install the Jupyter Notebook –
sudo apt install jupyter-notebook
Press y and then enter if it asks for confirmation.
Installing Jupyter Notebook using pip
Another way of installing Jupyter Notebook is by using Python pip.
Python pip is a package management tool used to find, install, remove and list the packages from the Python Package Index (PyPI).
To install Jupyter Notebook using pip, you need to install pip on your system.
sudo apt install python3-pip -y
If it is already installed then update it using the given command –
python3 -m pip install --upgrade pip
Now install Jupyter Notebook by using the given command –
pip3 install jupyter
This will download and install the required packages.
Start Jupyter Notebook in Ubuntu
Once the installation is completed you can start the Jupyter Notebook by using the given command in your terminal –
jupyter-notebook
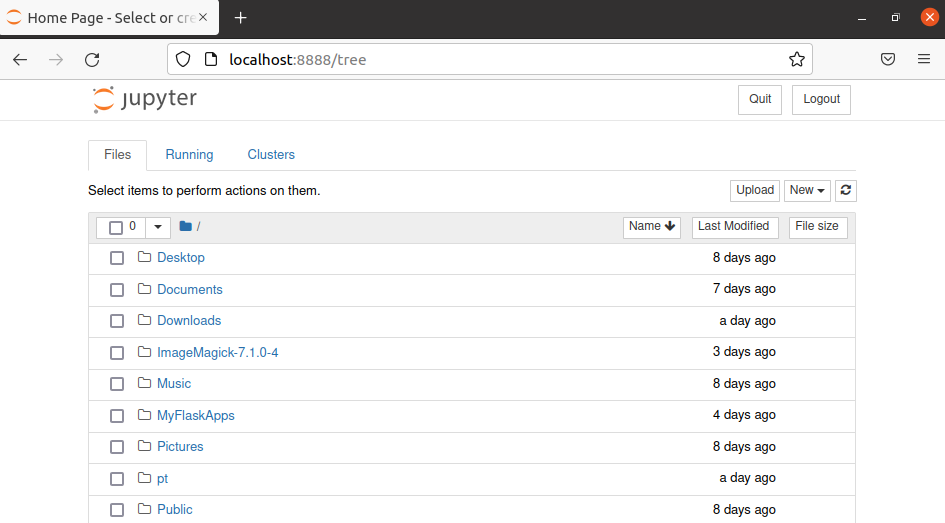
This will load the application interface in your default web browser. You can see it in the given image –
Creating your first notebook
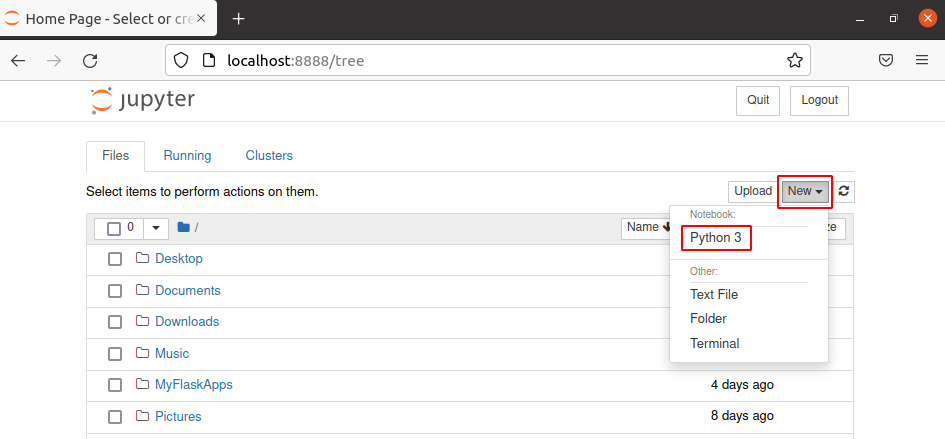
To create a notebook first click on New and then click on Python 3 you can also choose among Text File, Folder, Terminal, etc.
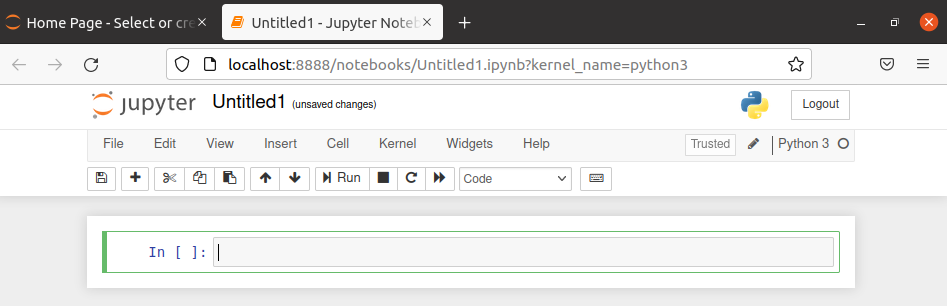
Now an untitled notebook will be open in the next tab. You can see its interface in the given image check out the menus to get feel for it. The part which is highlighted in green is known as a cell.
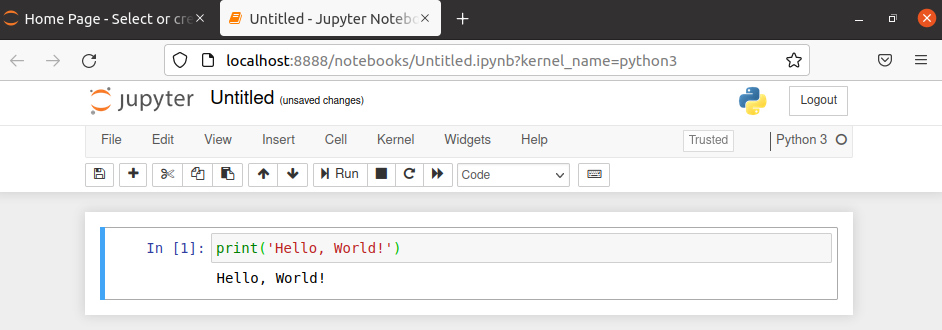
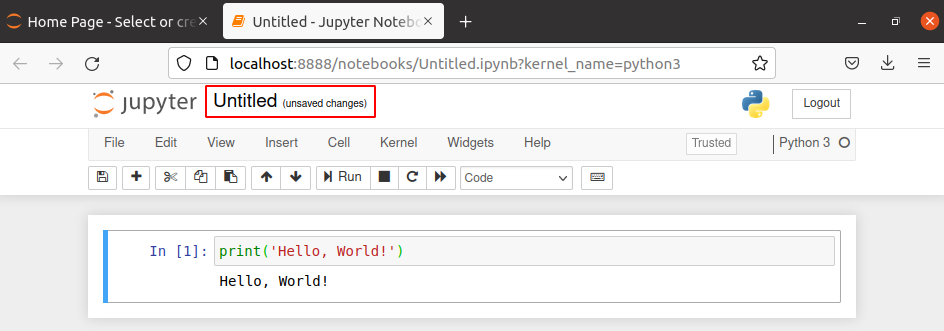
You can run the code by clicking on Run given in the menu or press Ctrl+Enter. The result will be displayed immediately after the current cell. For example to print hello world in Python we will use the given code.
You can save this notebook by giving it a useful name. Click on the highlighted part as given in the image below.
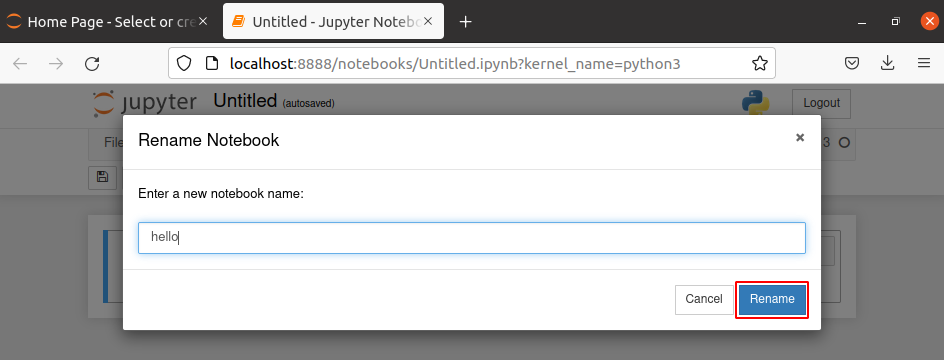
This will open a rename window now give it a name and click on Rename.
Finally, you want to close the notebook simply closing the tab will not close it the kernel behind will still run. If you don’t no a kernel is a “computational engine” that executes the code contained in a notebook.
So to close a notebook first you need to shutdown by clicking on Kernel >Shutdown.
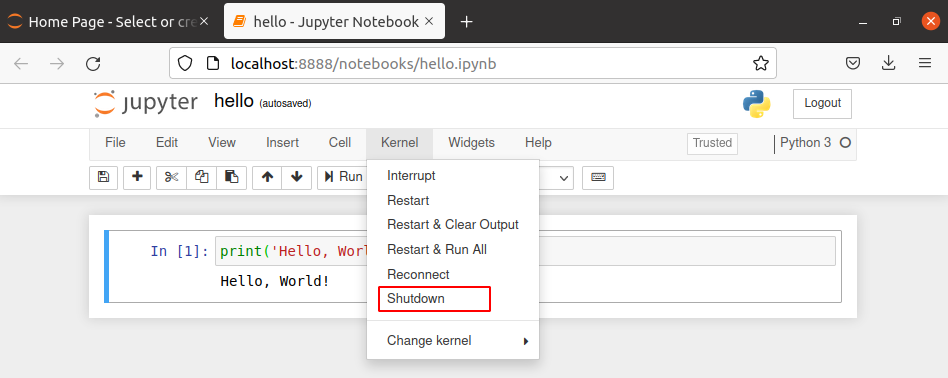
Now you can close the tab in your browser.
Conclusion
Now you know how to install and use Jupyter Notebook in Ubuntu. If you have a query then write us in the comments below.