
This article is all about Windows Subsystem for Linux (WSL), here we will discuss WSL, its benefits, installation, and usage on a Windows system.
What is WSL?
WSL or Windows Subsystem for Linux is a compatibility layer that allows Windows users to execute Linux binaries natively on Windows operating system. The WSL includes command line tools and other applications.
By default, WSL installs Ubuntu distribution but you can install another one once it is set up on your system.
Till today there are two versions of WSL –
WSL1
- Initially released in 2016
- There is no hardware virtualization it makes use of the native filesystem
- Unable to run some Linux packages like device drivers
- Supports few GUI applications
WSL2
- Microsoft announced WSL2 in 2019
- Introduced real Linux kernel through the use of a highly optimized subset of Hyper-V
- Provides all the benefits of WSL1 with a significant increase in performance
- Most of the Linux applications are supported
- Full Linux system call compatibility
What is WSLg?
WSLg means Windows Subsystem for Linux GUI which allows running Linux GUI applications (X11 and Wayland) in Windows.
It provides a fully integrated desktop experience to Windows users. WSLg was launched in 2021 and now it comes shipped with Windows 11.
Benefits of using WSL
Some benefits of using Windows Subsystem for Linux are –
- You can natively run Linux commands and applications on Windows
- Good for Windows users who wants to learn Linux
- You don’t need to setup virtual machines for running Linux
- You don’t need to dual boot your system for using Linux
- Great for developers who are using opensource tools
- It allows Windows-Linux interoperability
How to install WSL2 on Windows 11
You can also use the given steps for installing WSL2 on Windows 10.
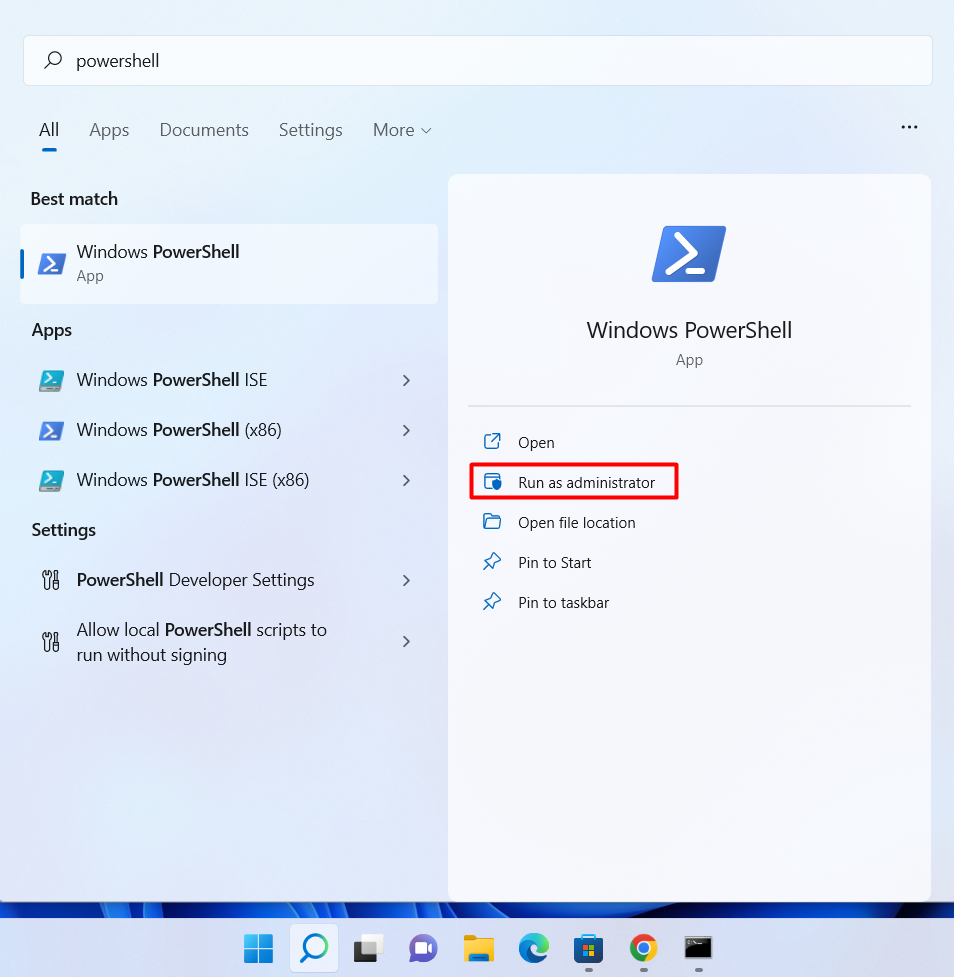
To install WSL2 on your Windows system first open PowerShell, search it in the start menu, and click on Run as administrator.
You can also use the command prompt instead of Windows PowerShell if you want.
In PowerShell run the given command –
wsl --installThis will start downloading and installing different packages required for WSL as you can see this in the image below.
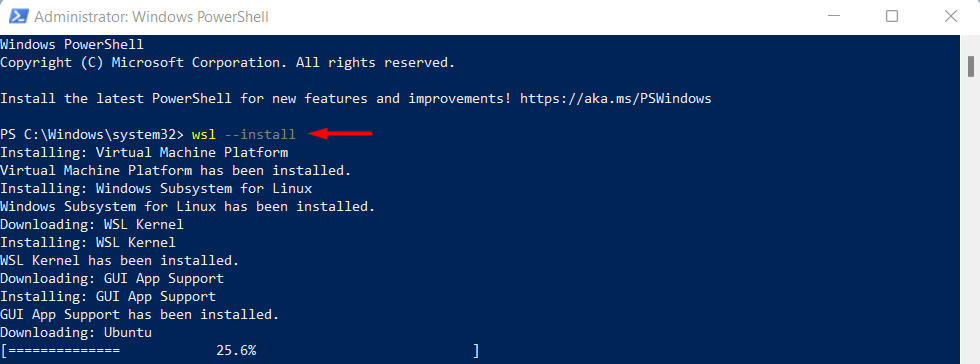
Once the installation is completed you will see a message that ‘The requested operation is successful.’
Now reboot your system to make changes effective.
Once it opens again WSL will resume the previous installation.

Next, you will be asked to create a username and password for Ubuntu.

Now Ubuntu Linux on your Windows system is ready for use. Every time you can start using Ubuntu by executing the given command in your PowerShell –
ubuntuOR by searching Ubuntu in the Start menu of your system. You can test WSL by running the Linux commands in the Ubuntu terminal.
To quit from the Ubuntu shell you can execute the given command –
exit
Try a new WSL Linux distribution
The default WSL Linux distribution is Ubuntu if you want you can change it to some other distribution.
Use the given command in PowerShell to see the available Linux distributions –
wsl -l -o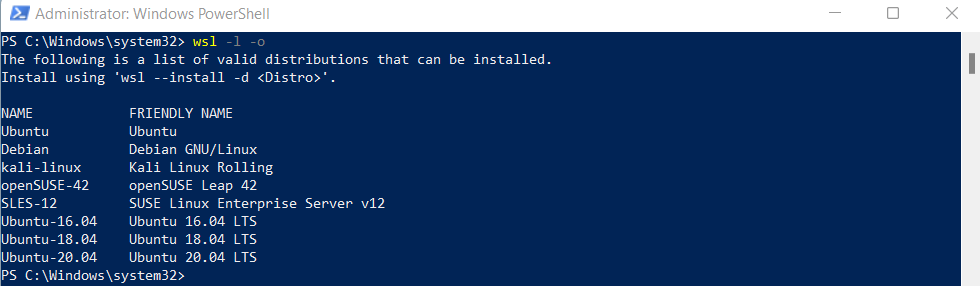
For example to use Kali Linux simply use the given command in your PowerShell terminal –
wsl --install -d kali-linuxHere replace the kali-linux in the above command with some other distribution name that you want to install.
How to uninstall a Linux distribution
For any reason, if you want to uninstall a Linux distribution from your system then use the given command in the PowerShell –
wsl --unregister <distribution_name>For example to uninstall Kali Linux use –
wsl --unregister kali-linuxConclusion
I hope now you have successfully set up WSL on your Windows system. For any query or feedback please write us in the comments below.