
Most of the Linux system administration tasks such as the creation and removal of users, monitoring system resources, etc are usually carried out on a terminal. This always requires the knowledge of different commands and how they are used on a system.
Webmin is an open-source, modern, web-based tool to manage and monitor your Linux server. It provides different configuration options for a server.
The following are some tasks that you can perform using Webmin.
- System user management
- Set and change passwords
- Installing, updating, and removal of software packages
- Managing firewall
- Configuring disk quotas
- Management of applications such as Apache HTTP server, PHP, and MySql
It offers so many other functionalities.
In this article, I will discuss how to install Webmin in the Ubuntu system.
Prerequisites
You should have administrative access to a Ubuntu server either as root or a user with sudo privileges.
Installing Webmin on Ubuntu
The Webmin is not available in the default Ubuntu repository you will have to add Webmin’s repository to download and install it on your system.
Before you proceed first update your local package database by using –
sudo apt update
Next, install the required packages and dependencies –
sudo apt install software-properties-common apt-transport-https wget
After updating system packages add the Webmin GPG key by using the given command.
wget -q http://www.webmin.com/jcameron-key.asc -O- | sudo apt-key add -
Next, add the repository to the source list by using –
sudo add-apt-repository "deb [arch=amd64] http://download.webmin.com/download/repository sarge contrib"
This will also update the package index.
Finally, use the given command to install the latest version of Webmin –
sudo apt install webmin -y
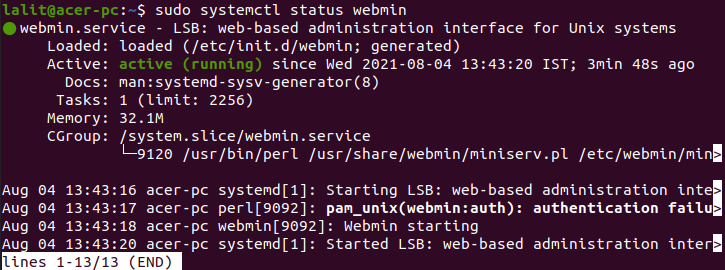
This will download and install the Webmin on your Ubuntu system. The Webmin service will automatically get started. You can check the status by using the given command in your terminal.
sudo systemctl status webmin
This should display output like given in the image below.
Adjust the firewall on your system
By default, Webmin listens on TCP port 10000. If the UFW firewall is enabled on your system then use the given command to open the TCP port 10000.
sudo ufw allow 10000/tcp
Next, reload the firewall with –
sudo ufw reload
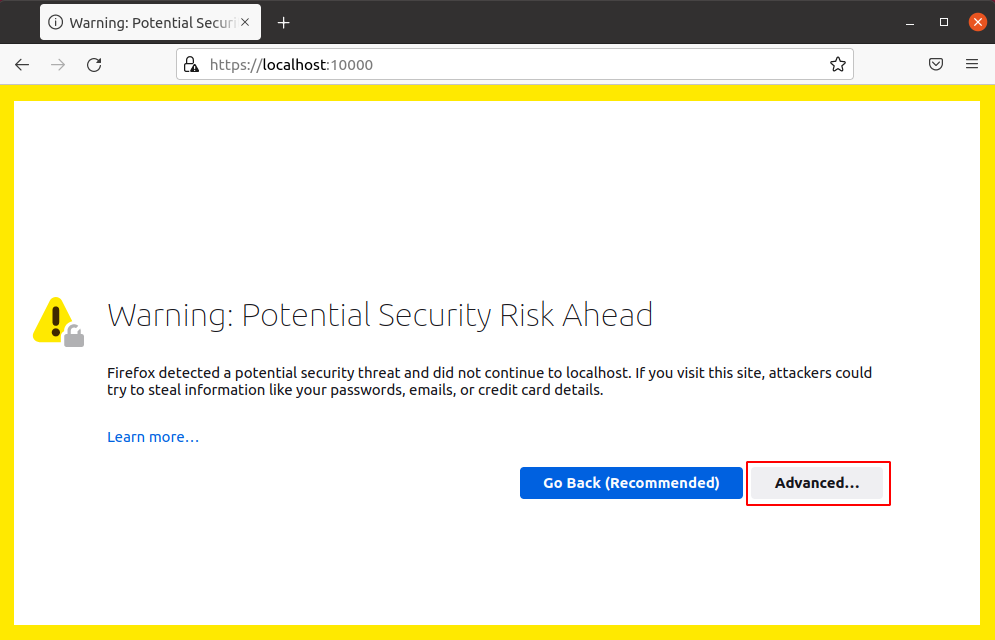
Accessing Ubuntu server in browser
Open the browser on any system and then use the given URL to access the Webmin interface.
https://server_ip_or_hostname:10000/
You may get a warning message like “Potential Security Risk Ahead” or “Your connection isn’t private “. This is because Webmin comes with a self-signed SSL certificate which is not validated by CA. Simply click on Advanced and then Accept the Risk and Continue.
This will bring you to the login page of Webmin.
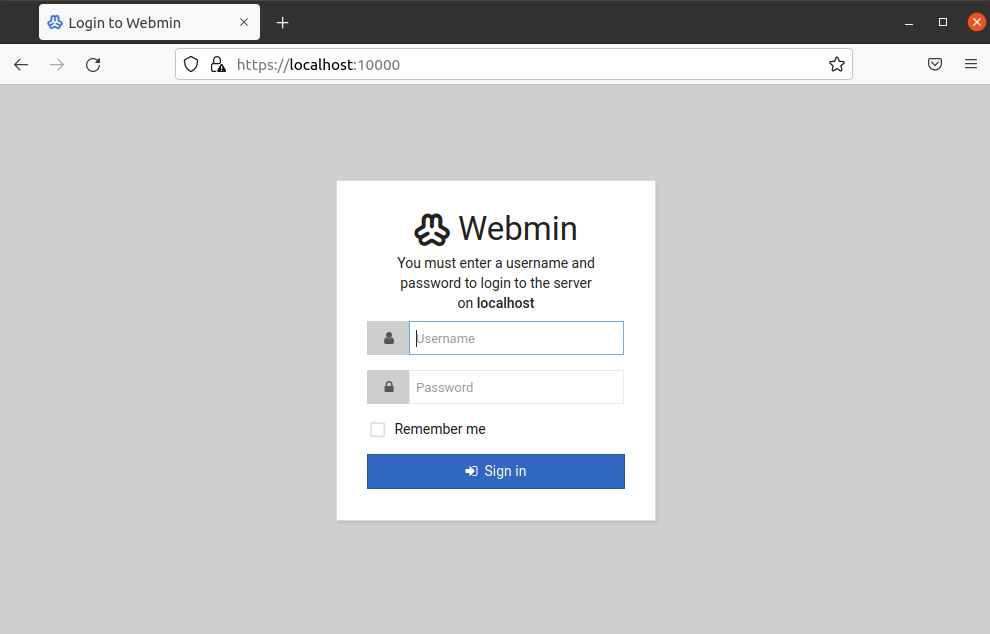
Enter your credentials to log in to your server.
This will redirect you to the Webmin dashboard as you can see in the image below. This will give you information such as CPU & RAM utilization with other system details such as hostname, Operating system, system uptime, etc.
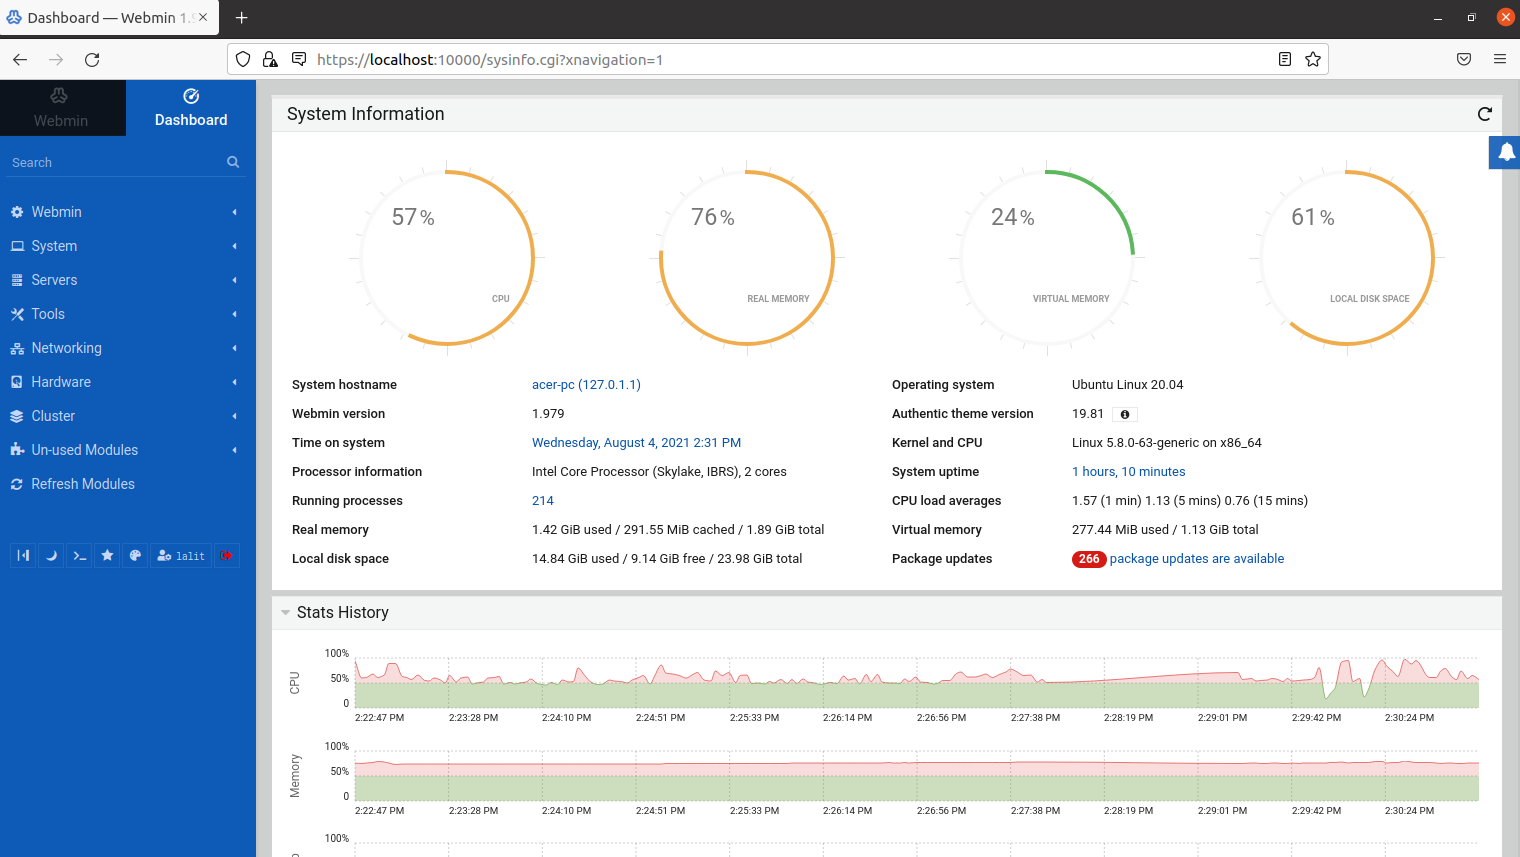
From here you can start managing your server by using a web browser.
Conclusion
I hope now you get a basic understanding of how to install and use Webmin in a Ubuntu system. Now if you have a query then write us in the comments below.