Vmware is one of the best virtualization software using which you can create multiple virtual machines and can install different operating systems on each of them. For example, you can install VMware Workstation Player on a Windows machine and create virtual machines to install different distributions of Linux and Windows operating systems.
It comes in two versions i.e. paid and free. The free version is available for non-commercial, personal, and home use.
In this article, I will discuss how to install VMware Workstation Player in Ubuntu.
System requirements
For a smooth installation and usage of VMware Workstations Player on a Ubuntu system, you should have the following –
- A recent 64-bit version of Ubuntu
- 4 GB RAM
- x86_64 CPU, with Intel VT-x/AMD-V/SVM
Installing VMware Workstation Player in a Ubuntu system
Follow the steps that are given below to install and use VMware Workstation Player in a Ubuntu system.
Install required dependencies
Use the following command to install the required build packages –
sudo apt install build-essentialDownload VMware Workstation Player package
To download VMware Workstation Player go to the download page on its official website. In the “Try Workstation 16.0 Player for Linux” section click on DOWNLOAD NOW.

Now a file with .bundle extension should start downloading.
Set required permissions on the downloaded file
You need to set executable permissions on the downloaded file, to make it executable open your terminal and run the following command –
chmod +x ~/Downloads/VMware-Player*
Use the correct path to your downloaded file to make it executable.
Installing VMware Workstation Player
Now it’s time to run the installer file to install VMware Workstation Player on your system. Open your terminal and execute the given command –
sudo ~/Downloads/VMware-Player*
This will extract and start installing packages once completed you will see the given message in your terminal.

Start the VMware Player in Ubuntu
Once the installation is successful search the Vmware in Ubuntu activities dashboard when you see the icon as given in the image below click on it to run the application.

Next, you will be prompted to accept the license select I accept the terms in the license agreement and click on Next.
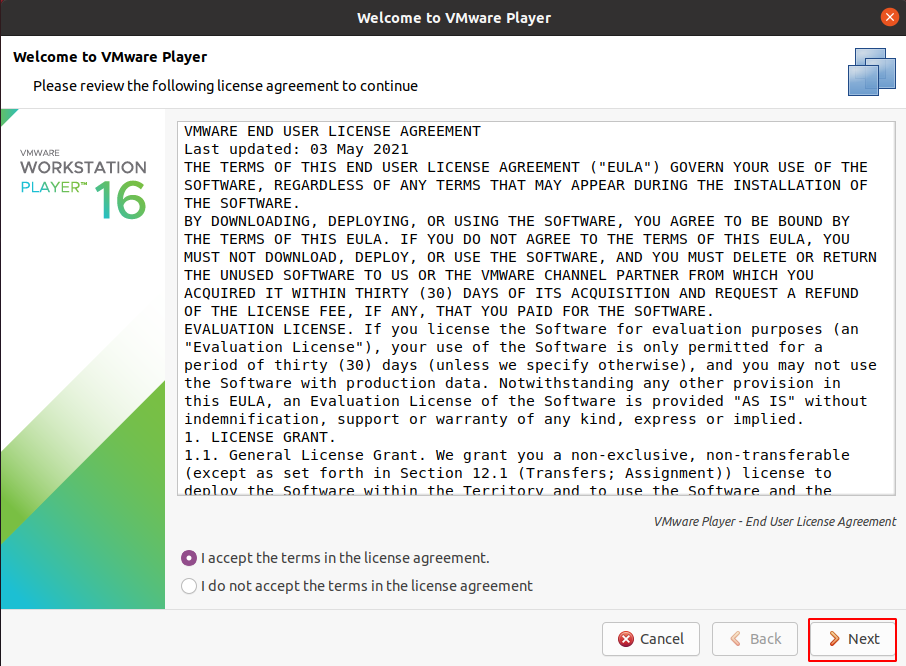
Next, you need to accept the license for the VMware OVF tool for Linux again select I accept the terms in the license agreement and click on Next.
In the next screen it will ask would you like to check for product updates on startup? Choose Yes and click on Next.
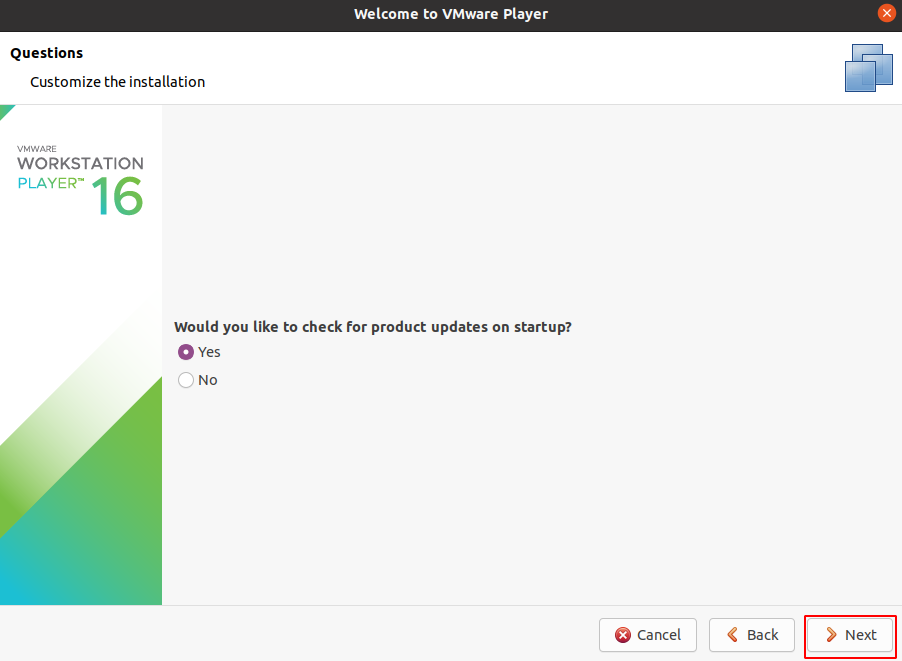
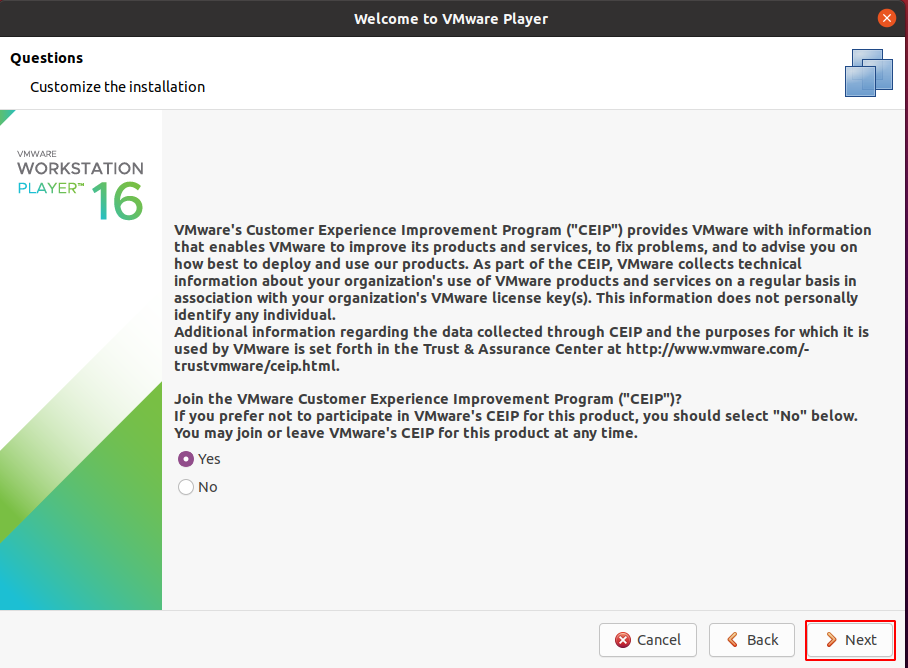
Next, if you want to join the VMware customer experience program then select Yes and then click on Next.
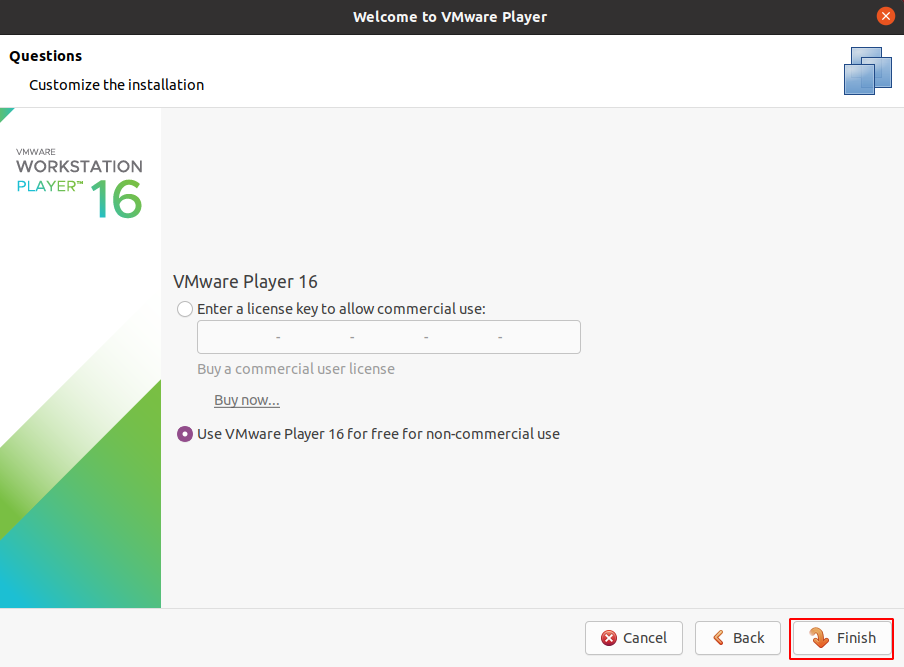
Finally, select Use VMware Player 16 for free for non-commercial use and click on Finish.
Now you can see the interface of this application in the given image.
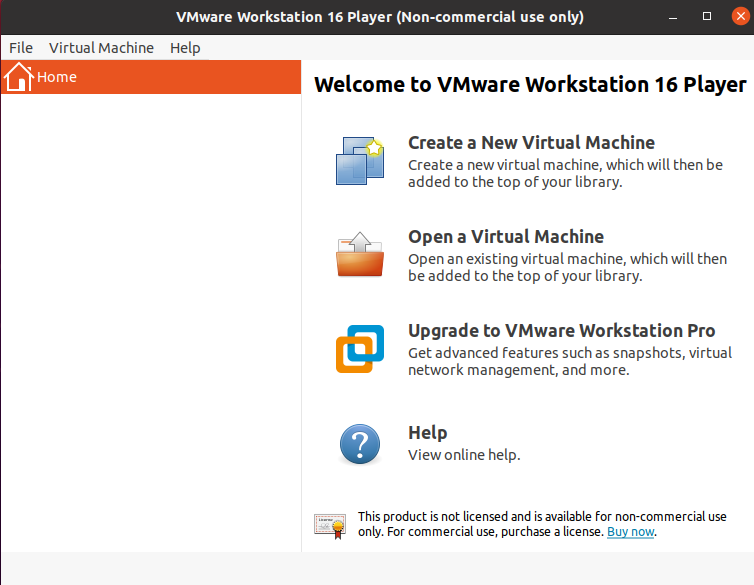
Here you can create a new virtual machine or open an existing one.
Conclusion
I hope this guide is helpful to you. Now if you have a query then write us in the comments below.
