
Thunar is a modern, lightweight file manager that comes as a default file manager in the Xfce desktop environment. It was designed to be faster and more responsive than other file managers available for Linux systems.
Thunar provides a clean and intuitive user interface you can extend its functionalities by using plugins.
In this article, I will discuss how to install and use the Thunar file manager in Ubuntu Linux.
Features of Thunar
The key features of the Thunar file manager are –
- Modern and lightweight
- Integrated terminal emulator
- Quick, bulk renaming of files or folders
- Designed to be faster and more responsive
- Supports third-party plugins for additional functionality
- Samba integration for easily sharing files
How to install Thunar in Ubuntu
Thunar file manager is available in the official repository of Ubuntu. You can install it either from Ubuntu Software or by using the apt package manager.
Before you install a package make sure the apt package repository is updated –
sudo apt updateNext, use the given command to install the Thunar using apt command –
sudo apt install thunarPress y and then enter if it asks for your confirmation.
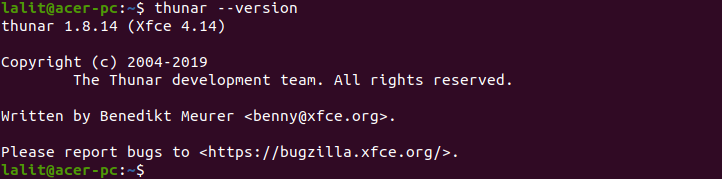
You can verify the installation of Thunar by using –
thunar --versionThis will display the version of the Thunar file manager installed on your system –
Accessing file and folder with Thunar file manager in Ubuntu
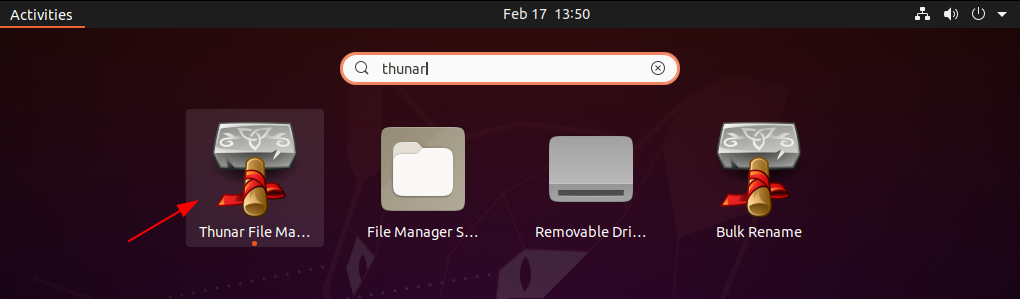
After installing the Thuanr file manager successfully, you can launch it from the Ubuntu activities dashboard. Search Thunar and click on its icon when appears as you can see in the image below.
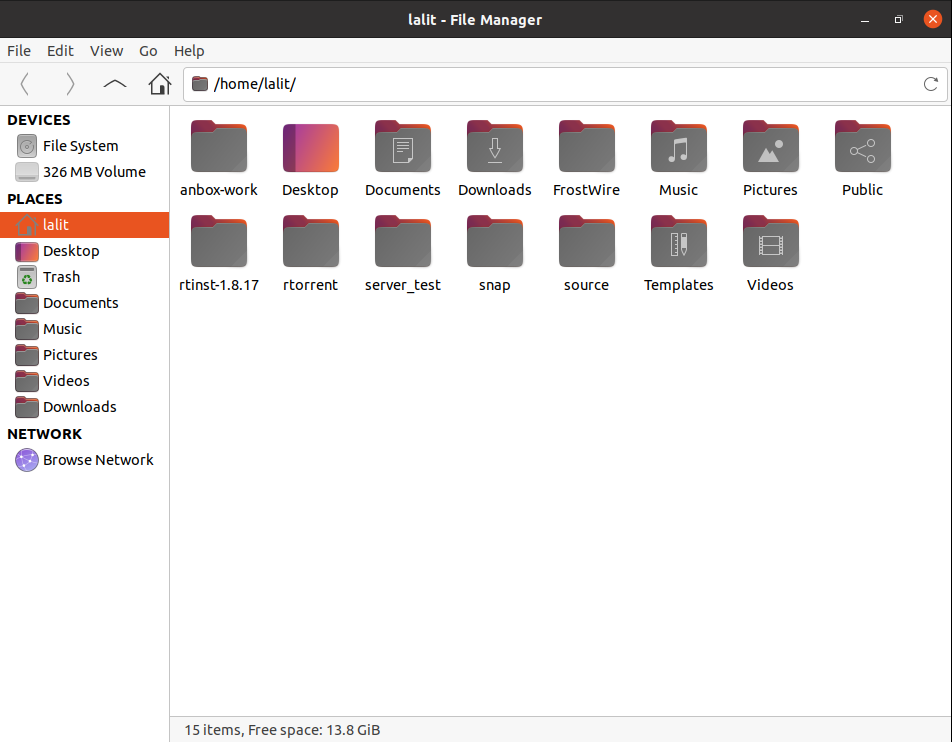
Alternatively, you can open Thunar file manager by running –
thunarNow you can see the home directory opened with the Thunar file manager in the given image –
Set Thunar file manager as default on Ubuntu
To display your current file manager use –
xdg-mime query default inode/directoryThis will display the given output –
![]()
Next, use the given command to make Thunar default file manager on your Ubuntu system –
xdg-mime default thunar.desktop inode/directoryConclusion
I hope you have successfully set up the Thuanr file manager on your Ubuntu system. Now if you have a query or feedback then write us in the comments below.