ScreenCloud is a free and open-source tool for taking and sharing screenshots on a system. It is cross-platform and can be installed on Linux, Windows, OR macOS. Using this tool you can easily take a screenshot, it will be automatically uploaded to the cloud or on the configured server.
The functionalities of ScreenCloud can be enhanced by using plugins.
In this article, I will discuss how to install and use ScreenCloud in Ubuntu.
Features of ScreenCloud screenshot tool
The key features of Screencloud are –
- Free and open source
- Cross-platform
- Fast and easy
- Built-in screenshot editor
- Automatic upload to cloud or configured server
- Plugin support
How to install ScreenCloud in Ubuntu
You can install the ScreenCloud screenshot tool in your Ubuntu system by using given two ways –
Installing ScreenCloud using Snap package
The ScreenCloud is available in the snap store you can download and install it on your system by using the given command –
sudo snap install screencloudInstalling ScreenCloud AppImage
The AppImage is a universal software package format that runs on most Linux systems without installation. To download the ScreenCloud AppImage package first go to its official download page and in the Linux section click on AppImage.
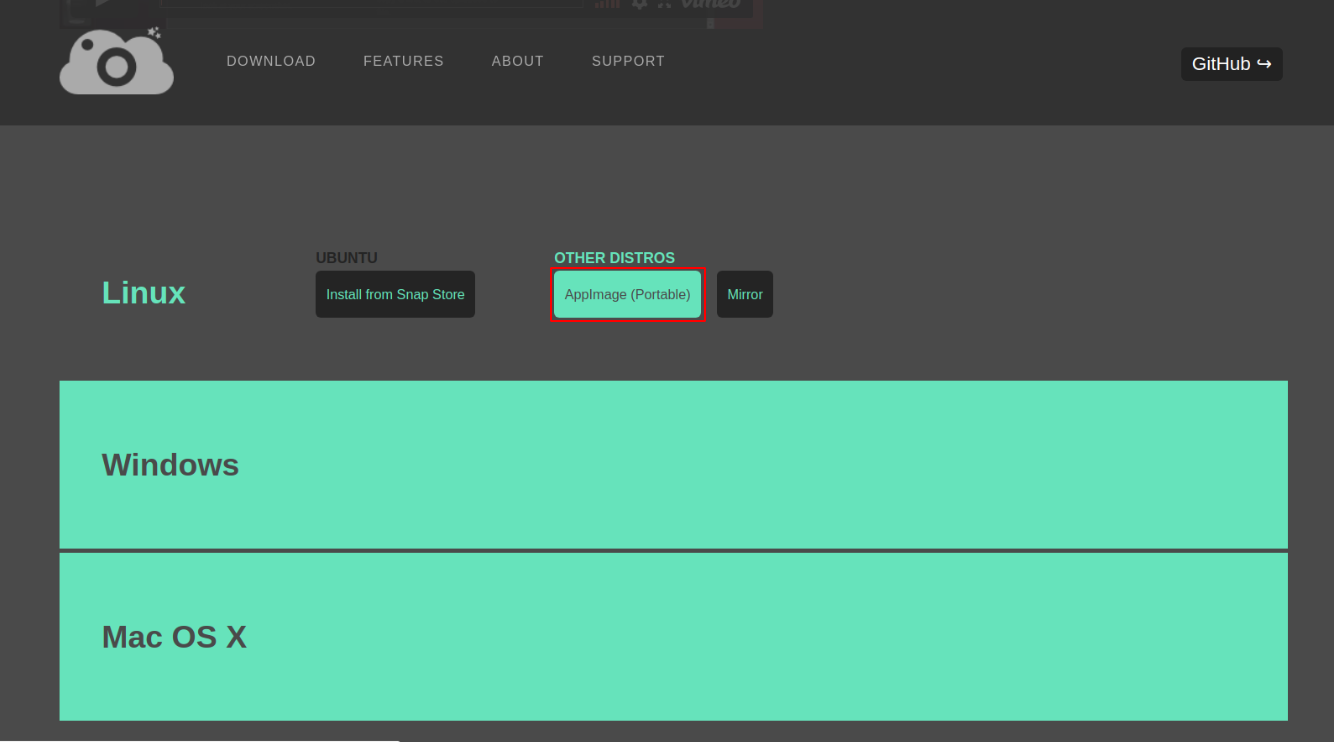
Once the AppImage package is downloaded make it executable using the given command –
sudo chmod +x Downloads/ScreenCloud-v1.5.3-x86_64.AppImageRun the application from your terminal by using –
./Downloads/ScreenCloud-v1.5.3-x86_64.AppImageUsing ScreenCloud in Ubuntu
Once the installation is successful you can launch the application by searching it in Ubuntu’s activities dashboard.

When first opens this will display ScreenCloud welcome page, here click on Next.
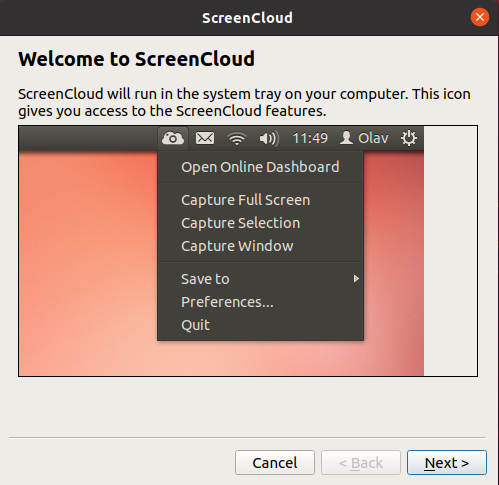
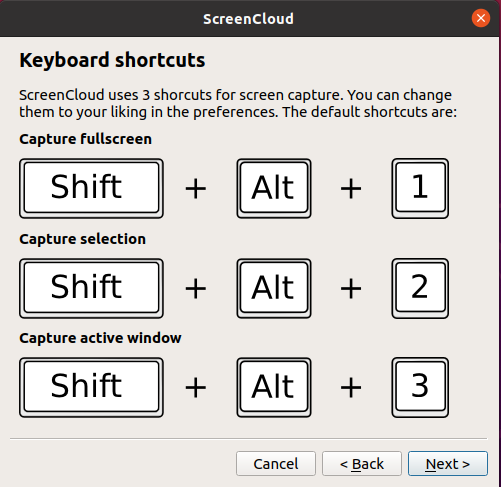
In the next window, it will display some shortcuts again click on Next.
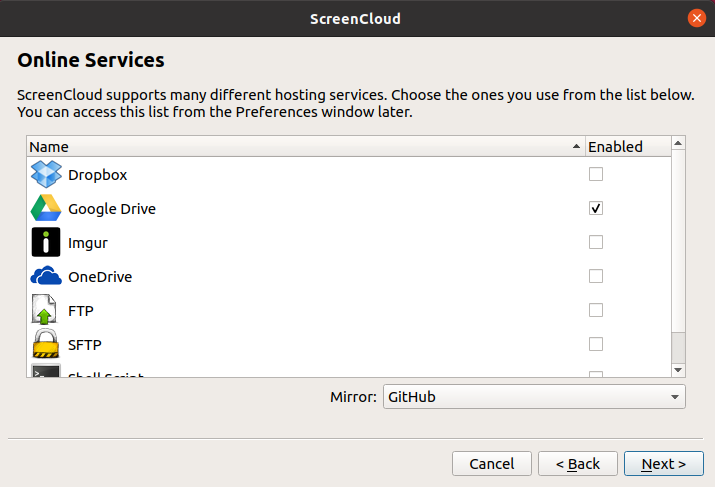
Now choose one or more cloud services and click on Next to enable them.
Finally, click on Finish to complete the setup.
To take a screenshot, use one of the key combinations –
Shift + Alt + 1 – Capture fullscreen
Shift + Alt + 2 – Select and capture a specific area on your screen
Shift + Alt + 3 – Capture current active window
Once the screenshot is captured you will see the given window to save it on your local or remote system.
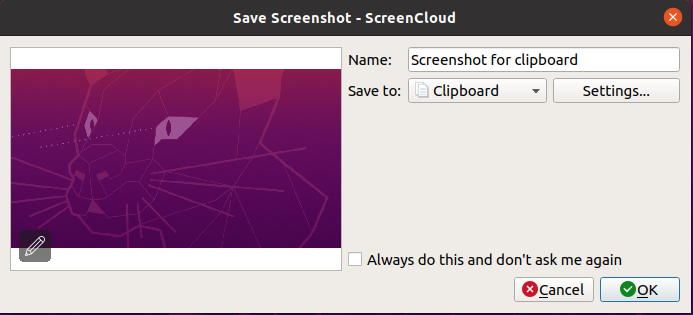
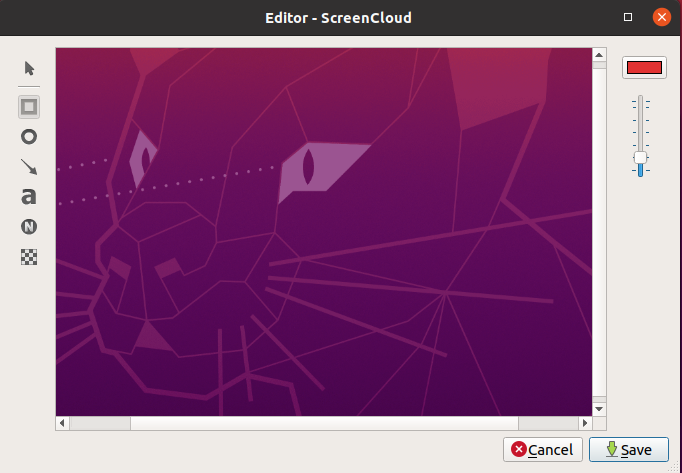
If you want to edit the captured image then click on the image, it will now open with the built-in ScreenCloud editor.
Remove ScreenCloud from Ubuntu
For any reason, if you want to remove ScreenCloud from your system then use the given command –
sudo snap remove screencloudConclusion
Ok, I hope you have successfully installed ScreenCloud on your Ubuntu system. Now if you have a query then write us in the comments below.
