Okular is a free, cross-platform document viewer developed by the KDE community. It is based on Qt and KDE framework libraries. It comes default in KDE desktops.
It is one of the best document viewers available for the Linux platform which supports various file formats including PDF, XPS, ePub, Postscript, CHM, etc.
In this article, I will discuss how to install Okular in Ubuntu Linux.
Features of Okular
The key features of Okular pdf viewer are –
- Table selection tool
- Supports multiple files formats
- Embedded 3 D models
- Copy image to clipboard
- Adding text boxes and stamps
How to install Okular in Ubuntu
There are multiple ways to install Okular in a Ubuntu system. You can use one of the given methods to install it on your system.
Installing Okular using Ubuntu Software
From Ubuntu activities dashboard search and open Ubuntu Software as given in the image below.

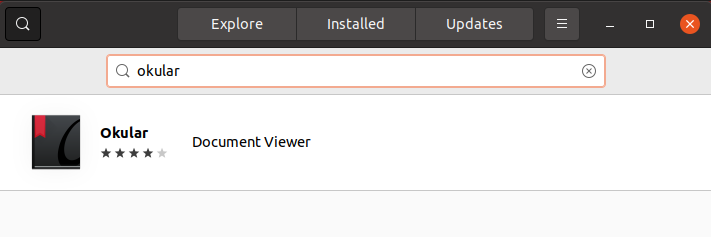
Now search Okular in Ubuntu Software and click on its icon when appears.

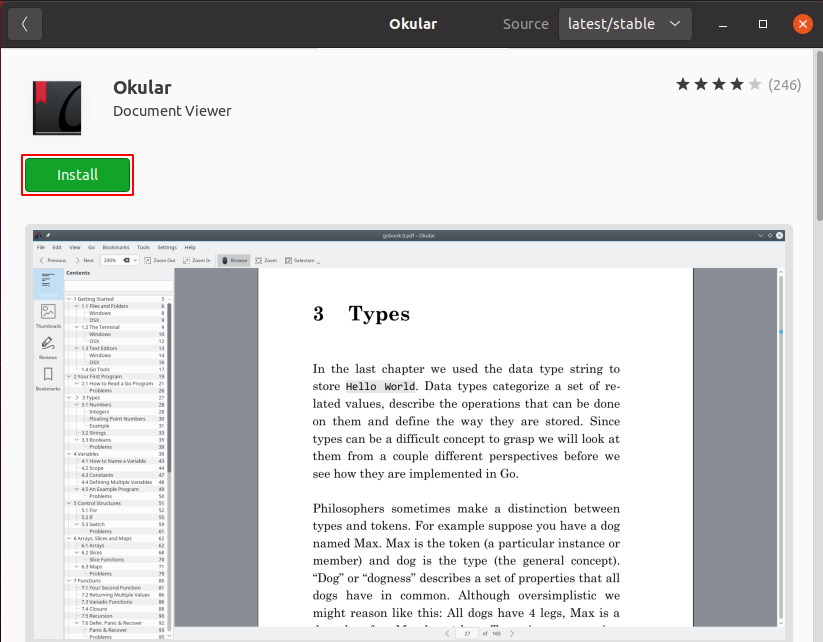
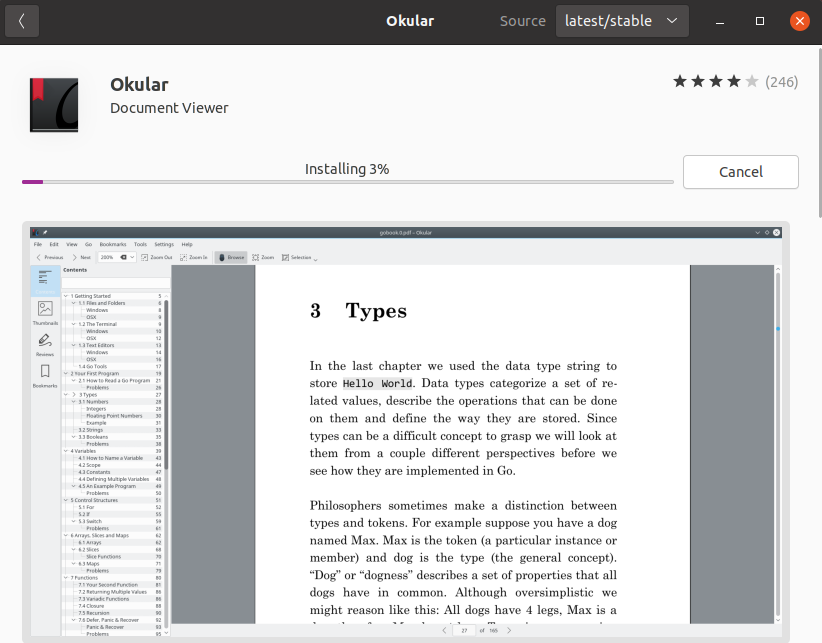
Next click on Install to install Okular document viewer.

This will ask you for authentication enter your password and click on Authenticate.

Installing Okular using the apt command
You can install Okular using the apt command also so before you run the command to install Okular on your system make sure to update the local package database on your system.
Use the following command to update the apt package index –
sudo apt updateNext, run the given command to install Okular on your system –
sudo apt install okularType y and then press the Enter if it asks for your confirmation.
You can verify the installation by using –
okular --versionInstalling Okular using Snap
Snap are applications packaged with all their dependencies required to run, you can install it on different distributions of Linux.
Okular is officially available on snap store you can install it by using the following command –
sudo snap install okularOpen Okular in Ubuntu
Once the installation of Okular is successful on your system you can launch it from the Ubuntu activities dashboard. Search Okular and click on the icon when it appears as given in the image below.

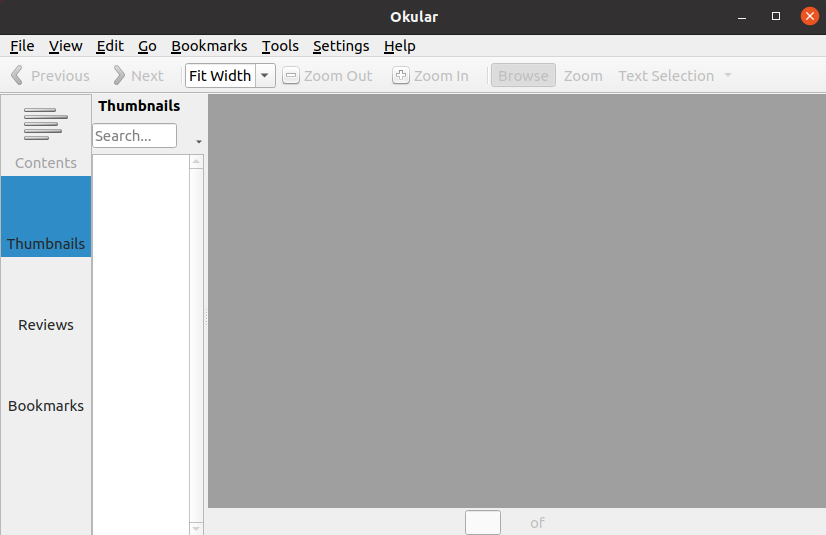
You can see the user interface of this application in the image below.

Now you can open your pdf documents by selecting the options above.
Conclusion
You have successfully installed Okular on your Ubuntu system. Now if you have a query then write us in the comments below.
