
Node.js is an open-source, cross-platform JavaScript runtime environment designed to run JavaScript code on the server-side. It lets developers use JavaScript for server-side scripting to produce dynamic webpage content these pages are produced before they get displayed on a web browser.
In this article, we will discuss different ways to install Node.js in Ubuntu.
Prerequisites
To complete this installation guide you will need to have the following.
- A system running Ubuntu, we will use Ubuntu 20.04 LTS
- Access to a user account with superuser privileges
Installing Node.js from Ubuntu’s default repository
At the time of writing this article, the current default version of Node.js in Ubuntu’s default repository is 10.19.0. You can use the given command to install it on your system.
Before you run the installation command, refresh your local package index by using –
sudo apt update
Now use the given command to install it –
sudo apt install nodejs
Press y and then enter if it asks for confirmation. The npm is the default package manager for Node.js you may also want to install it on your system. Use the following command to install it on your system.
sudo apt install npm -y
Now you can verify the Node.js installation by using the given command-
nodejs -v
This will display the version of install installed Node.js
![]()
Installing Node.js using NVM
You can also use NVM or Node Version Manager to install Node.js on Ubuntu. This allows you to install and maintain different versions of Node.js and associated packages.
Now install the nvm by using the given command in your terminal –
curl -o- https://raw.githubusercontent.com/nvm-sh/nvm/v0.35.3/install.sh | bash
Next, use the given command to source the .bashrc file –
source ~/.bashrc
You can verify the nvm installation by using –
nvm --version
This will display the nvm version –
![]()
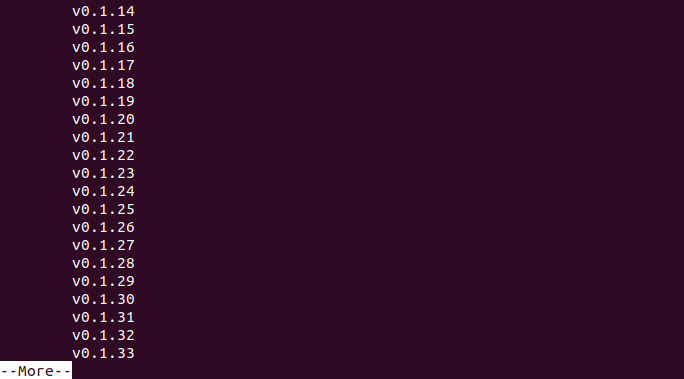
Use the given nvm command to display the available Node.js versions –
nvm list-remote | more
This will fetch and display the list of available versions you can scroll and see the output using the enter key.
You can see the list of nvm commands by entering nvm in your terminal.
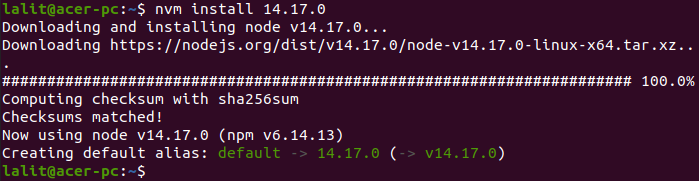
To install a custom version of Node.js let’s say Node.js v14.17.0 which is the latest LTS released version, use –
nvm install 14.17.0
This will start the downloading and installation process.
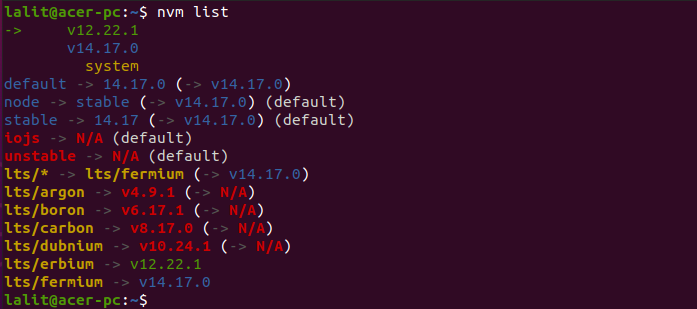
You can check different versions of Node.js installed on your system by using –
nvm list
You can switch between the installed version with the given command –
nvm use 12.22.1
When command executes successfully you will see –
![]()
Installing Node.js using NodeSource PPA
Another way to install Node.js on Ubuntu is by using NodeSource PPA. It is maintained by a company i.e. NodeSource. It provides different versions of Node.js for installation.
Before you install the Node.js from this method you need to install NodeSource PPA. Use the following command to install it on your system.
curl -sL https://deb.nodesource.com/setup_14.x | sudo -E bash -
Next, use the given command to install Node.js on your system.
sudo apt install nodejs -y
This will download and install the latest stable version of Node.js with npm, So you need not install npm separately.
Again you can verify the Node.js installation using the given command.
nodejs -v
Conclusion
You can choose one of the given methods to install Node.js on Ubuntu. Now if you have a query then write us in the comments below.