KMail is a free and open-source email client which comes preinstalled on distributions using the KDE desktop environment. It is a part of Konnect, the default personal information manager in the KDE desktop.
It supports end-to-end encryption through OpenPGP.
In this article, I will discuss how to install and use KMail in Ubuntu.
Features of KMail email client
The key features of the KMail email client are –
- Free and opensource
- Nicely integrates with KDE applications
- Powerful search and filters options
- Supports PGP & S/MIME encryption
- Automatic spam filtering with SpamAssassin and Bogofilter
Installing KMail in Ubuntu
The KMail package is available in the default repository of Ubuntu so you can directly use the apt command to install it on your system.
First, use the following command to update the apt package repository –
sudo apt updateNext, run the given command to install KMail on your system –
sudo apt install kmailPress y and then enter if it asks for your confirmation.
You can verify the KMail installation by using –
kmail --versionUsing KMail in Ubuntu
Once the installation is completed you can launch KMail by searching it in the Ubuntu activities dashboard. Search KMail and click on its icon when appears as you can see in the image below.

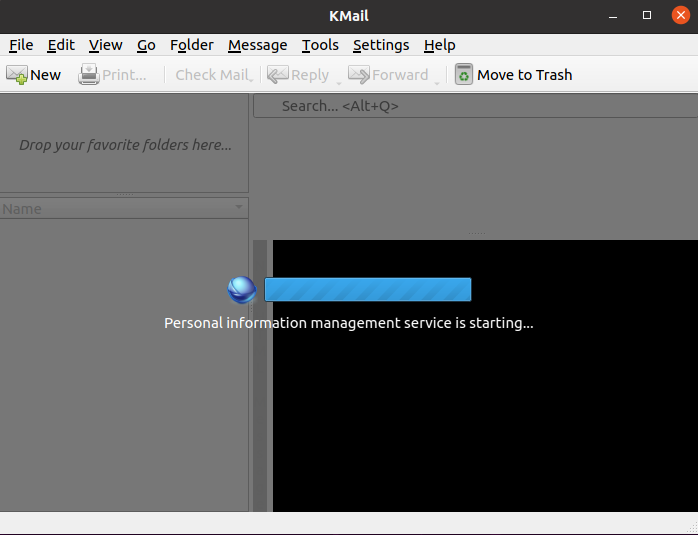
When first opens, this will start personal information management services, and once get started you will be asked to enter your personal details such as name, email, and password.

After your authentication is successful you will be able to use the KMail email client on your system to access, read and compose emails.
How to remove KMail from Ubuntu
For any reason, if you want to remove the KMail from your system then use the following commands in your terminal.
sudo apt remove kmail -yUse the given command to remove any unused dependencies –
sudo apt autoremoveConclusion
Ok, so you have successfully installed the KMail email client on your Ubuntu system. Now if you have a query then write us in the comments below.
