
Inkscape is a free, open-source, and feature-rich vector graphics editor. It supports vector formats including SVG, PDF, AI, and so many others. This software has a user-friendly interface, its toolbar is rather intuitive and can be customized. Also, it offers a great variety of filters and effects.
Using this application you can create cartoons, logos, typography, flowcharts, etc. The functionality of Inkscape can be extended through add-ons.
In this article, I will discuss how to install Inkscape in a Ubuntu system.
Features of Inkscape
The key features of Inkscape are –
- Free and opensource
- Multiple tools for object creation
- Has text editor
- Mulitple tools for object manipulation
- Supports various vector image formats
- It supports image tracing
How to install Inkscape in Ubuntu
There are different ways of installing Inkscape in a Ubuntu system. You can use one of the given methods to install Inkscape on your system.
Installing Inkscape using the official PPA repository
To install Inkscape using this method in a system first you need to add its PPA repository.
So first use the following command to add the Inkscape PPA repository on your system –
sudo add-apt-repository ppa:inkscape.dev/stableNext, refresh the package repository on your system by using –
sudo apt updateFinally, use the given command to install LightZone on your system –
sudo apt install inkscapePress y and then enter when it asks for your confirmation.
Installing Inkscape using AppImage
The AppImage is a universal software package format that runs on most Linux systems without installation.
To download the Inkscape AppImage package execute the following command in your terminal –
wget https://media.inkscape.org/dl/resources/file/Inkscape-3bf5ae0-x86_64.AppImageOnce the AppImage package is downloaded make it executable using the given command –
sudo chmod u+x Inkscape-3bf5ae0-x86_64.AppImageRun the application from your terminal by using –
./Inkscape-3bf5ae0-x86_64.AppImageLaunch Inkscape application in Ubuntu
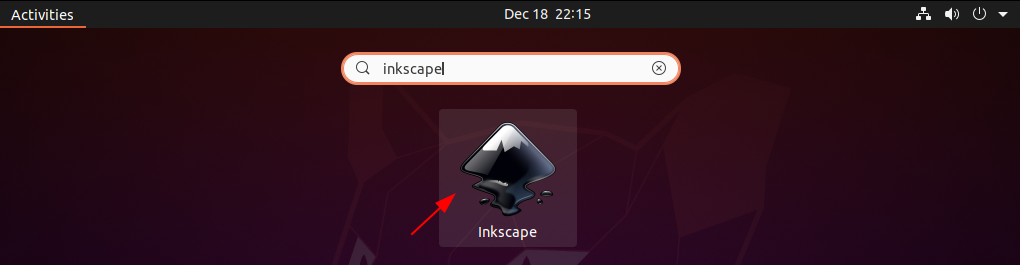
Once the installation is completed, you can launch it by searching Inkscape in the Ubuntu activities dashboard as you can see in the image below.
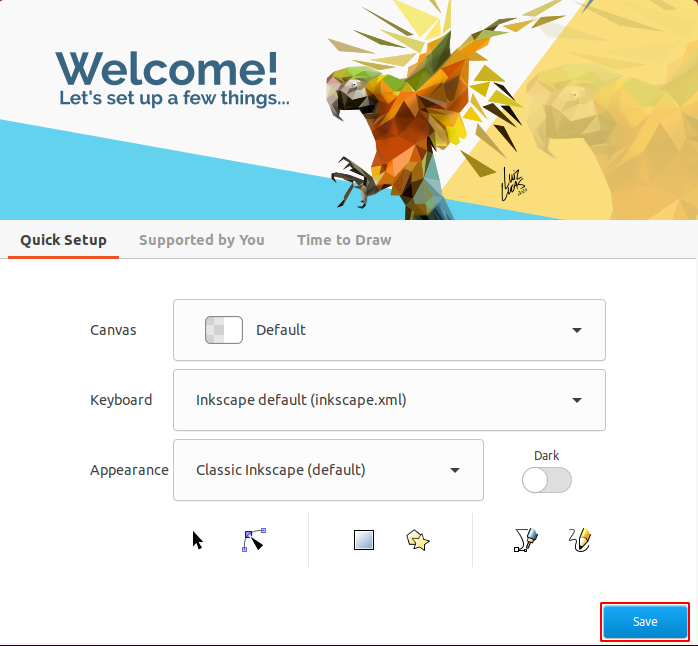
First, you will see the Inkscape welcome window. Here you can customize your default settings click on Save to proceed.
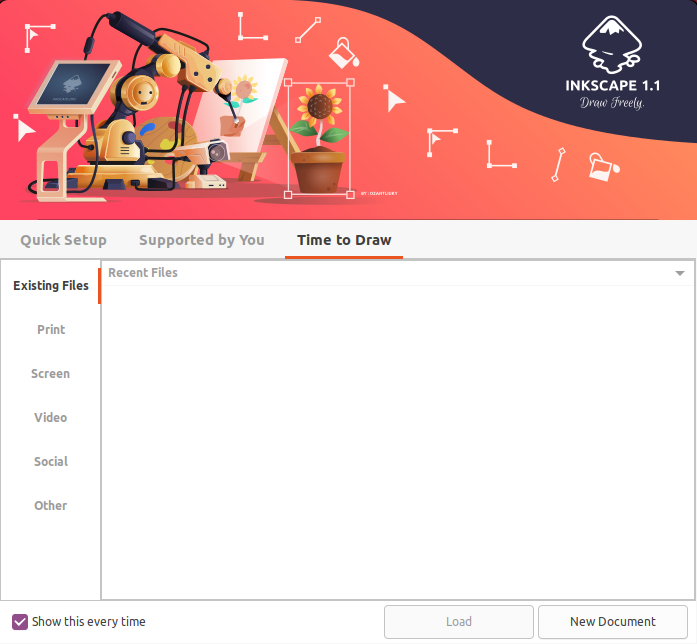
In the next window click on Thanks. If you see the given window click on New Document.
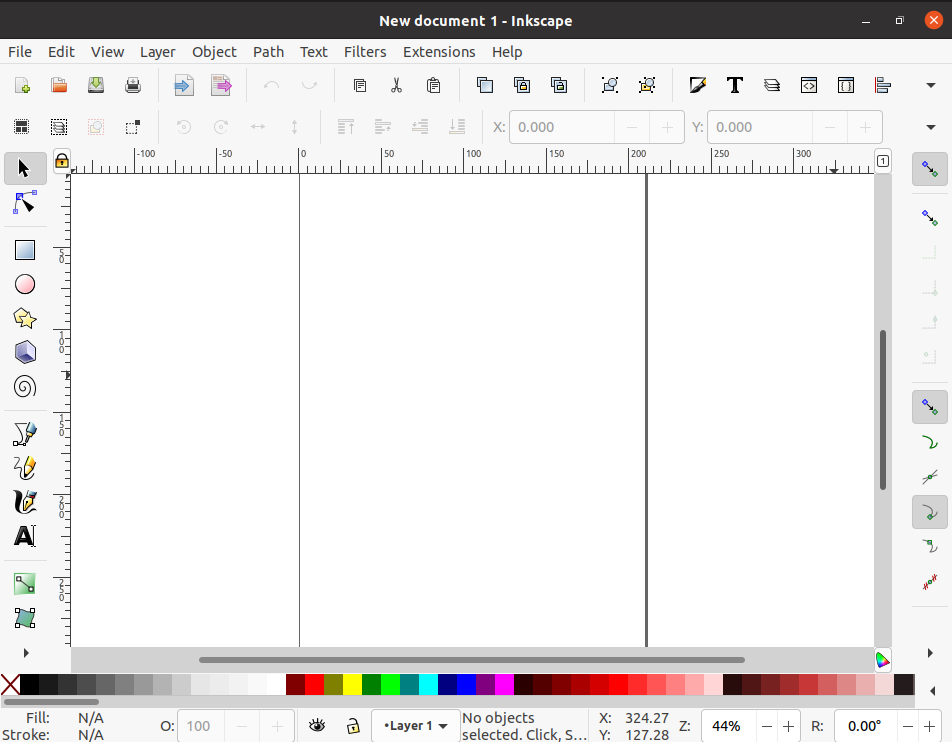
Next, you will see Inkscape’s user interface as given in the image below.
Conclusion
So you have successfully installed the Inkscape on your Ubuntu system. Now if you have a query or feedback then write us in the comments below.