
ImageMagick is a free, open-source, and cross-platform application that is used to create, convert and modify images. It was developed by John Cristy in 1987.
ImageMagick utilizes multiple computational threads to increase the performance and support over 200 image file formats.
In this article, I will discuss how to install and use ImageMagick in Fedora Linux.
Features of ImageMagick
Some key features of ImageMagick are given below.
- Supports image file format conversion
- You can easily resize, rotate, crop, flip and trim an image.
- You can add shapes and text to an image.
- You can decorate an image by adding a border and frame to it.
- You add special effects such as blur, sharpen, tint, etc.
- You can create a gif animation file.
- Extract features, describe shapes, and recognize patterns in images.
- Supports processing of large-size images which is in Mega, Giga, or Tera pixels.
How to install ImageMagick on Fedora
ImageMagick in Fedora can be installed in several different ways. You can follow one of the given methods to install it on your system.
Method 1: Installing ImageMagick from the Fedora repository
ImageMagick is available in the default repository of Fedora. You can install it by executing the given command in your terminal.
sudo dnf install ImageMagick -yIf you want to install its development branch of ImageMagick then use –
sudo dnf install ImageMagick-devel -yUse the following command to check the version of the installed package –
convert --version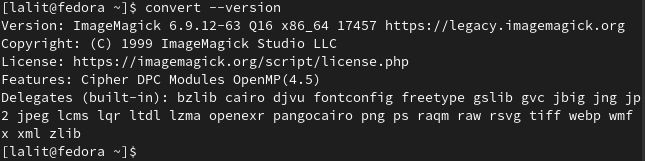
Method 2: Installing ImageMagick from the source
You need to download a few packages before you install ImageMagick on your Fedora system.
First, run the given command to update the package repository –
sudo dnf update -yNext, install the required dependencies –
sudo dnf install make automake cmake gcc libtool-ltdl-devel -yDownload the ImageMagick source file from the download page on its official website.
OR use the given command in your terminal to download it.
wget https://imagemagick.org/download/ImageMagick.tar.gzAfter it gets downloaded extract its content by using –
tar xvzf ImageMagick.tar.gzMove to extracted ImageMagick directory by using –
cd ImageMagick-7.1.0-4/Use the given command to configure and compile the ImageMagick –
./configureNext, use the given command to invoke the execution of the make file –
makeOnce the compilation of ImageMagick is done, use the following command to install the ImageMagick –
sudo make installNow configure the dynamic linker run-time bindings by using –
sudo ldconfig /usr/local/libAgain you can verify the installation by using –
magick --versionYou can find the detailed ImageMagick command-line tools on its official website where you can also learn the usage of ImageMagick.
Conclusion
By following this guide I hope you have successfully installed ImageMagick on your Fedora system.
Now if you have a query then write us in the comments below.