The IDLE or Integrated Development and Learning Environment is the code editor that comes default with python. It has features like an interactive interpreter, code auto-completion, syntax highlighting, basic debugger, etc. This is a lightweight IDE that is good for learning or small projects.
In this article, I will discuss how to install IDLE Python IDE in Ubuntu.
Prerequisites
To follow this guide you should have the following.
- A system running a recent version of Ubuntu
- Access to a user account that has superuser privileges
- The latest version of Python3 installed
How to install IDLE
Usually Python and IDLE come preinstalled in Ubuntu. However, if you have a minimal installation of Ubuntu that lacks IDLE then you can install it by following the given steps.
Before you install IDLE first update your system’s repository index through the following command –
sudo apt update && sudo apt upgrade -y
Next, run the given command if you don’t have Python installed on your system –
sudo apt install python3 -y
This will install the latest release of Python 3 on your system.
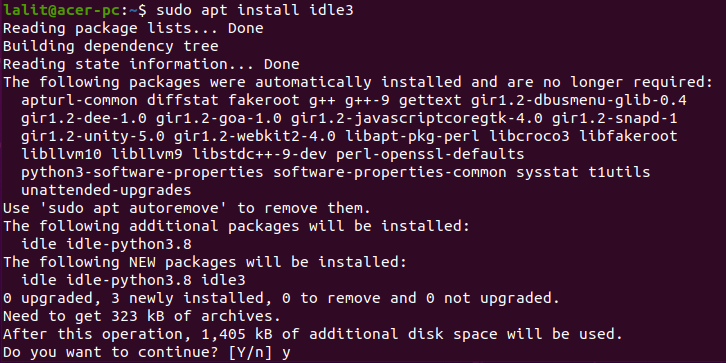
Finally use the following command to install the IDLE in your system –
sudo apt install idle3
If asked for your confirmation press y and then enter.

Launch IDLE Python IDE
Once the installation is complete you can launch IDLE either from the activities dashboard or terminal. Search idle in activities dashboard now when an icon appears as given in the image below click on it.

OR run the following command if you want to launch idle from the terminal.
idle
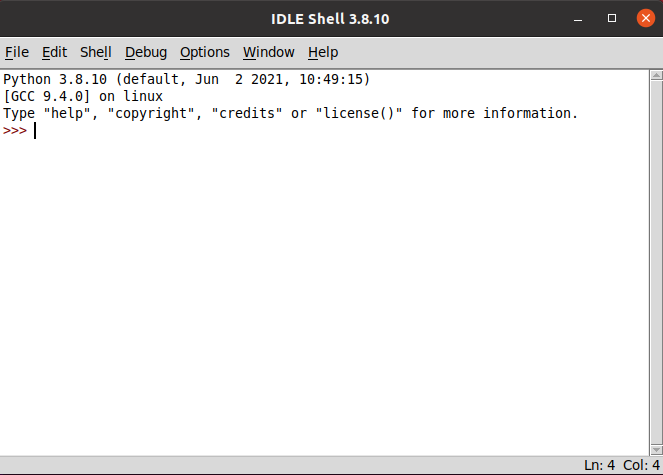
This will open the IDLE application on your system.

You can start writing your code here.
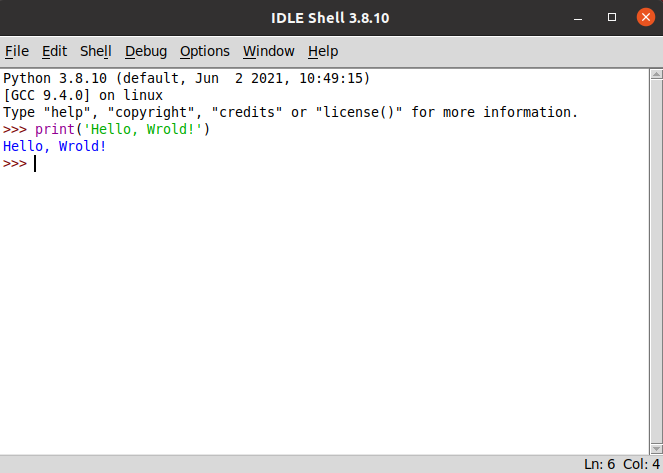
For example to print the ‘Hello, World!’ use the following code and press enter to execute it.

Conclusion
You have successfully installed IDLE in your Ubuntu system. You can start writing your python code using it.
Now if you have a query then write us in the comments below.
