
GNS3 (Graphical Network Simulator 3) is an open-source visual network simulation tool that is used to design simple or complex topologies and test them in a virtual environment.
By using the simulated command-line interface you can configure virtual computers, routers, switches, and other networking devices. This software is used by many professionals for learning and implementing networking concepts.
In this article, I will discuss how to install GNS3 in Ubuntu.
Features of GNS3
Some features of GNS3 are given below.
- You can design high quality and complex network topologies
- It emulates many Cisco routers and PIX firewalls
- Supports capture of packets using Wireshark
- It is fully free and Open Source
- It supports all VIRL images including IOSv, IOSL2, CSR1000v, etc
- Support for multiple switching options
- It supports both free and paid hypervisors
- GNS3 has native support for Linux that means it doesn’t require any additional virtualization software
How to install GNS3 in Ubuntu
The installation of GNS3 is available through PPA. Run the given command to add and PPA repository and install the GNS3.
sudo add-apt-repository ppa:gns3/ppa
Next, run the command to refresh the local package repository.
sudo apt update
Finally, run the given command to install GNS3 on your system –
sudo apt install gns3-gui gns3-server
During the installation, it will ask you for a few settings.
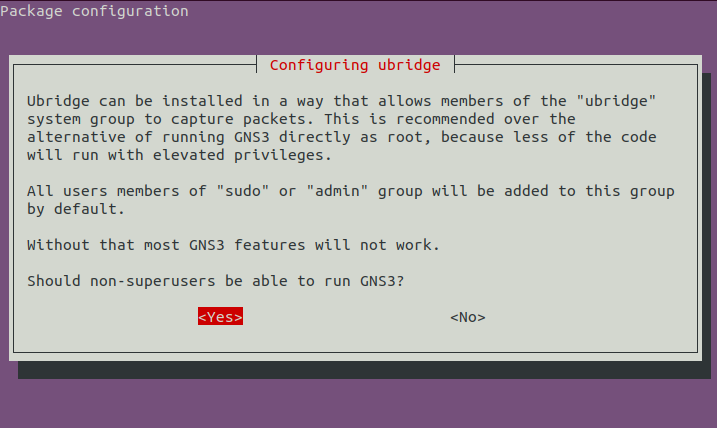
Allow GNS3 for non-root users
If you want you can allow non-root users to use GNS3. When the following window is displayed select Yes and then press enter.
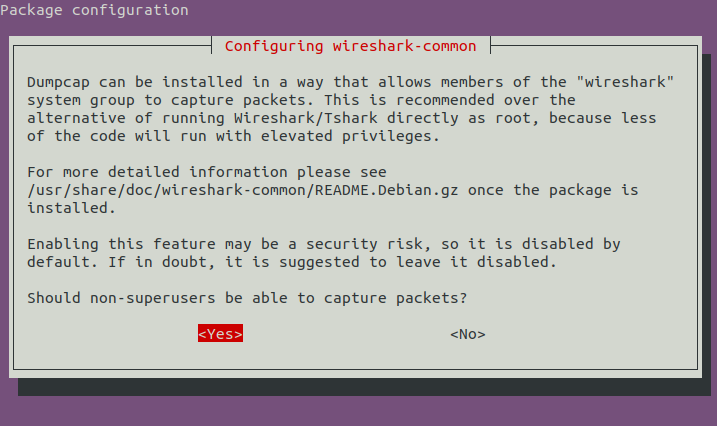
Allow non-root users to capture packets
Next, it will ask you that do you want to allow non-root users to capture packets if you want to allow select Yes and press enter.
Add IOU support
IOU or Cisco IOS over Unix is a tool for simulating the ASICs in Cisco Switches. After enabling it on your system you will be able to work with Layer 2 switching in the virtual environment.
sudo dpkg --add-architecture i386
Refresh the package repository on your system by using –
sudo apt update
Run the given command to add IOU support in GNS3 –
sudo apt install gns3-iou -y
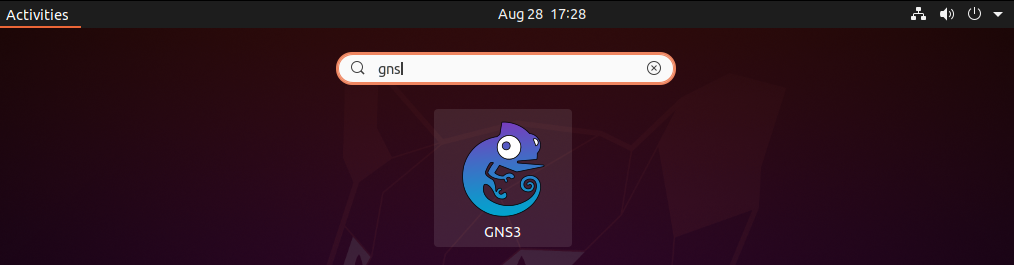
Start the GNS3 in Ubuntu
Once it gets successfully installed on your system, you can launch it by searching GNS3 and clicking on the icon that appears in the activity dashboard as you can see in the given image.
Finally, this will launch the GNS3 on your system.
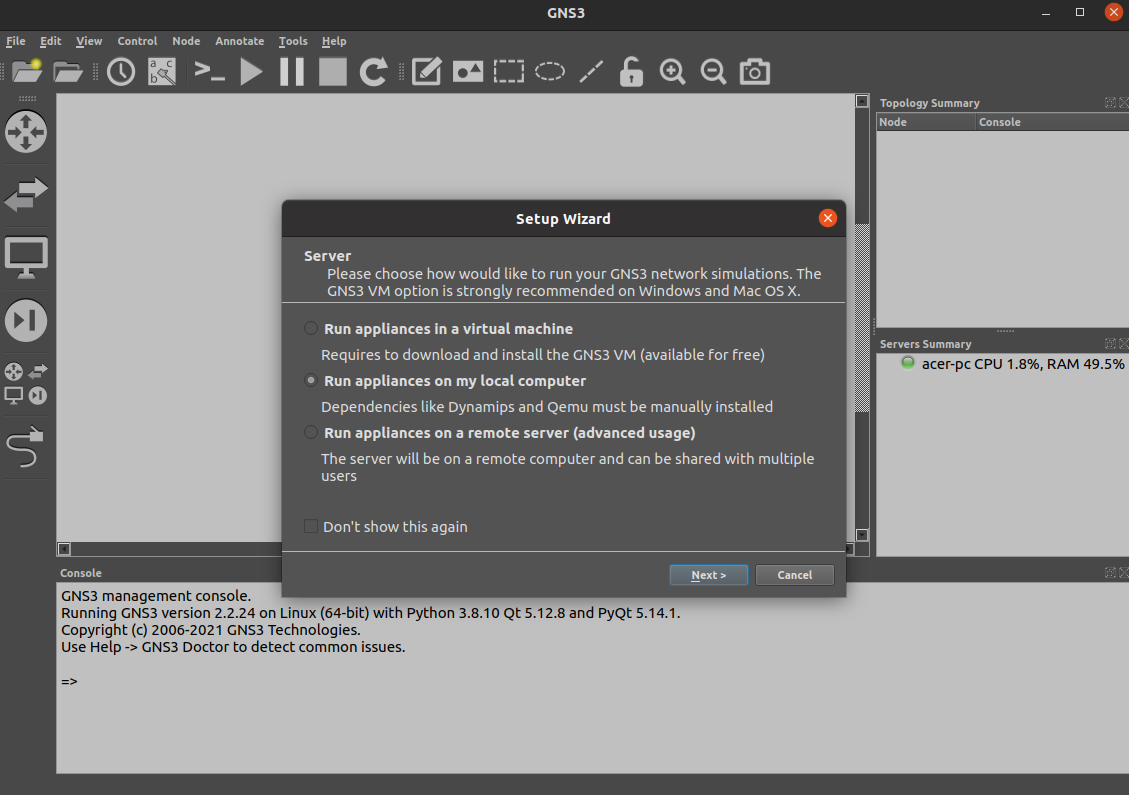
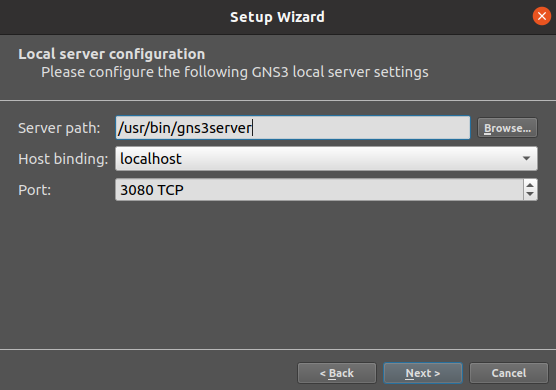
Here you will see a small setup wizard window now keep it to Run appliances on my local computer and click on the Next. In the next screen, you will have to set up local server settings.
Once you are done with the settings click on Next.
Next, you will see the local server status.
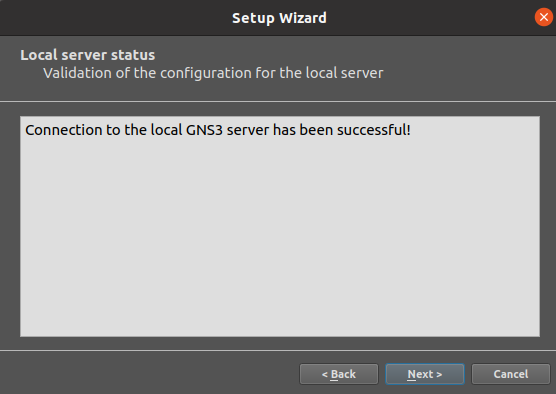
Finally, it will display the summary of server configuration click on Finish to complete the setup wizard.

Now you can start using GNS3 for creating virtual networks and testing them.
Conclusion
You have successfully set up GNS3 on your system. Now if you have a query then write us in the comments below.