
Fotoxx is a free and open-source program for image editing and collection management. This program is intended for serious photographers to meet their needs while remaining fast and easy to use.
It offers a great range of tools that can be used to retouch photos in various ways. It can help you to adjust brightness, color intensity, remove the red-eye effect and whiteness, reduce noise, and a lot more things.
In this article, we are going to discuss the steps on how to install and use the Fotoxx image editor in Ubuntu Linux.
Features of Fotoxx image editor
The key features of Fotoxx are –
- Simple and easy to use
- You can retouch photos in several ways
- Supports multiple image formats
- You can combine multiple images together
- Has HDR capabilities
- A lot of correction tools
How to install Fotoxx on Ubuntu
There are multiple ways of installing Fotoxx on Ubuntu. You can follow one of the given methods to install it on your system.
Method 1: Installing Fotoxx using PPA repository
To install Fotoxx from this method first you need to add its PPA repository to your system.
Use the following command to add it to your system –
sudo apt-add-repository ppa:dhor/myway Refresh the apt package index –
sudo apt updateFinally, use the given command to install the Fotoxx on your system-
sudo apt install fotoxxType y and then press Enter to continue with the installation process.
Method 2: Installing Fotoxx using AppImage
The AppImage is a universal software package format that runs on most Linux systems without installation.
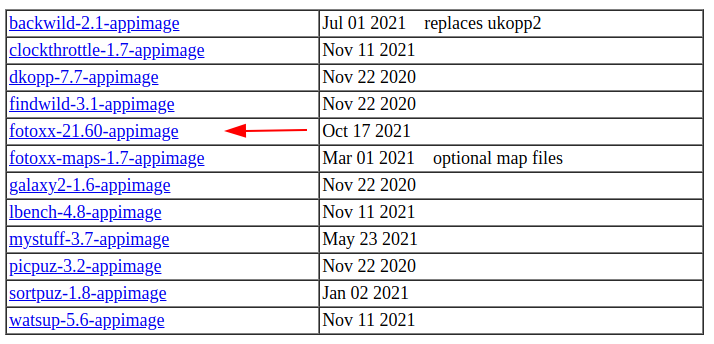
To download the Fotoxx AppImage package first go to the download page on its official website and then in the AppImage section click on fotoxx-21.60-appimage as you can see in the below image.
Once the AppImage package is downloaded make it executable using the given command –
sudo chmod +x Downloads/fotoxx-21.60-appimageRun the application from your terminal by using –
./Downloads/fotoxx-21.60-appimageApart from these two, you can also install Fotoxx on your Ubuntu system from its source, for that first you need to download the source code of Fotoxx and then build and install it on your system.
Launch Fotoxx application in Ubuntu
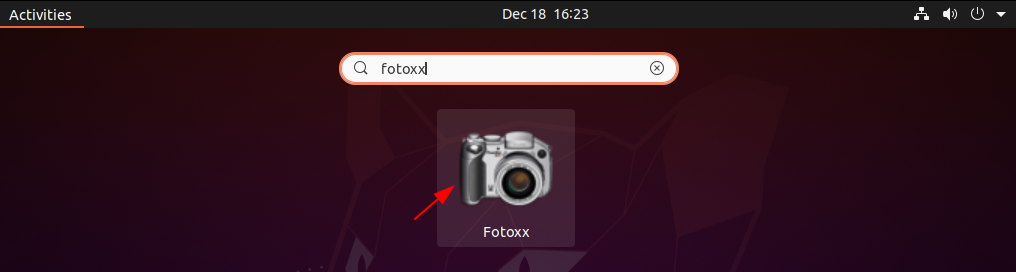
Once the installation is completed, you can launch it by searching fotoxx in the Ubuntu activities dashboard as you can see in the image below.
Now you will see the given window.
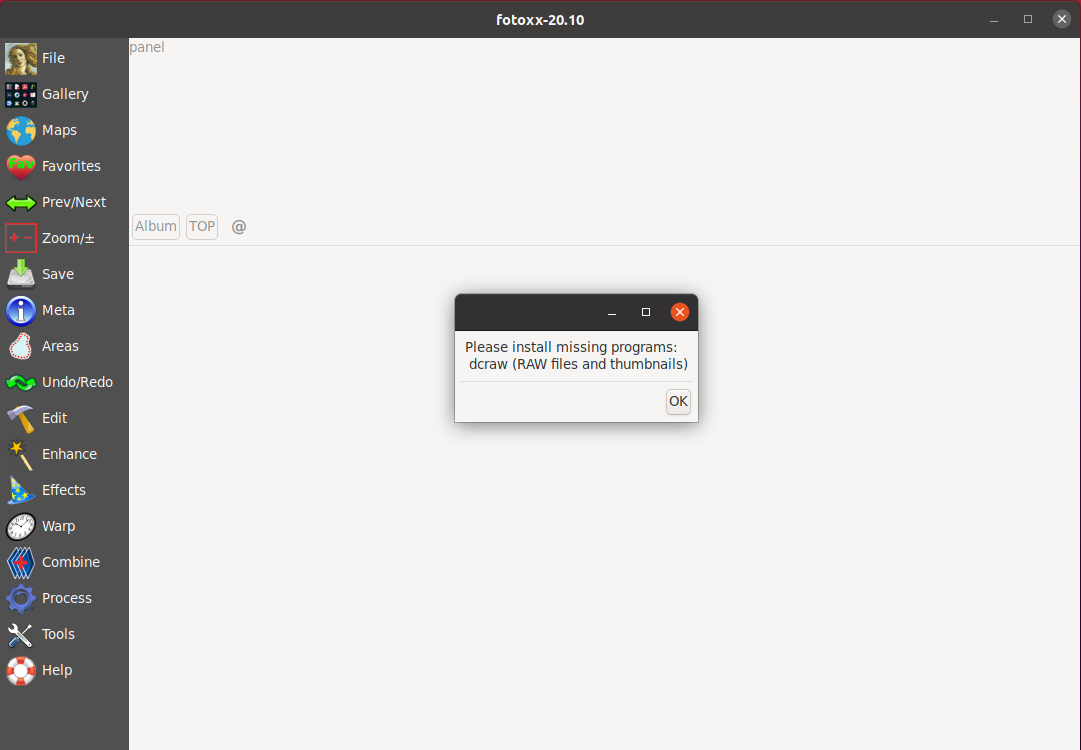
Now if display a message that “please install missing programs:dcraw(RAW files and thumbnails)” then use the following command to install the dcraw program.
sudo apt install dcraw -yNow reopen the Fotoxx, it will show you a window to index image files click on Proceed to continue.
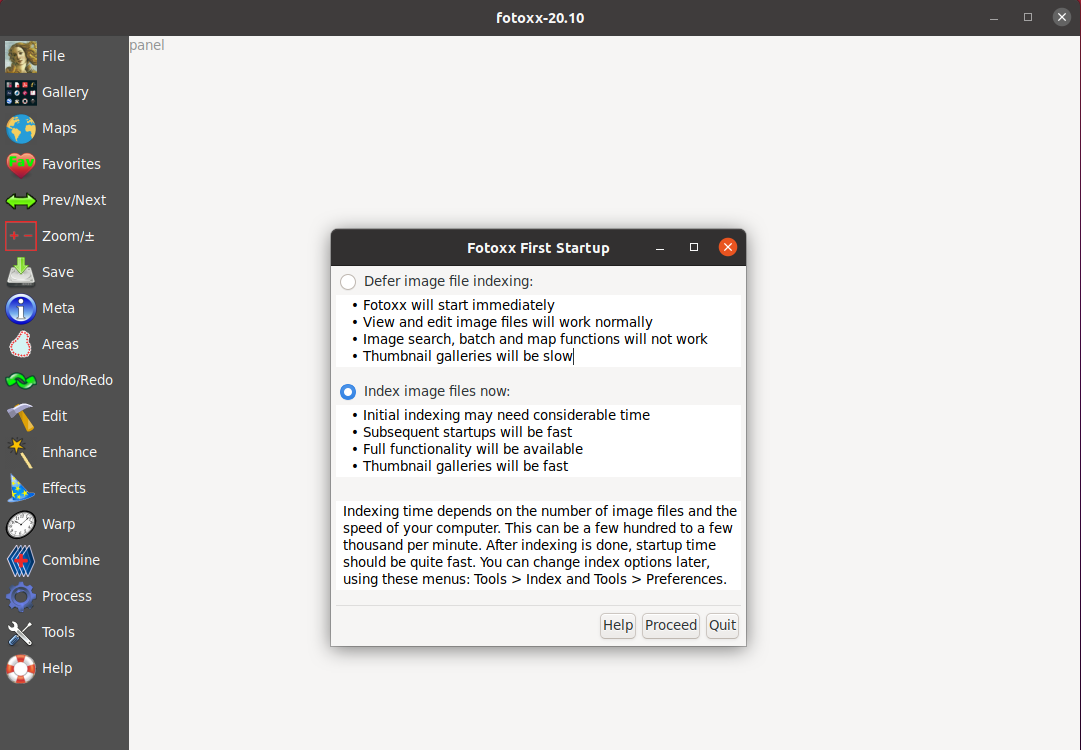
This will start building index, once completed you will see a done message. Now you can open an image an start editing it by using the given tools.

Conclusion
So you have successfully installed the Fotoxx photo editing tool on your Ubuntu system. Now if you have a query or feedback then write us in the comments below.