
DigiKam (by KDE) is free and open-source professional photo management and tag editing application. Using this application you can edit RAW files, metadata, and retouch several photos at the same time in many ways.
DigiKam offers tutorials for beginners as well as other users to learn more about the functionality of the program.
In this article, we are going to discuss how to install and use the DigiKam application in Ubuntu Linux.
Features of DigiKam
The key features of DigiKam are –
- Free and opensource
- Efficient photo ending workflow
- Can recognize faces
- Support most of the image formats
- You can view and edit metadata
- Can easily handle a large collection of files
How to install DigiKam in Ubuntu
There are several methods to install Digikam on a Ubuntu system, you can use one of them to install it on your own system.
Installing DigiKam from Ubuntu repository
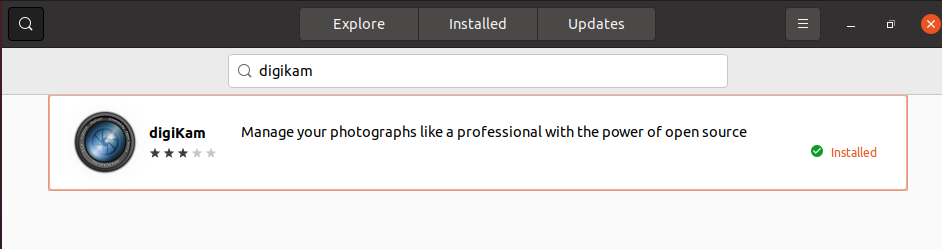
DigiKam is available in the default repository of Ubuntu you can download and install it from the Ubuntu Software as given in the image below.
OR you can use the following command in your terminal to install it on your system –
sudo apt install digikamPress y and then Enter when it asks for your confirmation.
Installing DigiKam using AppImage
AppImage is a universal software package format that runs on most Linux systems without installation.
To download the DigiKam AppImage package first run the given command in your terminal –
wget https://mirrors.ustc.edu.cn/kde/stable/digikam/7.4.0/digiKam-7.4.0-x86-64.appimageNote- At the time of writing this article
digiKam-7.4.0-x86-64.appimageis the latest version, you can find new releases on its official download page.
Once the AppImage package is downloaded make it executable using the given command –
sudo chmod +x digiKam-7.4.0-x86-64.appimageNow you can run this application from your terminal by using –
./digiKam-7.4.0-x86-64.appimageRun DigiKam application in Ubuntu
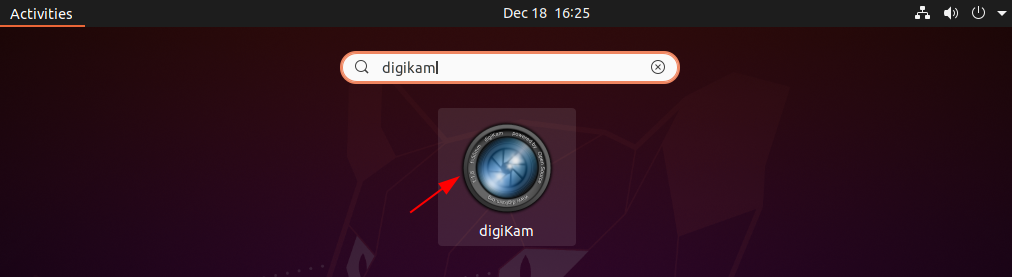
Once the installation is completed, you can launch it by searching digikam in the Ubuntu activities dashboard as you can see in the image below.
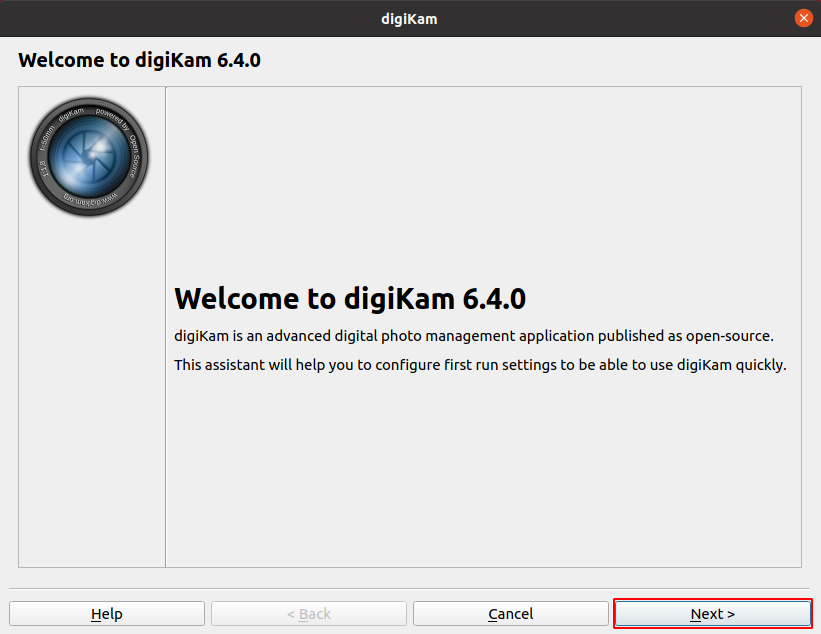
Now you will see the welcome window of DigiKam, here click on Next.
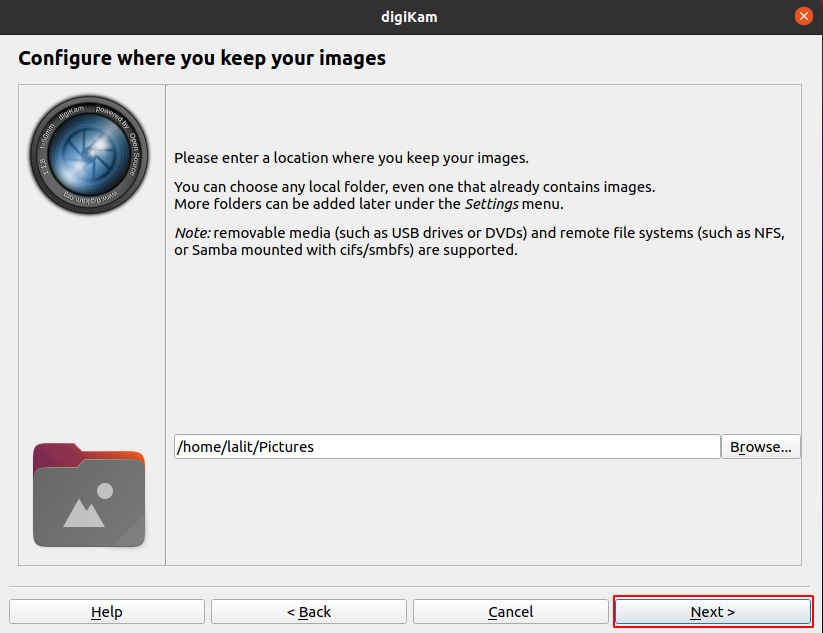
Next, choose the location where you want to keep your images and click on Next.
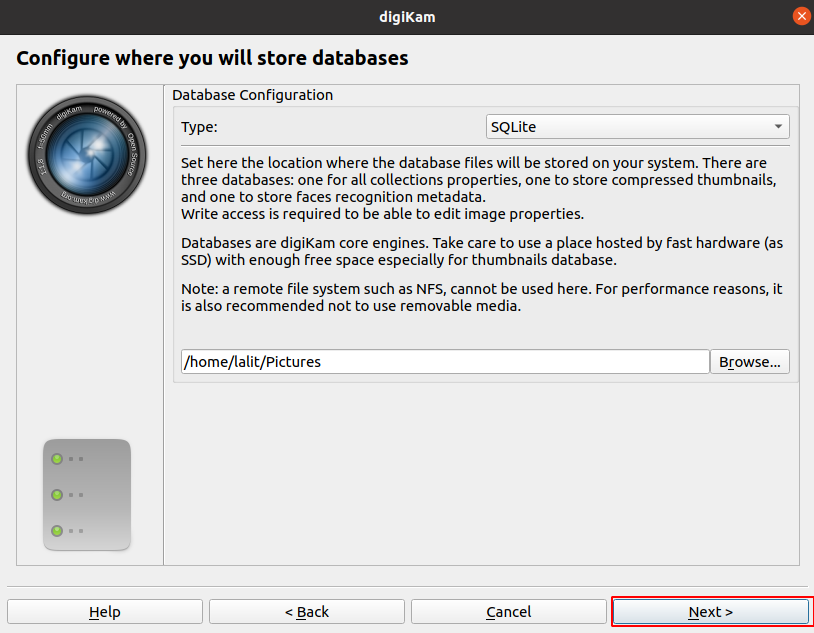
Choose the location where you will store the databases and click on Next.
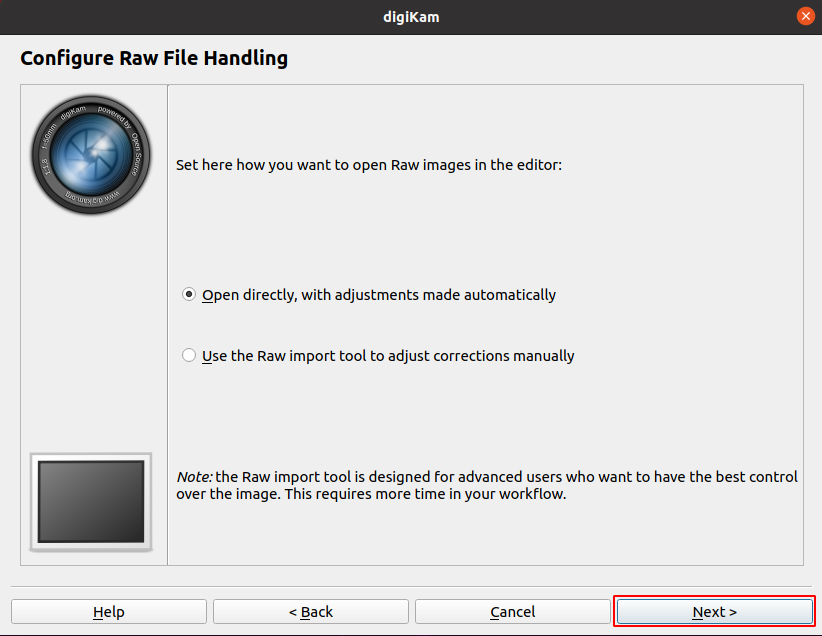
Next configure Raw file handling, choose an option and click on Next.
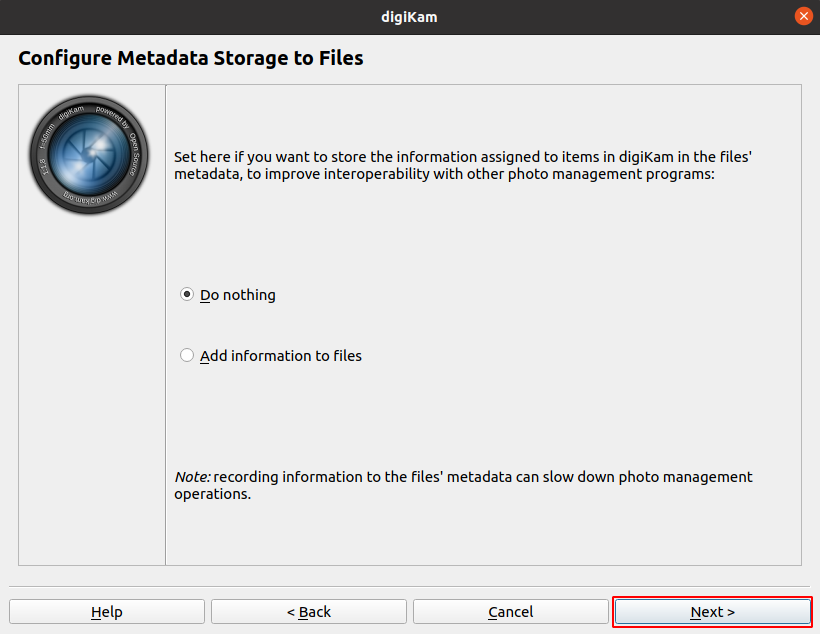
Read details of configuring metadata storage to files and choose an option, click on Next.
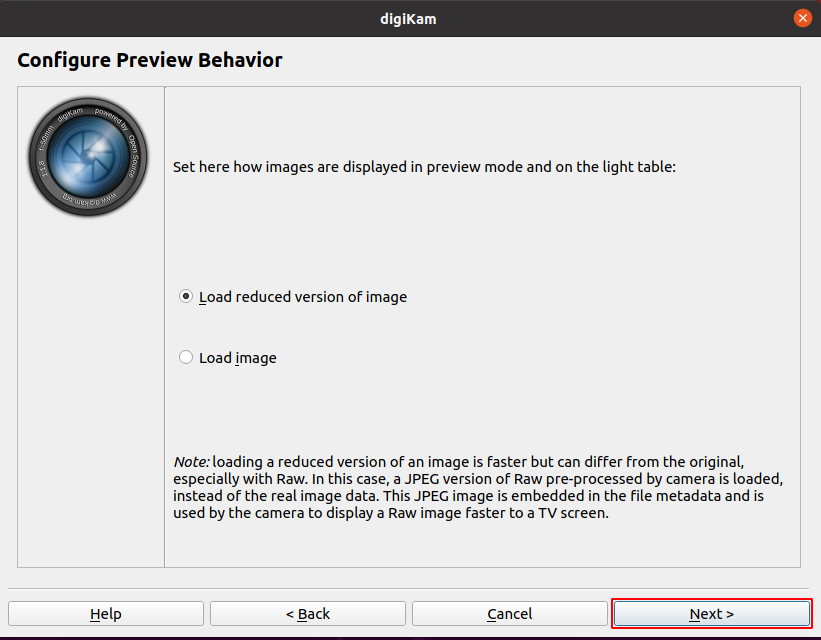
In the next two windows configure file preview behavior and file open behavior choose the relevant options and click on Next.
If you to enable tooltips then mark the option and click on Next.
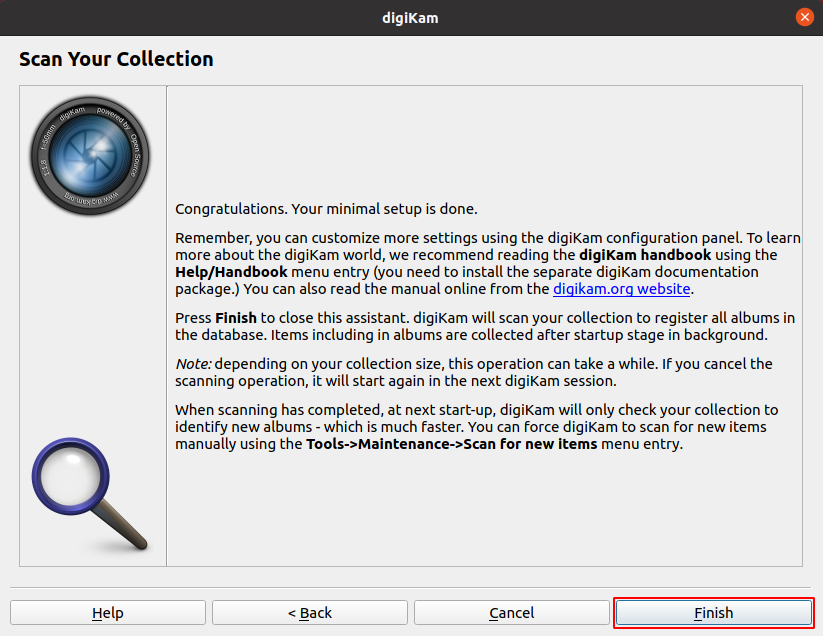
Finally, click on Finish to save the configuration and scan your collection.
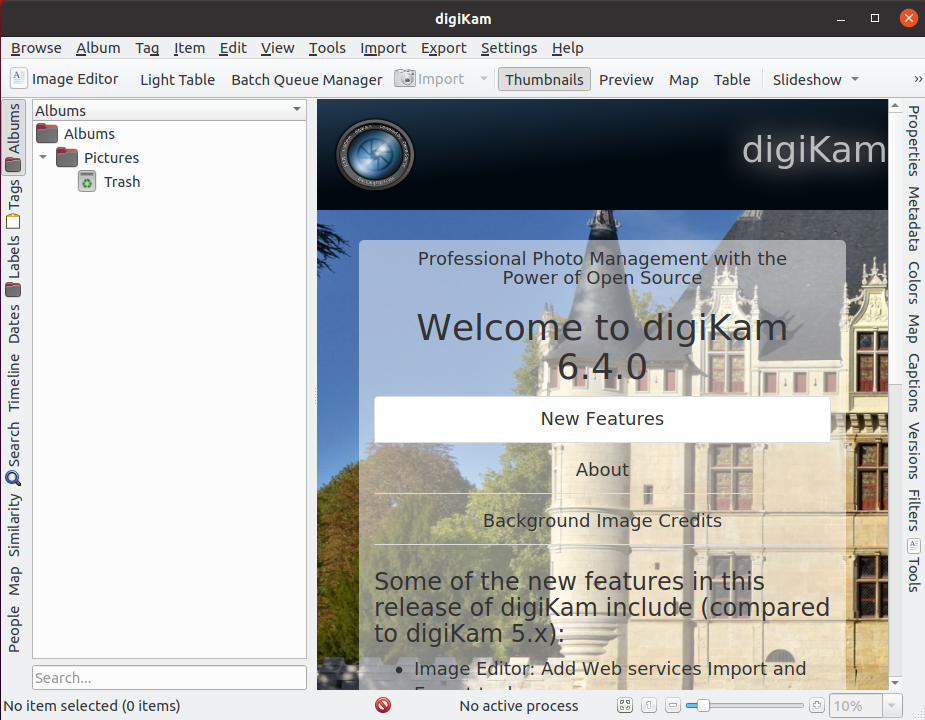
You can see the user interface of this application in the given image.
Conclusion
You have successfully installed and configured the DigiKam on your Ubuntu system.
Now if you have a query or feedback then write us in the comments below.