

ClamAV is a free and open-source antivirus program that can detect and remove viruses and malware. It is mainly used on mail servers for scanning email viruses.
Originally it was developed for Unix but is now available for installation on different platforms including Linux, Windows, macOS, etc.
In this article, I will discuss how to install ClamAV antivirus on Ubuntu Linux.
Features of ClamAV
The key features of ClamAV are –
- Free and opensource
- Cross-platform
- Easy to use
- Portable
- It is lightweight and fast
- It can scan numerous file formats and mail gateways
- Provides virus database update
- POSIX compliant
How to install ClamAV on Ubuntu
ClamAV is available in the default Ubuntu repository you can install it by using the apt command. Before installing it on your Ubuntu system first make sure your local package repository is updated –
Use the following command to update the apt package repository –
sudo apt updateUse the following command to install ClamAV on your system –
sudo apt install clamav clamav-daemonPress y and then enter if it asks for your confirmation.
Update ClamAV virus database
Before updating the database first you need to stop the ClamAV services. Use the following command to stop ClamAV services –
sudo systemctl stop clamav-freshclamNext, manually update the ClamAV signature database –
sudo freshclamRestart the ClamAV services by using –
sudo systemctl start clamav-freshclamHow to use ClamAV in Ubuntu
The clamscan command is used to scan for viruses in a system. The basic syntax of clamscan is given below –
clamscan [options] [files-or-directories]Some most frequently used options that are used with this command are –
--infected– This will display the list of all infected files.--remove– Using this option will remove all infected files from your system.--recursive– It will scan all directories and sub-directories.
You can find the detailed list of options on clamscan man page.
Scan all files on your system –
clamscan -r /Scan files and show infected files only –
clamscan -r -i /path-to-dirScan files and move all infected files to a different directory –
clamscan -r --move=/path-to-folder /path-to-quarantine-dirYou can display the manual page of clamscan by using –
man clamscanInstalling ClamTK
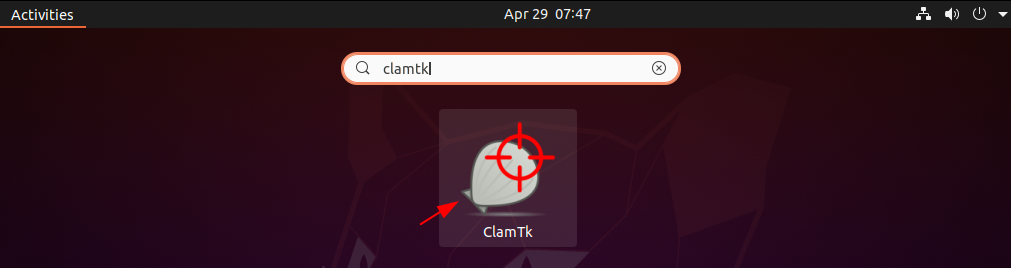
ClamTK is a GUI frontend to ClamAV antivirus to install it on your system use the following command on your system –
sudo apt install clamtk -yAfter installing the above package, you can launch it from the Ubuntu activities dashboard by searching ClamTK as you can see in the image below.
You can also open it by using the given command in your terminal –
clamtkThe following image shows the user interface of ClamTK –
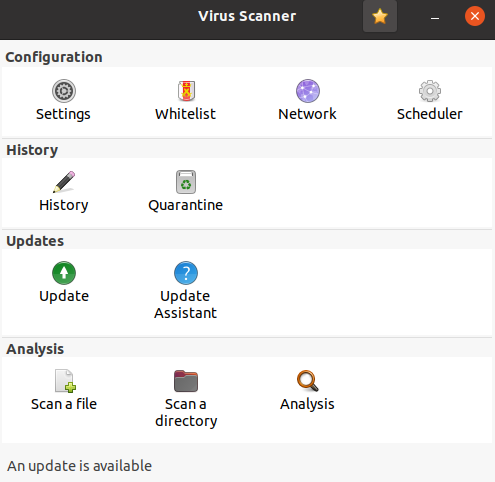
You can start scanning a file or directory from GUI.
Conclusion
So now I hope you have successfully installed ClamAV on your system. If you have a query or feedback then write us in the comments below.