BleachBit is a free and open-source tool that helps in the optimizing system by removing unnecessary junk files. It can also manage the privacy of a system. If you are familiar you can compare it to Ccleaner which is used for optimizing a Windows system.
In this article, I will discuss how to install and use BleachBit in a Ubuntu system.
Prerequisites
To follow this guide you need to have the following –
- A system running Ubuntu or a Ubuntu-based Linux distribution
- Access to a user account with sudo permissions
How to install BleachBit in Ubuntu
There are multiple ways using which you can install BleachBit in a Ubuntu system. Use one of the given methods and install it on your system.
Installing BleachBit using Ubuntu Software
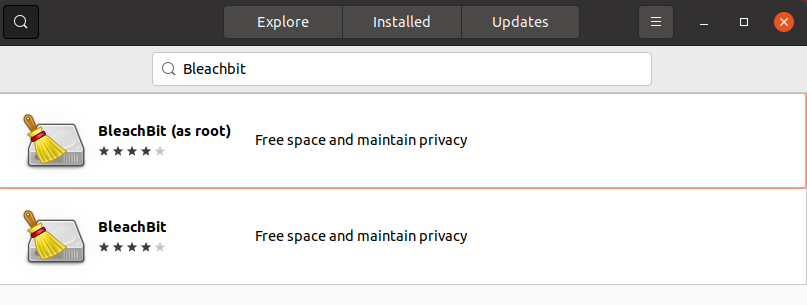
BleachBit is available in Ubuntu’s official repository open Ubuntu Software, and type BleachBit in the search bar.

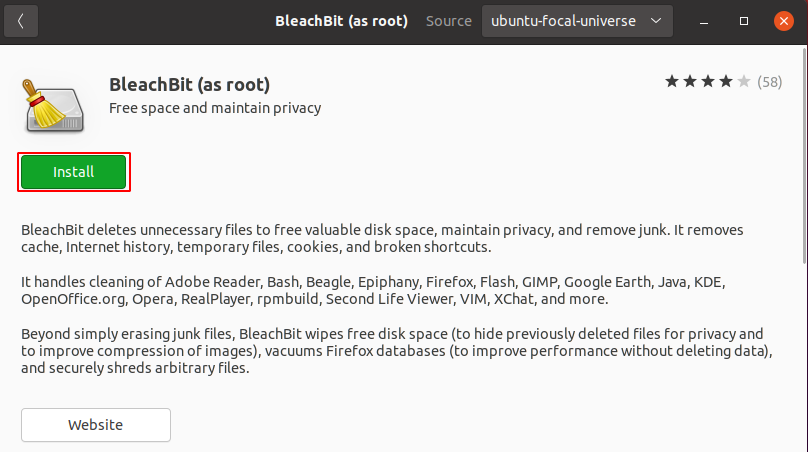
Click on one of the given results and install it on your system.

When it asks you for authentication enter your password and click on Authenticate. This will start downloading the package and installing it on your system.
Installing BleachBit using apt command
You can also install it by using the apt command on your terminal. Before running the command to install BleachBit, use the following command to update the apt package index –
sudo apt updateAnd then use the given command to install BleachBit –
sudo apt install bleachbitType y and then enter if it asks you for confirmation.
Installing BleachBit using the official deb package
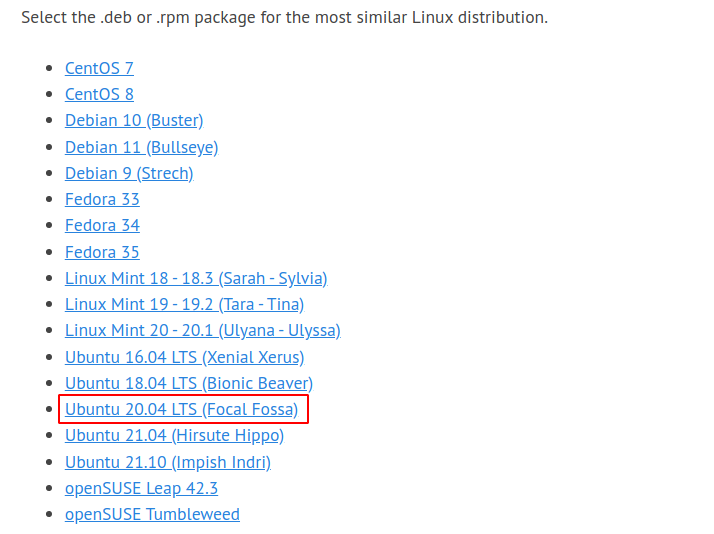
Go to the official download page of BleachBit and click on the given link based on the version of Ubuntu you are using.

Alternatively, you can download it using the wget command –
wget https://download.bleachbit.org/bleachbit_4.4.2-0_all_ubuntu2004.debOnce the download is completed, use the following command to install it –
sudo dpkg -i bleachbit_4.4.2-0_all_ubuntu2004.debAlso, run the following command if any dependency error occurs –
sudo apt install -fLaunch BleachBit in Ubuntu
Once the installation is successful you can launch it from the Ubuntu activities dashboard. Search bleachbit and click one of the given icons when appears as you can see in the image below.

When it prompts you for the authentication enter your password and click on Authenticate.
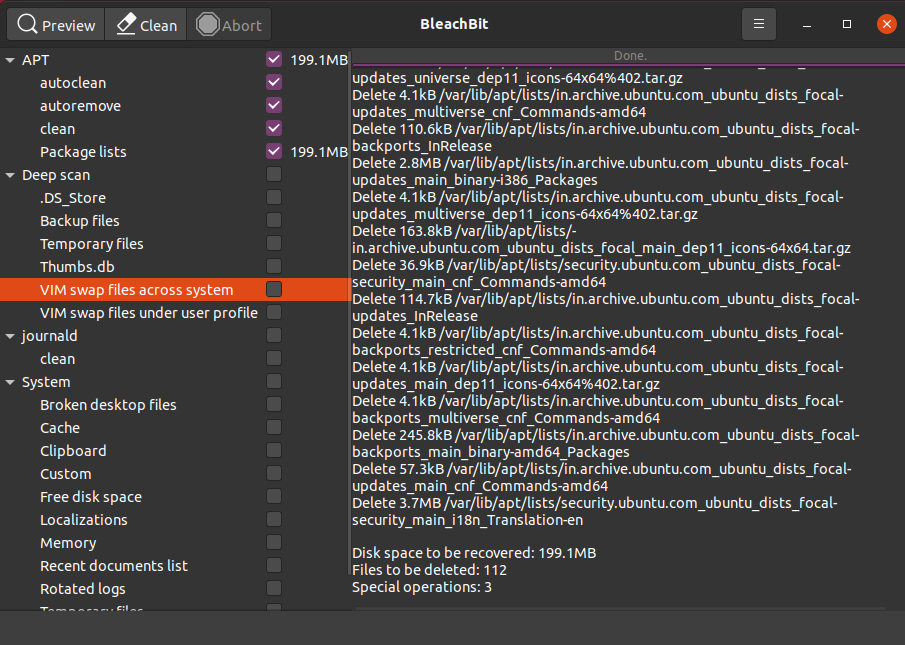
You can see the user interface of BleachBit in the image below.

Here you can make, preview, and clean temporary or junk files.
Conclusion
So you have successfully installed BleachBit on your system. Now you can leave your query or feedback in the comments below.
