In a Unix based operating system, a shell is a program that interprets the command and acts as an intermediary between user and kernel. bash, ksh, zsh are some examples of Unix shell. Different shells come with different features and capabilities anyone can install and use them. In this article, we will see to install and configure the zsh.
What is Z Shell (zsh)?
Z shell is a Unix shell that can be used as an interactive login shell and command-line interpreter. zsh is an extended and improved version of bash It includes the features of different shells.
Why Use Z Shell?
Zsh has many features, It supports many third-party plugins which can be used to increase productivity. Some major features are given below-
- Automatic directory change- All you have to type the directory name
- Recursive path expansion – For example -/u/lo/b expanded to /usr/local/bin
- Spell check and approximate completion – zsh is capable of correcting small spelling mistakes
- Plugin and theme support- Zsh includes many different plugin frameworks
How to Install Zsh?
Follow the steps below to install zsh in your system-
- First, update the OS repository-
sudo apt-get update
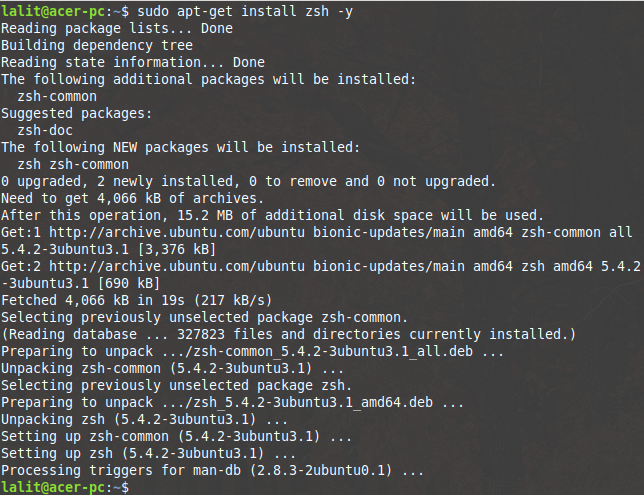
- Install the zsh by using the command below-
sudo apt-get install zsh -y

- Now zsh installation is complete. Your system has multiple shells installed So before you start using Zsh you have to make it your default shell. first, check the location where zsh is installed-
whereis zsh

- To make the zsh as your default shell execute the following command in your terminal-
chsh -s /usr/bin/zsh
- You may ask to enter your password. Enter it to complete the execution of the command. To make changes effective you have to reboot your system.
reboot
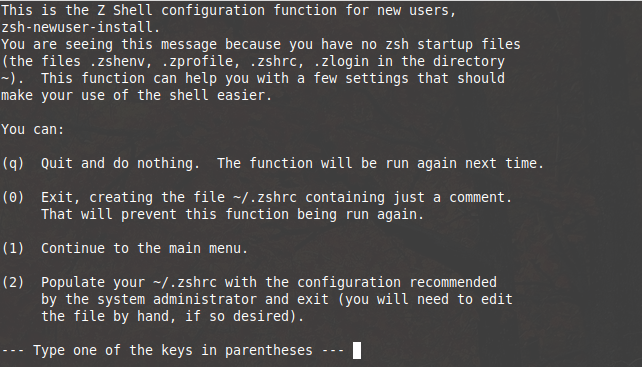
- Now after reboot when you open your terminal it will ask you to do some configuration look at the image below. Press 2 to configure it.

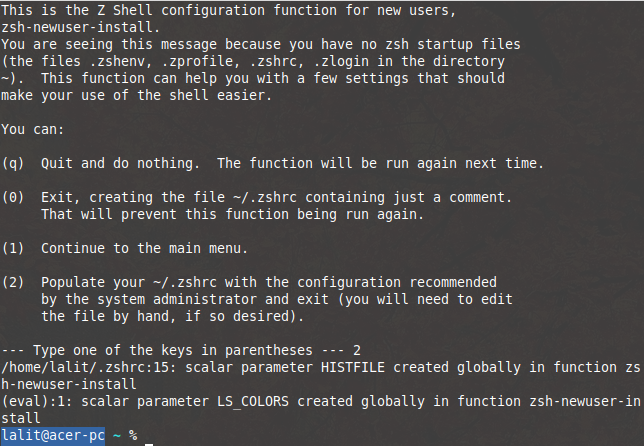
Once you press 2 it will get proceeded like this-

How to Install Fonts for Zsh?
We are going to install powerline and powerline fonts in our system. Powerline is a status line plugin for vim and provides status line and prompt for several other applications such as zsh, bash, fish, IPython, etc. It lets the zsh use different icons and symbols on the shell. To install the powerline, powerline fonts in your system use the following command –
sudo apt-get install powerline fonts-powerline
How to Install Themes for Zsh?
We are going to install the powerlevel9k theme in our system. There are a number of themes available for zsh you can choose any one of them and install it in your system. Use the following command to install this theme –
sudo apt-get install zsh-theme-powerlevel9k
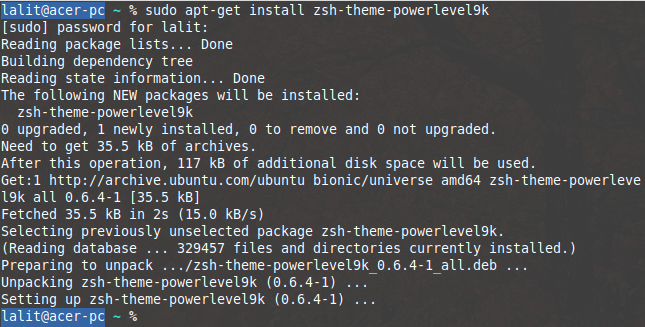
Now run the following command to enable the powerlevel9k theme in your terminal-
echo "source /usr/share/powerlevel9k/powerlevel9k.zsh-theme" >> ~/.zshrc
![]()
Now reopen your terminal you will see the new look of your terminal.
Install and enable syntax highlighting
Zsh has a syntax highlighting plugin which highlights the commands in the terminal and increases the readability & the context of the text. This feature is especially useful for code that spans several pages. Install syntax highlighting plugin by using the following command –
sudo apt-get install zsh-syntax-highlighting
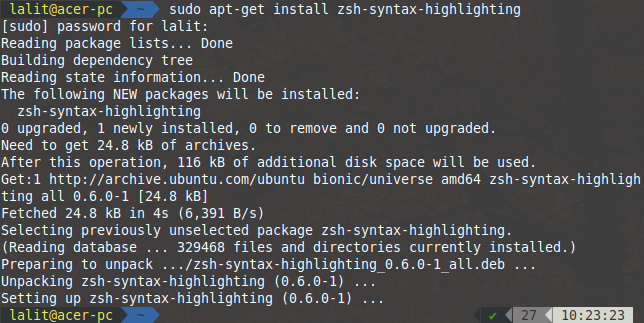
Now use the following command to enable the syntax highlighting plugin –
echo "source /usr/share/zsh-syntax-highlighting/zsh-syntax-highlighting.zsh" >> ~/.zshrc

Oh My Zsh
Oh My Zsh is a user community website that collects the third-party plugins and themes for Z shell. You can visit the site to explore a new theme or plugin or if you want to make the contribution.
That’s all on the Zsh and configuring it. If you want more of such how-to guides for Linux, Unix or FreeBSD, stay tuned with us.

