
AlmaLinux is a newly released free and open-source Linux distribution that is intended to provide a community-supported production-grade enterprise operating system.
After RedHat announce that it will discontinue CentOS, CloundLinux which maintains its own commercial distribution created AlmaLinux. Its first stable version ”AlmaLinux OS 8.6″ was released on 30th march 2021.
In this guide, I will discuss the steps that you can follow to install AlmaLinux “Emerald Puma” on your system.
Prerequisites
To follow this guide you should have the following –
- A computer with at least 2 GB RAM, 20 GB hard disk, and a 64-bit processor
- A 16 GB pen drive to use as an installation medium
- Good internet connection for downloading AlmaLinux ISO file
Download AlmaLinux ISO file
For installing AlmaLinux you need its image file, to download the AlmaLinux iso file first go to the download page on its official website then choose a version for x86_64 architecture.
You can download one of the given setups of AlmaLinux –
- Minimal – This is the minimal setup of AlmaLinux of size 1.4 GB
- DVD – The DVD iso is around 7.5 GB in size
- Boot – This is the network installer setup of around 700 MB
- Torrent – If you want you can download the operating system by using a torrent client
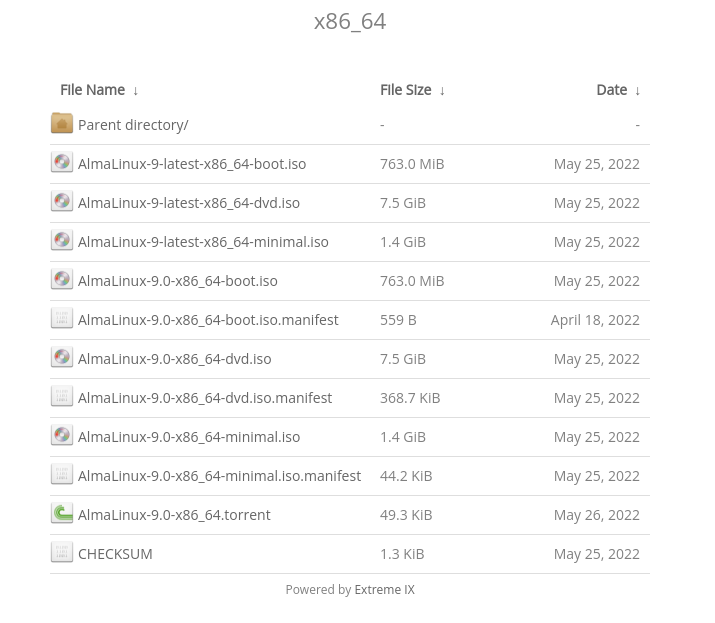
You can directly download AlmaLinux-9.0-x86_64-dvd.iso by using the given command –
wget http://repo.extreme-ix.org/alma/9.0/isos/x86_64/AlmaLinux-9.0-x86_64-dvd.isoMake USB bootable
Once the download is completed and you have the AlmaLinux ISO file, now you need to make the USB bootable. You could use one of the given methods on your system to make your Pendrive bootable –
On Windows machine
If you are using a Windows system the best-recommended way to create a USB bootable is by downloading and using the Rufus application. This tool has a user-friendly GUI where you can easily select your iso file and use it to make the USB bootable.
On a Linux system
If you are using a Linux system then you could use the dd command. To make USB bootable using this method first open your terminal by pressing ctrl+alt+t and then use –
sudo dd if=AlmaLinux-9.0-x86_64-dvd.iso of=/dev/sdb status=progressWhere AlmaLinux-9.0-x86_64-dvd.iso is the input file and /dev/sdb is the name of USB don’t forget to replace it with yours.
How to Install AlmaLinux OS
Now you have an AlmaLinux bootable USB drive insert it into your system and restart your system, press and hold F12. In most of the systems, it will display an option to boot from USB.
OR you can change the boot priority of the USB from the BIOS to by default boot from USB.
Now once your system boots into USB you will see the given screen.
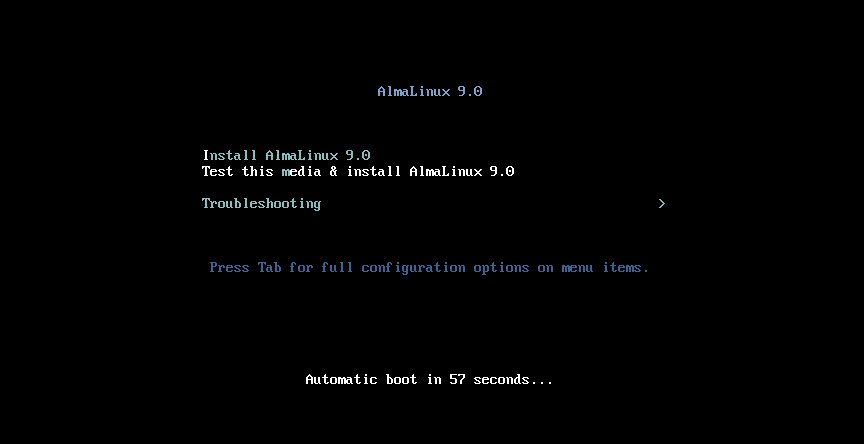
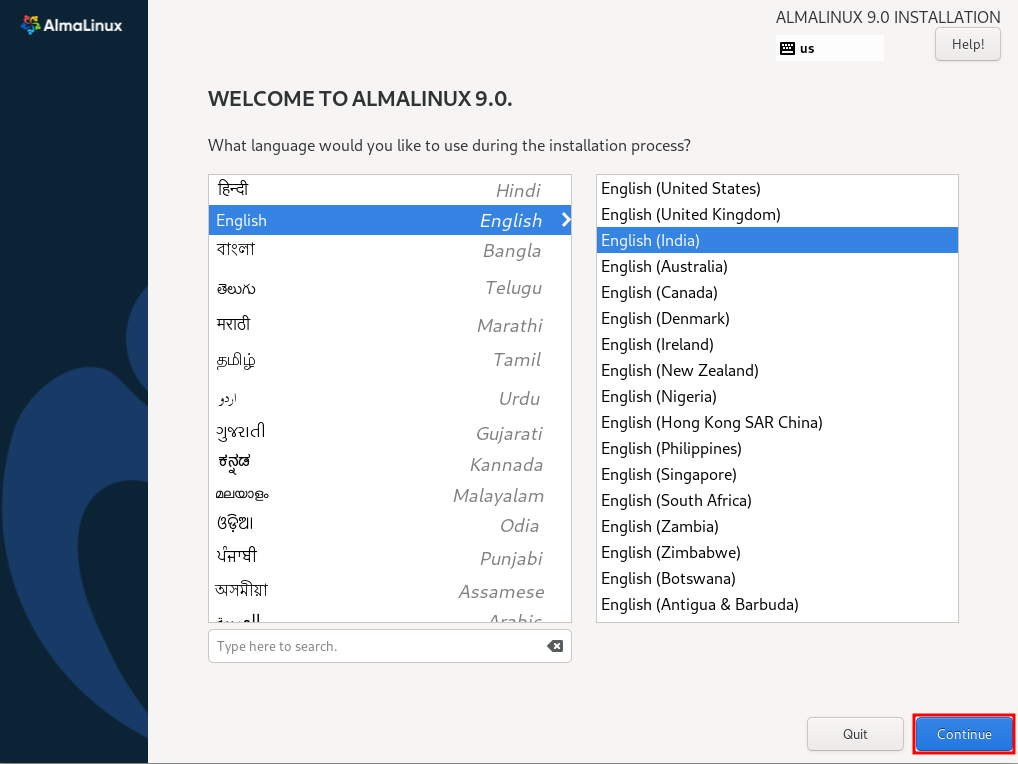
To install choose the Install AlmaLinux 9.0 option and press enter. Now this will ask you to choose the language for the installation process, choose a language and click on Continue.
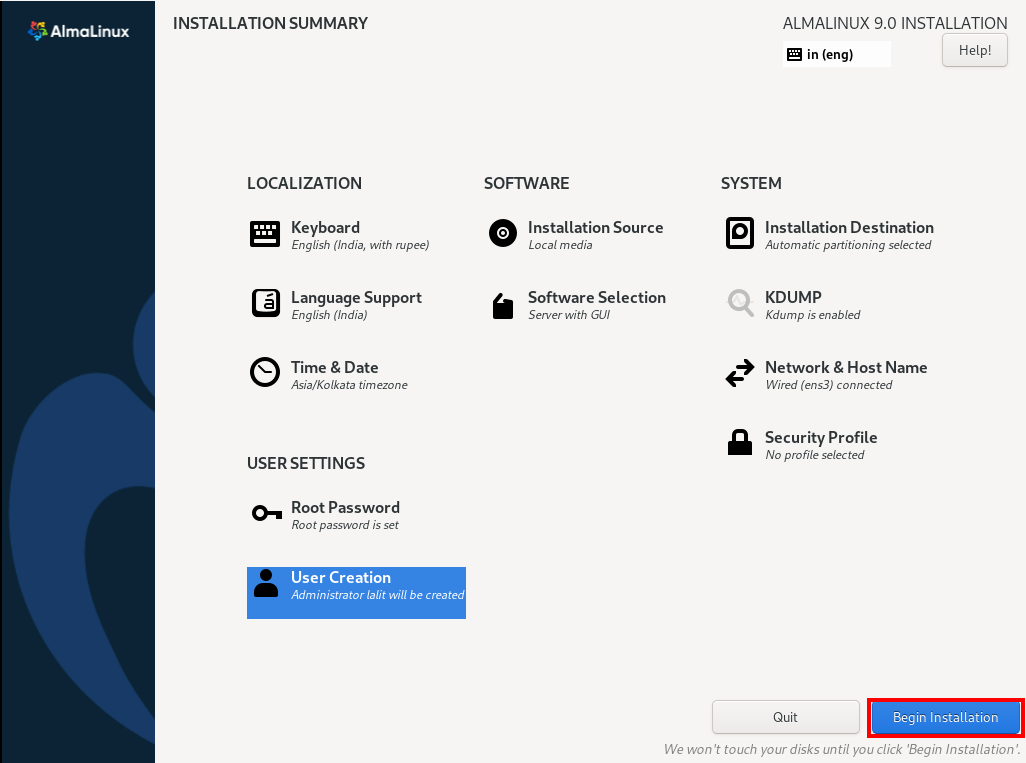
Next, it will display the installation summary window where you need to configure a few things.
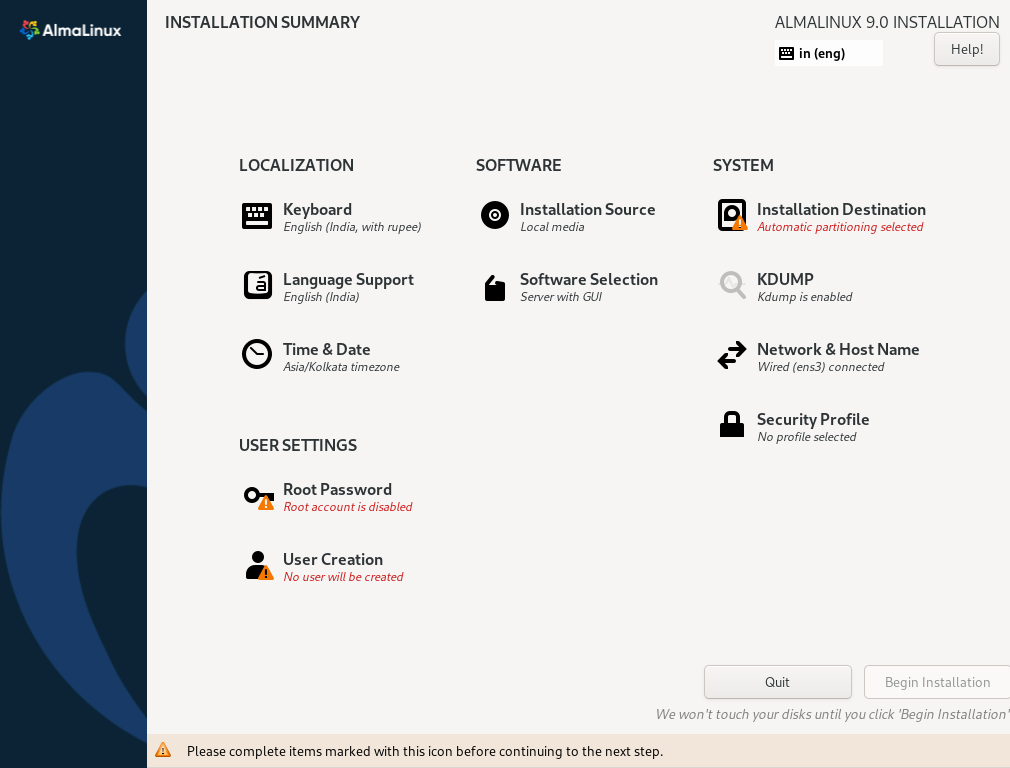
As you can see broadly there are three columns LOCALIZATION, SOFTWARE, and SYSTEM.
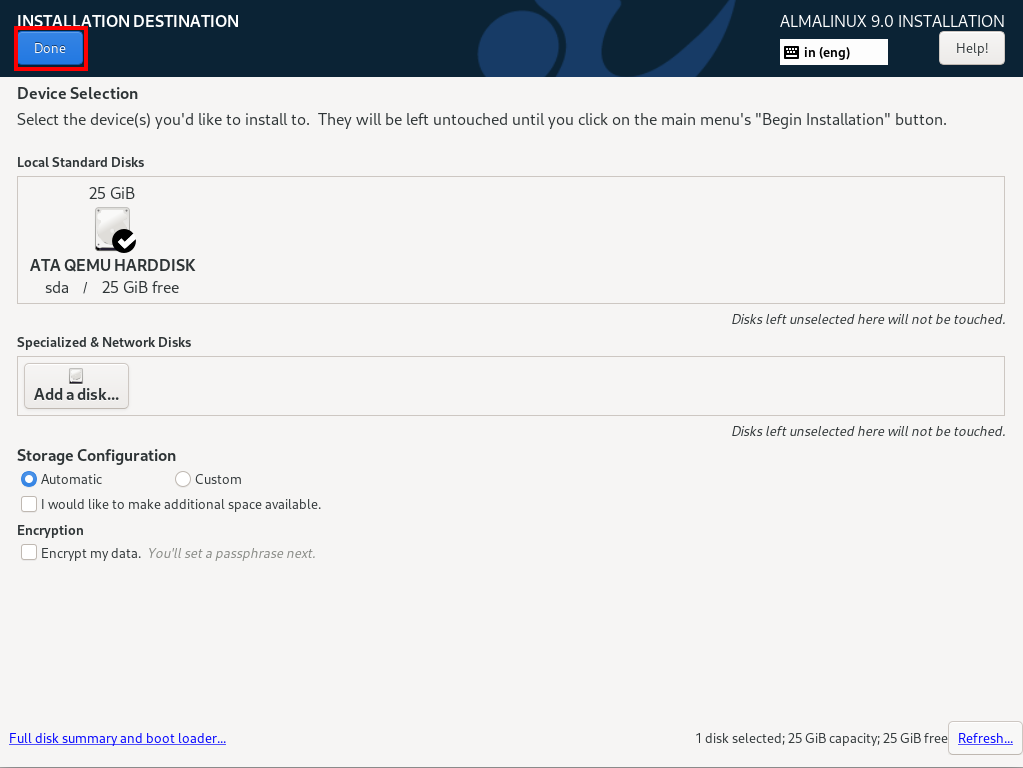
We will start configuring from the column SYSTEM. First, click on the Installation Destination to choose between automatic or custom partitioning you can also mark the check box to encrypt your data.
I will recommend using automatic partitioning until you don’t know about the manual partitioning of a disk. After selecting the options click on Done.
The next option in this column is KDUMP, keep it to its default.
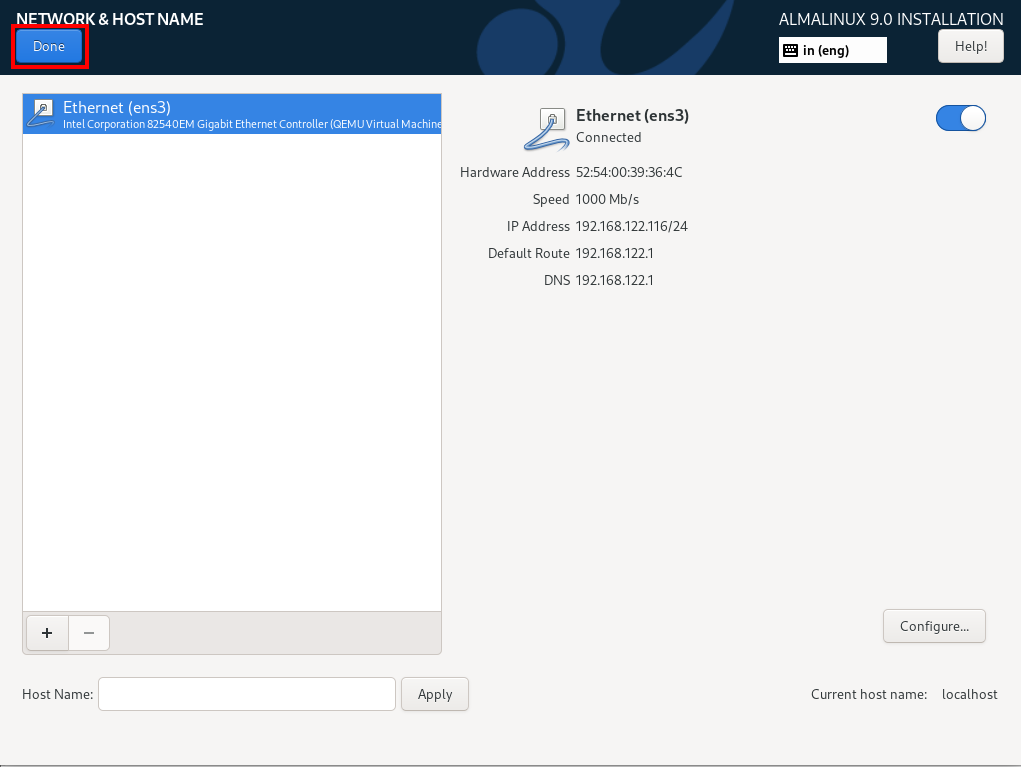
Click on the Network & Host Name to configure the internet on your system. Here you can enable an existing network or add a new one. Once configured click on Done.
You can leave Security Policy as it is.
Now in the SOFTWARE column click on the Software Selection option to choose what you want to install. Choose an option in the base environment and additional software and click on Done.
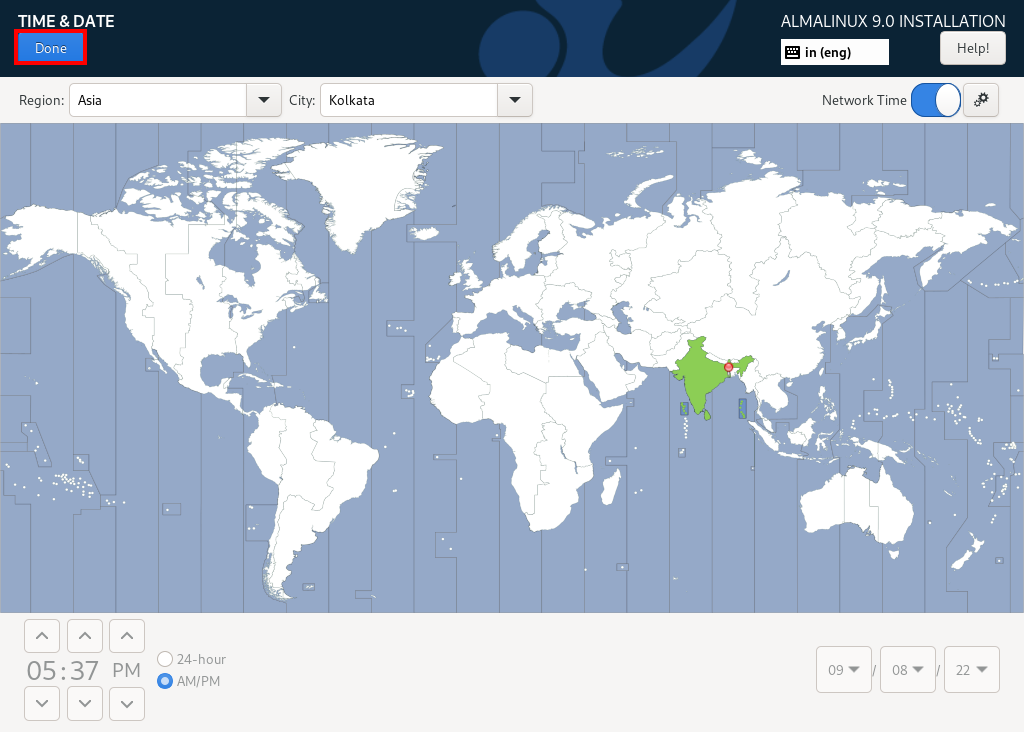
Next in the Localization column, click on Keyboard to configure the keyboard layout, and Language Support to choose your language. Click on Time & Date to choose your time zone.
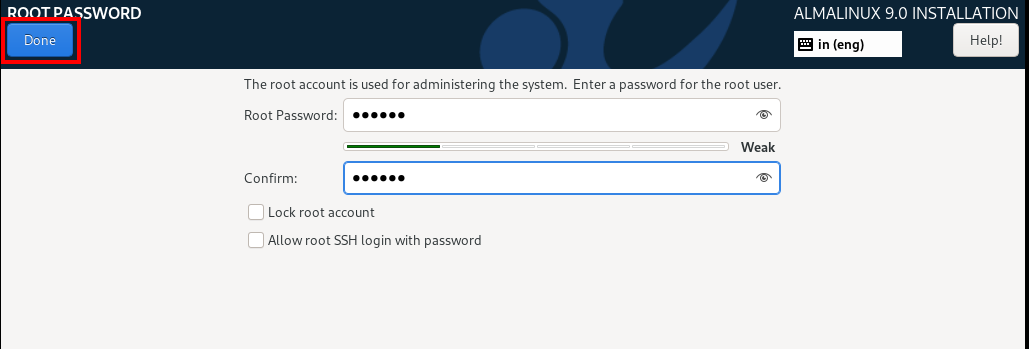
Below the LOCALISATION column, you will see USER SETTINGS, click on Root Password to set a password and enable the root account. If you enter a weak password you need to click twice on Done.
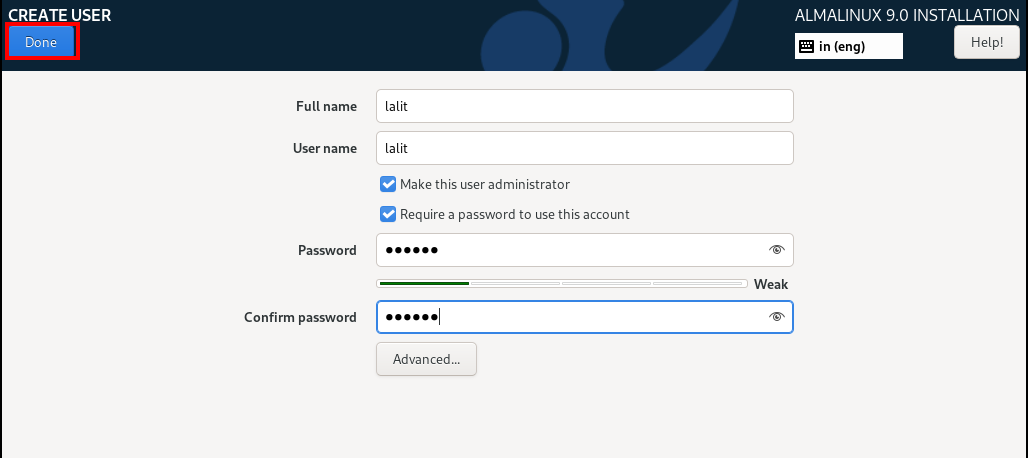
If you want to create a new user then click on the User Creation this will open the window to fill in the details of the new user as given in the image below.
You can also mark Make this user administrator if you want to provide sudo privileges to this user.
Now everything is set you can begin the installation process by clicking on Begin Installation.
This will start the installation process, once completed you will display the installation complete message as you can see in the image below.
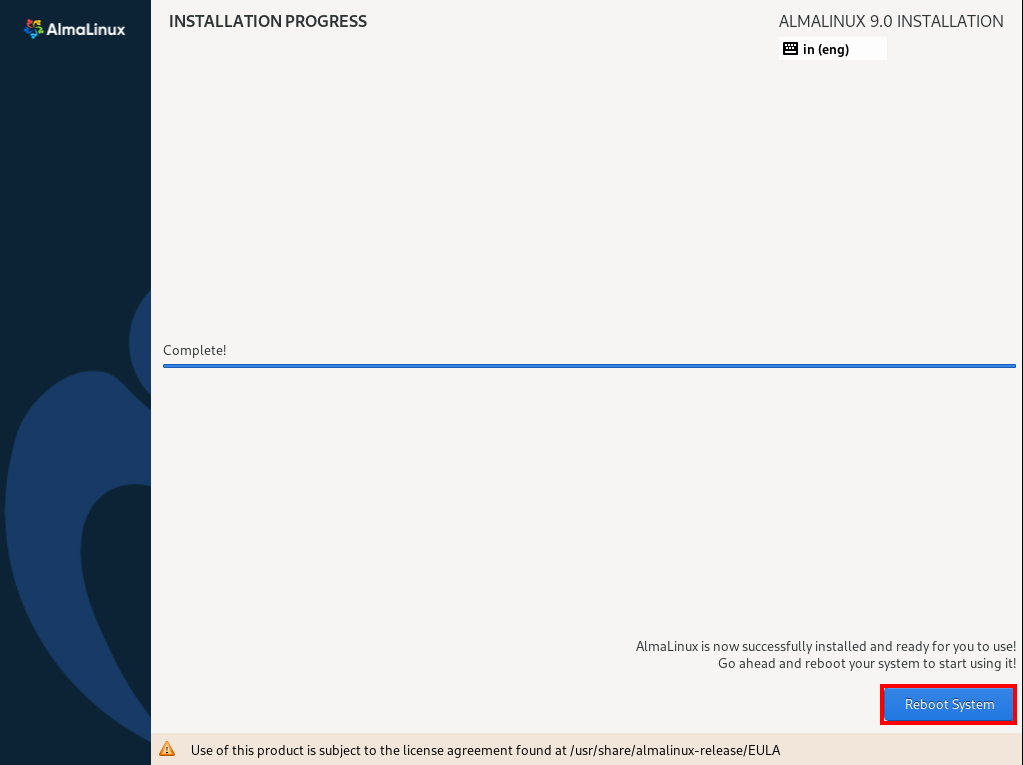
Now click on Reboot System, this will display the login screen.
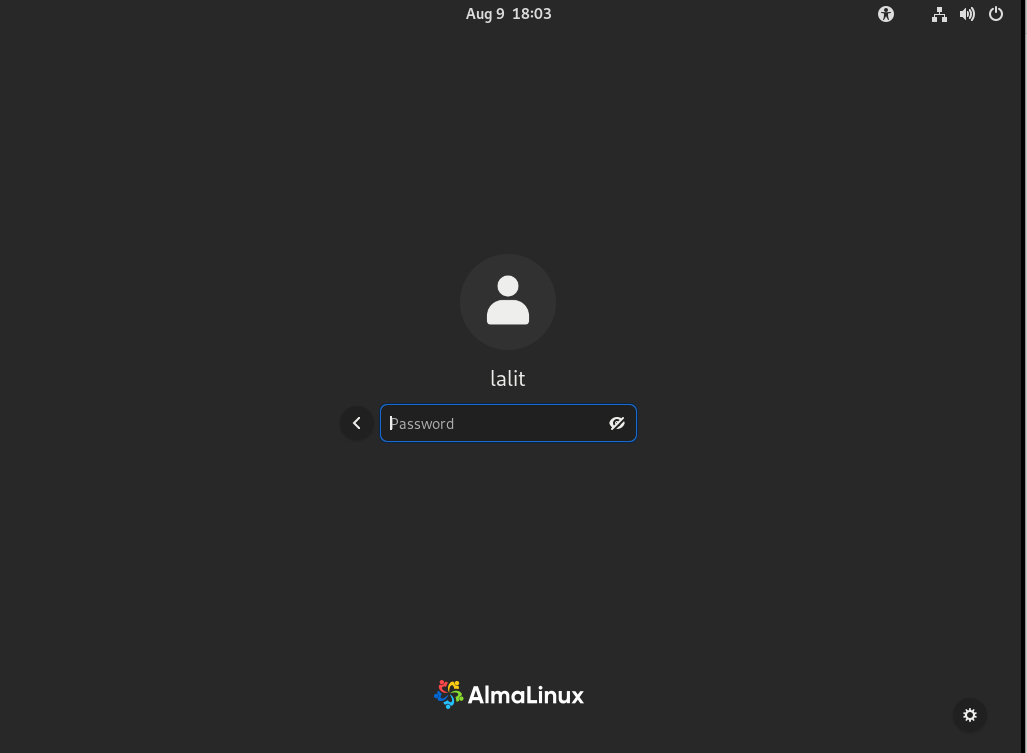
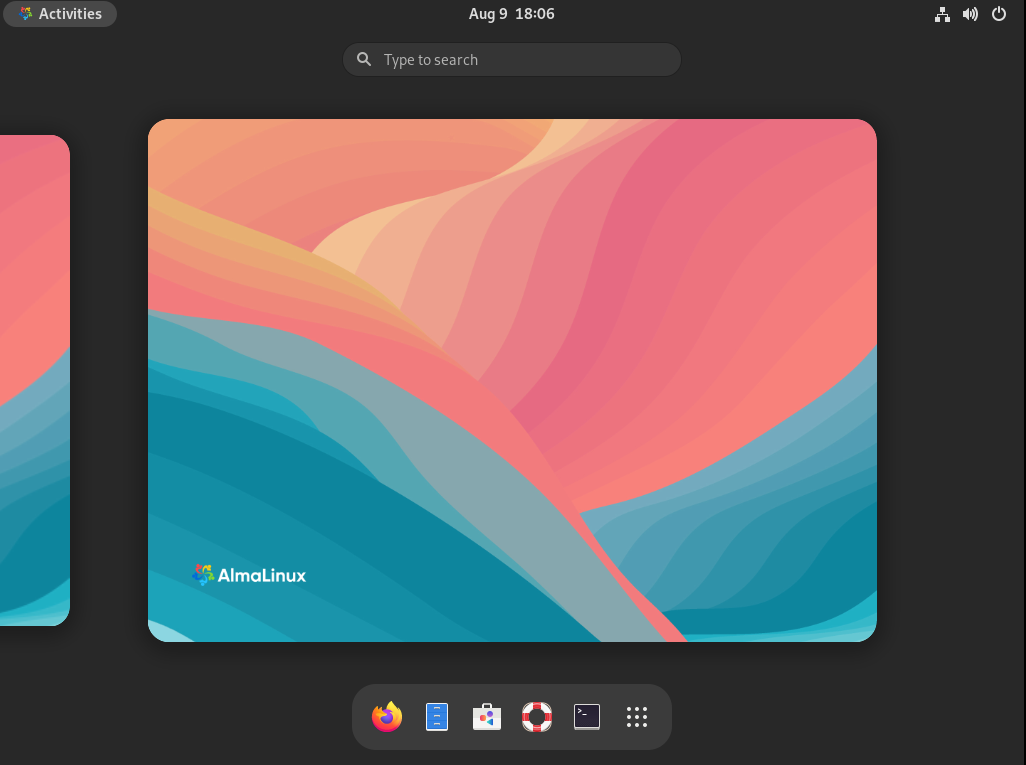
The following image shows the desktop screen of AlmaLinux OS.
Conclusion
You have successfully installed AlmaLinux OS 9.0 on your system. Now if you have a query or feedback then write us in the comments below.