
A display manager or login manager is a program that provides graphical login capabilities to a Linux system. It is displayed on a system once the boot process is over. It manages all the user sessions and user authentication on the system.
Once you are authenticated, the display manager starts the display server and loads the desktop environment. There are various implementations of display managers available for Linux systems some of them are GDM3, LightDM, SDDM, etc.
Today in this article I will discuss how to change the display manager in Ubuntu.
Prerequisites
To follow this guide you should have the following –
- A Ubuntu system where you want to change the display manager
- Access to a user account with superuser privileges
How to install a display manager on Ubuntu
Different display managers are available in the default Ubuntu repository. You can use one of the given commands to install a display manager on your system.
To install gdm3 on Ubuntu Linux, use –
sudo apt install gdm3 -yBy using the given command you can install sddm display manager –
sudo apt install sddm -yTo install lightdm on Ubuntu, execute –
sudo apt install lightdm -yCheck the current display manager on your system
Use the following command to display the status of the current display manager –
sudo systemctl status display-manager.service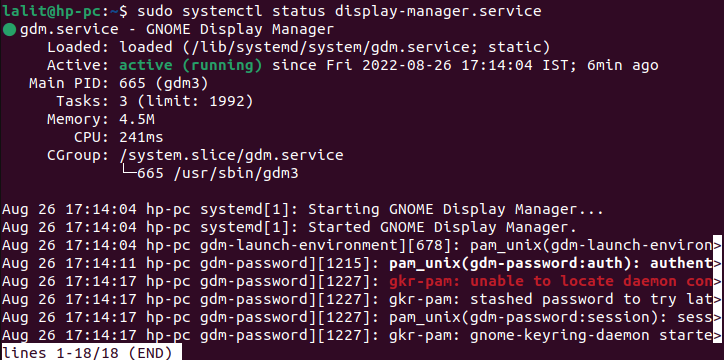
As you can see in the image above display manager services are active and running. And gdm3 is the current display manager on my system.
Alternatively, you can view your current display manager by executing the given command in your terminal –
cat /etc/X11/default-display-managerThis will display output something like it is given in the image below.
![]()
Change your current display manager on Ubuntu
You can change or reconfigure your current display manager by executing the given command in your terminal –
sudo dpkg-reconfigure gdm3Don’t forget to replace gdm3 from the display manager currently active on your system.
Now this will display a package configuration window as you can see in the image below.
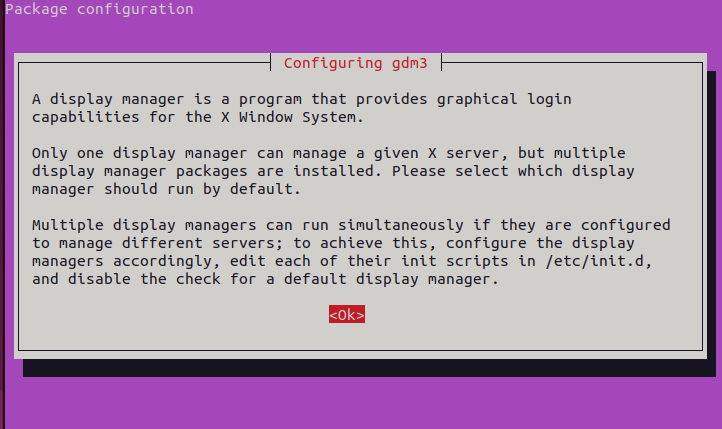
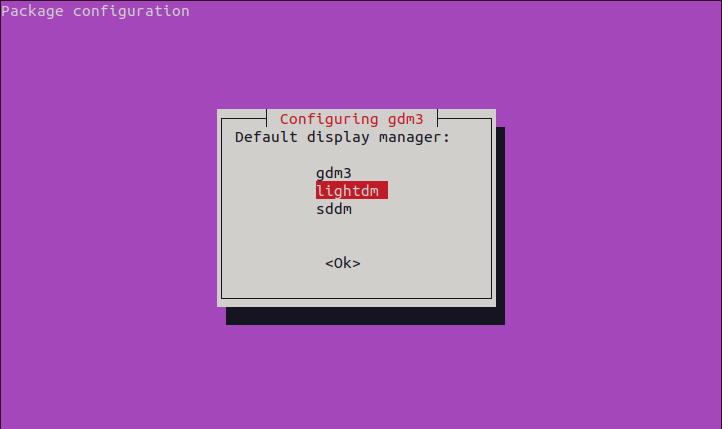
Press enter to move to the next window, here you can choose the display manager that you want to set to your system.
After choosing a display manager press enter.
Reboot your system to make the changes effective.
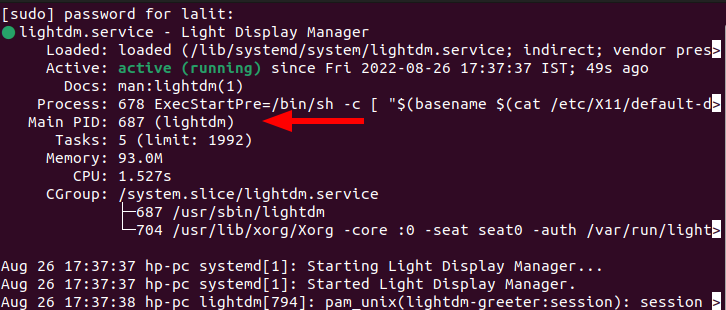
rebootYou can verify that your display manager has changed or not by executing the given command –
sudo systemctl status display-manager.serviceAs you can see in the image below gdm3 is now changed to lightdm.
To get back to gdm3 first execute the following command and then choose gdm3.
sudo dpkg-reconfigure lightdmConclusion
So you have successfully changed the display manager on your Ubuntu system.
Now if you have a query or feedback then write us in the comments below.