The cockpit is a web console that makes it easy to administer the GNU/Linux server. It has a user-friendly web-based interface that enables you to carry out different system admin tasks in a browser. You can even access the server on your mobile using a web browser.
We can install the cockpit in the Ubuntu server so that you can manage it by accessing inside a web browser. So let’s see how we can install it on the Ubuntu server.
How to install cockpit in Ubuntu
To access the Ubuntu server using a web browser you need to have cockpit package installed on your system. The Ubuntu server 20.04 LTS minimal setup does not contains the cockpit by default so you need to install it.
First, use the following command to update the OS repository –
sudo apt update
And then use the following command to install cockpit in your system –
sudo apt install cockpit
If it asks for confirmation press y and hit enter. Once it gets installed move to the next step.
Start cockpit service
Currently, the cockpit service is inactive on your system and it would not start automatically on system reboot. You need to start and enable it manually so that it can connect with the web console.
Use the following command to start the service in Ubuntu server –
sudo systemctl start cockpit
Check the status of cockpit service on your system
To check if cockpit service is running on your system or not, use the following command in your terminal –
sudo systemctl status cockpit
As you can see in the image below cockpit.socket service is running –
Adjust your firewall & allow port 9090
Cockpit listens to service on TCP port 9090. Now if the ufw firewall is enabled on the server then use the following command to allow port 9090.
sudo ufw allow 9090/tcp
Access Ubuntu server remotely using a browser
To access a server remotely by using the cockpit web console first you need to have the IP address or hostname of the server.
You can use the following command to find the IP address of a system –
ip addr
You can find the IP as given in the image below –

To access the Ubuntu server remotely use the URL as given below –
http://server-ip:9090
or
http://hostname:9090
For example –
http://192.168.122.111:9090
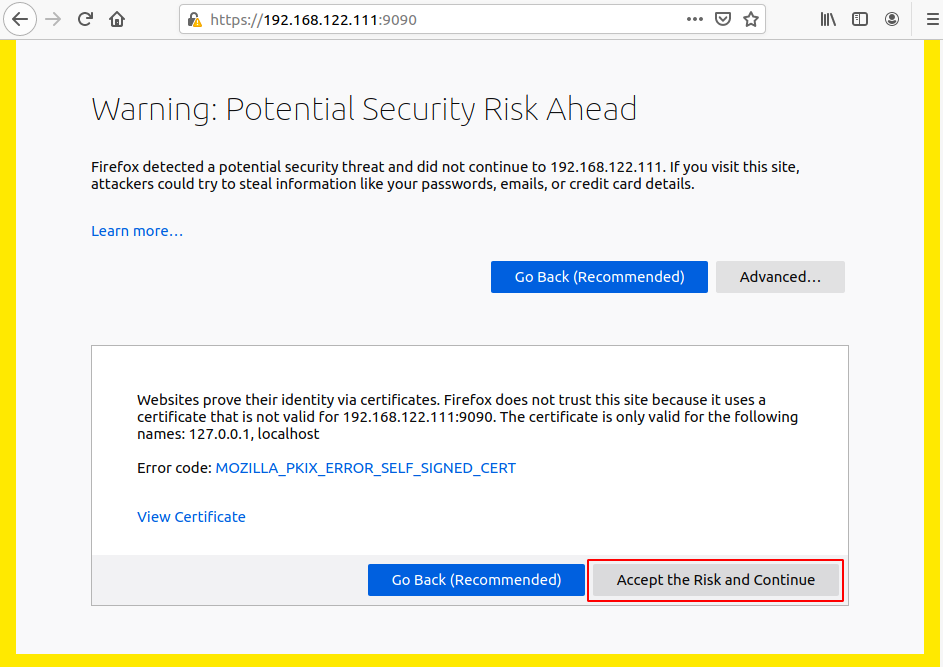
It can show you a warning in your web browser click on advanced and then click accept the risk and continue or proceed anyway if you are using chrome.

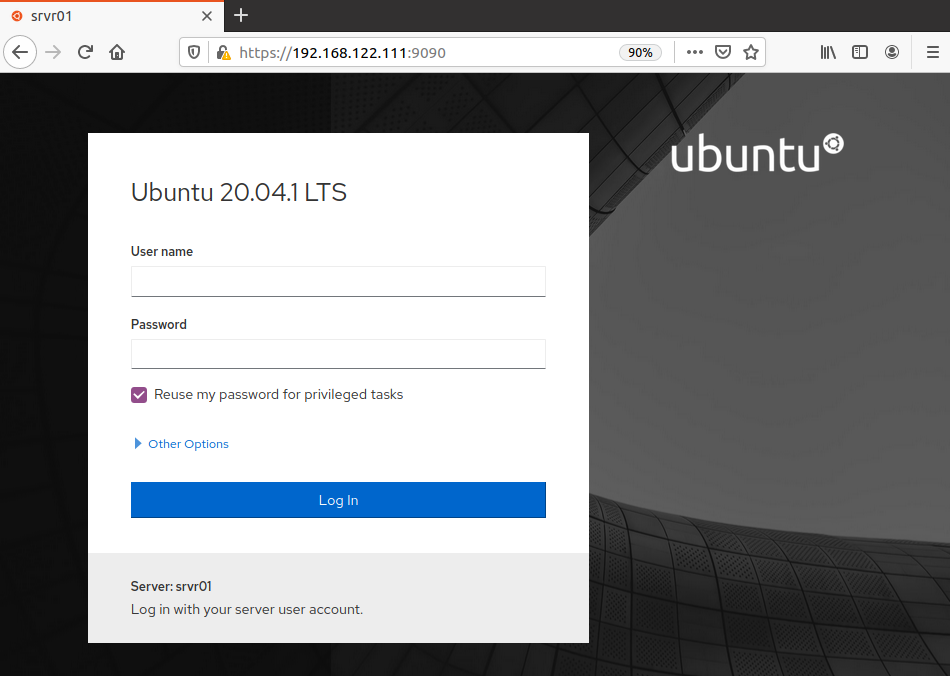
This will display the web login screen where you can log in by using your credentials –

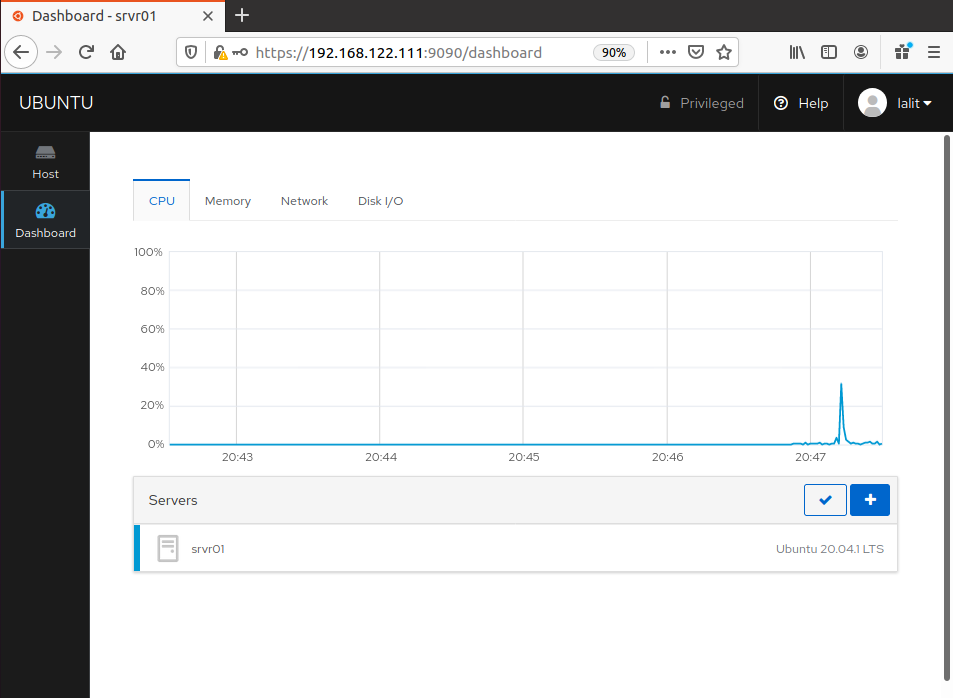
Now once you log in with a privileged user you can perform various administrative tasks such as installing software, managing network services, check logs and system diagnostic reports, etc. You can switch to command line mode by clicking on the terminal option.

Conclusion
Ok, so that’s how you can manage the Ubuntu server from a web browser remotely. now if you want to say something on this then feel free to write us in the comments below.

