
Apache Hadoop is a collection of open-source software utilities that facilitates using clusters of computers to process a large volume of data sets. The core of Hadoop is consists of a storage part called the Hadoop Distributed File System(HDFS) and a processing part which is a MapReduce programming model.
Using it on a single node is the best way to start with it. So here we will show you the steps to install Hadoop on a Ubuntu system.
Prerequisites
To follow this article you should have the following –
- A system with Ubuntu installed on it
- Access to a user account with sudo privileges
Install Java in Ubuntu
The Hadoop framework is written in Java so it requires Java to be installed on your system.
You can use the following command to install it on your system –
sudo apt install default-jdk -yYou can verify the installation of Java by using the following command –
java -version
You can check a complete article on how to install Java in a Ubuntu system.
Create a Hadoop user
We will create a separate user for the Hadoop environment this can improve security and efficiency in managing the cluster.
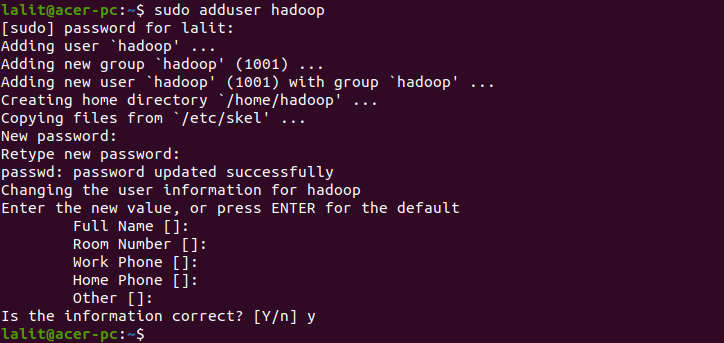
So use the following command to create a new user ‘hadoop’.
sudo adduser hadoop Provide the information that it ask and press the enter.
Install OpenSSH on Ubuntu
If SSH is not installed on your system then you can install it by using the following command –
sudo apt install openssh-server openssh-client -yEnable passwordless SSH for Hadoop user
You need to configure passwordless SSH for the Hadoop user to manage nodes in a cluster or local system.
First, change the user to hadoop by using the given command –
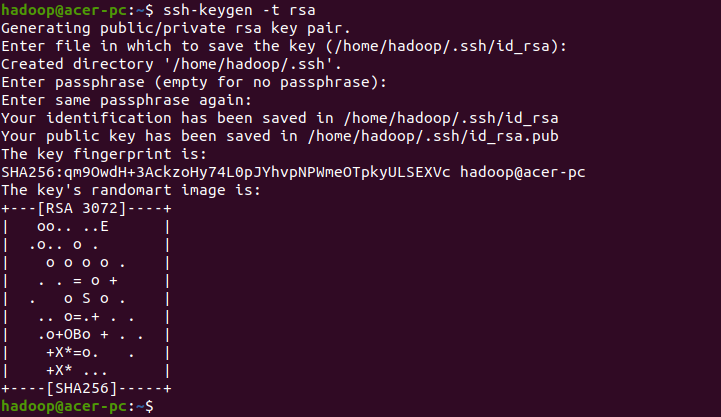
su - hadoopNow generate SSH key pairs –
ssh-keygen -t rsaIt will ask you to enter the filename and passphrase, just press enter to complete the process.
Now append the generated public keys from id_rsa.pub to authorized_keys –
cat ~/.ssh/id_rsa.pub >> ~/.ssh/authorized_keys Now set the proper permissions to authorized_keys –
chmod 640 ~/.ssh/authorized_keysVerify the SSH authentication using the following command –
ssh localhostDownload and install Hadoop
Go to the official download page of Hadoop and select download the latest binary by clicking on the given link as you can see in the given image –

Alternatively use the wget command to download it from your terminal –
wget https://dlcdn.apache.org/hadoop/common/hadoop-3.3.1/hadoop-3.3.1.tar.gzOnce downloaded extract it using the given command –
sudo tar -xvzf hadoop-3.3.1.tar.gz Rename the extracted directory to hadoop –
sudo mv hadoop-3.3.1 hadoop Configure Hadoop environment variables
We need to edit the given files in order to configure the Hadoop environment.
- bashrc
- hadoop-env.sh
- core-site.xml
- hdfs-site.xml
- mapred-site-xml
- yarn-site.xml
So let’s start configuring one by one –
Edit bashrc file
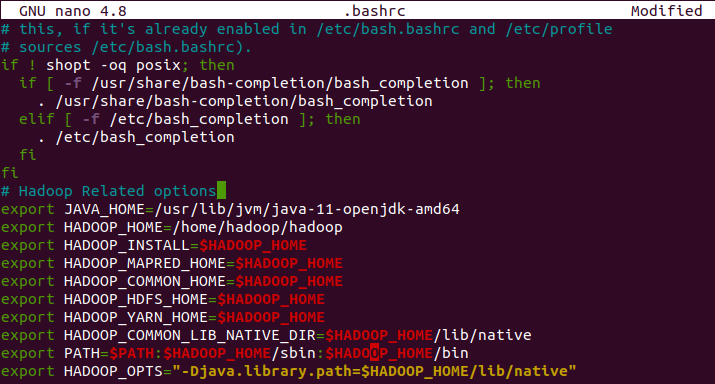
First, open the bashrc file using a text editor
sudo nano .bashrcAdd the given lines to the end of this file –
export JAVA_HOME=/usr/lib/jvm/java-11-openjdk-amd64
export HADOOP_HOME=/home/hadoop/hadoop
export HADOOP_INSTALL=$HADOOP_HOME
export HADOOP_MAPRED_HOME=$HADOOP_HOME
export HADOOP_COMMON_HOME=$HADOOP_HOME
export HADOOP_HDFS_HOME=$HADOOP_HOME
export HADOOP_YARN_HOME=$HADOOP_HOME
export HADOOP_COMMON_LIB_NATIVE_DIR=$HADOOP_HOME/lib/native
export PATH=$PATH:$HADOOP_HOME/sbin:$HADOOP_HOME/bin
export HADOOP_OPTS="-Djava.library.path=$HADOOP_HOME/lib/native"
Save this file and exit from the editor.
Activate the environment variable by executing the following command –
source ~/.bashrc Edit Hadoop environment variable file
Next, open the Hadoop environment variable file i.e. hadoop-env.sh
nano $HADOOP_HOME/etc/hadoop/hadoop-env.sh and set JAVA_HOME variable as given below –
export JAVA_HOME=/usr/lib/jvm/java-11-openjdk-amd64Save and close the file.
Edit core-site.xml file
First, create the namenode and datanode directories inside the Hadoop home directory by using the given command –
mkdir -p ~/hadoopdata/hdfs/namenode mkdir -p ~/hadoopdata/hdfs/datanode Open and edit the core-site.xml file –
nano $HADOOP_HOME/etc/hadoop/core-site.xml Here change the value as per your hostname –
<configuration>
           <property>
                 <name>fs.defaultFS</name>
                 <value>hdfs://127.0.0.1:9000</value>
           </property>
</configuration>
Save and close this file.
Edit hdfs-site.xml file
Open the hdfs-site.xml file –
nano $HADOOP_HOME/etc/hadoop/hdfs-site.xml And change the namenode and datanode directory paths –
<configuration>
           <property>
               <name>dfs.replication</name>
               <value>1</value>
           </property>

           <property>
               <name>dfs.name.dir</name>
               <value>file:///home/hadoop/hadoopdata/hdfs/namenode</value>
           </property>

           <property>
               <name>dfs.data.dir</name>
               <value>file:///home/hadoop/hadoopdata/hdfs/datanode</value>
           </property>
</configuration>
Save this file and exit from the editor.
Edit mapred-site.xml
Next, open and edit the mapred-site.xml file –
nano $HADOOP_HOME/etc/hadoop/mapred-site.xml Make the changes as given below –
<configuration>
             <property>
                  <name>mapreduce.framework.name</name>
                  <value>yarn</value>
             </property>
</configuration>
Save and close this file also.
Edit yarn-site.xml
Now edit yarn-site.xml file –
nano $HADOOP_HOME/etc/hadoop/yarn-site.xml And make the given changes –
<configuration>
           <property>
                 <name>yarn.nodemanager.aux-services</name>
                 <value>mapreduce_shuffle</value>
           </property>
</configuration>
Save the file and close the editor.
Start the Hadoop cluster
Before you start the Hadoop cluster it is important to format the namenode.
Execute the following command to format the namenode –
hdfs namenode -format Once it gets format successfully use the following command to start the Hadoop cluster.
start-dfs.sh Next, start the YARN service by using the given command –
start-yarn.sh After starting the above services you can check if these are running or not by using –
jps
Access Hadoop from your browser
Open a browser on your system and enter the given URL to access the Hadoop web UI in your browser.
http://localhost:9870This will provide a comprehensive overview of the entire cluster.
The default port for datanode is 9864 so to access it use –
http://localhost:9864The yarn resource manager is available on port number 8088 so to access it use-
http://localhost:8088Here you can monitor all the processes running in your Hadoop cluster.
Conclusion
You have successfully set up Hadoop on your system. Now if you have a query then write us in the comments below.