KDE partition manager is a disk partitioning tool that comes shipped with a KDE desktop environment. It provides a graphical user interface using which you can easily create, manage, format, or delete a partition on a system.
It can also back up file systems to files and restore such backups whenever required. It is written in C++ and uses the Qt toolkit.
In this article, I will discuss how to install the KDE partition manager in Ubuntu.
Features of KDE partition manager
The key features of KDE partition manager are –
- Free and opensource
- Simple and easy to use
- It supports various file systems including ext2/3/4, btrfs, reiserfs, NTFS, FAT16/32, JFS, XFS, and more
- Supports various actions related to disk management
- Makes use of already available external programs to get its job done
How to install KDE partition manager in Ubuntu
The KDE partition manager is available in the official Ubuntu repository so you can install it directly by using the apt command in your terminal. The steps of installing it on a Ubuntu system are given below.
Before you install a package make sure the apt package repository is up to date –
sudo apt updateNext, run the given command to install KDE partition manager in Ubuntu –
sudo apt install partitionmanagerPress y and then enter when it asks for your confirmation.
Open KDE partition manager in Ubuntu
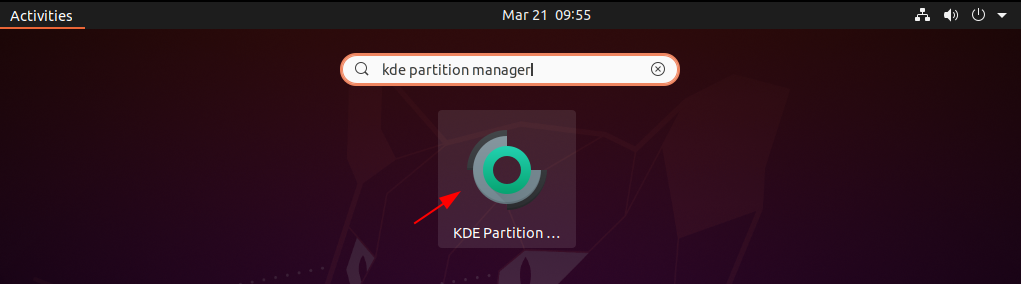
Once the KDE partition manager gets installed successfully on your system, you can open it by searching KDE Partition Manager in the Ubuntu activities dashboard and clicking on the icon that appears as given in the image below.
This may ask you to enter the user password, enter it and click on Authenticate to proceed.
The following image shows the user interface of the KDE partition manager in Ubuntu Linux.
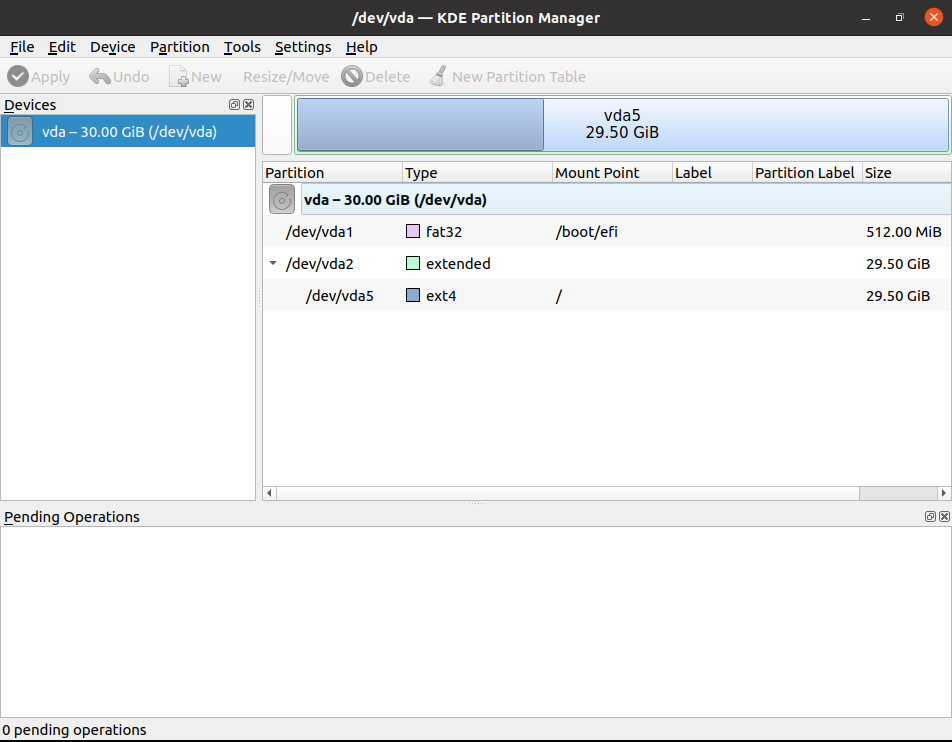
When it opens you will be able to see all the available partitions on the disk. Here you can select a partition and can perform operations such as creating, deleting, or resizing it.
The user interface of the KDE partition manager is self-describing you can easily perform a partition management task. But before doing an operation think twice otherwise you may lose all the data from a partition or disk.
To know more on how to use it for a specific operation on a disk or partition you can follow the KDE partition manager’s official manual.
How to remove KDE partition manager
Now for any reason, if you want to remove the KDE partition manager from your Ubuntu system then use the given command in your terminal –
sudo apt remove partitionmanagerPress y and then enter if it asks for your confirmation.
Remove any unused dependencies by using –
sudo apt autoremoveConclusion
I hope this article is useful to you and you are now able to install and use KDE partition manager on a Ubuntu system.
Now if you have a query or feedback then write us in the comments below.