There are various ways by which you can change the appearance of the Ubuntu desktop for instance you can apply a new theme, change the font style, etc.
You can use GUI applications such as GNOME Tweaks to change the font style and overall look and feel of your system.
Here in this article, we will discuss changing the font of your Ubuntu desktop by using a GUI app, and also we will see how you can change the font style of the default console in the Ubuntu server.
How to change the default Ubuntu fonts using GNOME Tweaks
To use GNOME Tweaks first you need to install it in your system. You can use the following command in the terminal to install it –
sudo apt install gnome-tweaks
Press y and then enter if it asks for confirmation.
Once gets installed launch the application from the main menu. The application interface will look something like this –
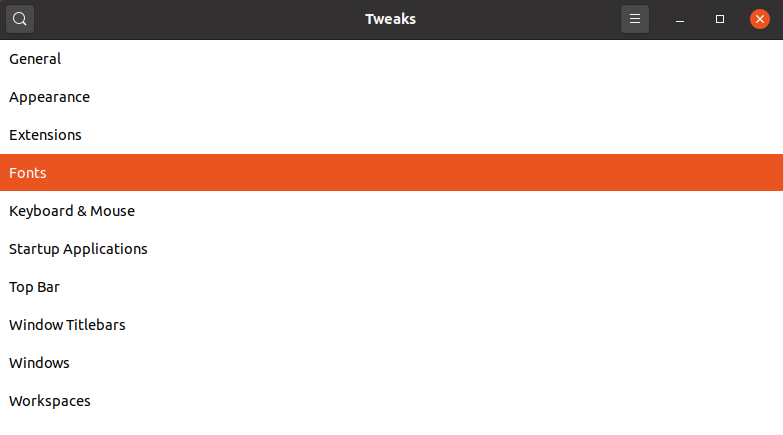
Click on Fonts and then in Interface Text select the font as given in the image below. The changes will appear immediately.

Similarly, you can change the other appearance settings by using the GNOME Tweak app.
How to change the console fonts in the Ubuntu server
By default, the Ubuntu server comes with a command-line interface only so you can’t use the GUI application on it to change the default font.
To adjust the font or font size used for the TTY on the Ubuntu server you need to reconfigure the console-setup file.
Now use the following command in your terminal to change the console font or font size –
sudo dpkg-reconfigure console-setup
First, this will prompt you to select the encoding used on the console keep the UTF-8 selected now press enter to get proceed.

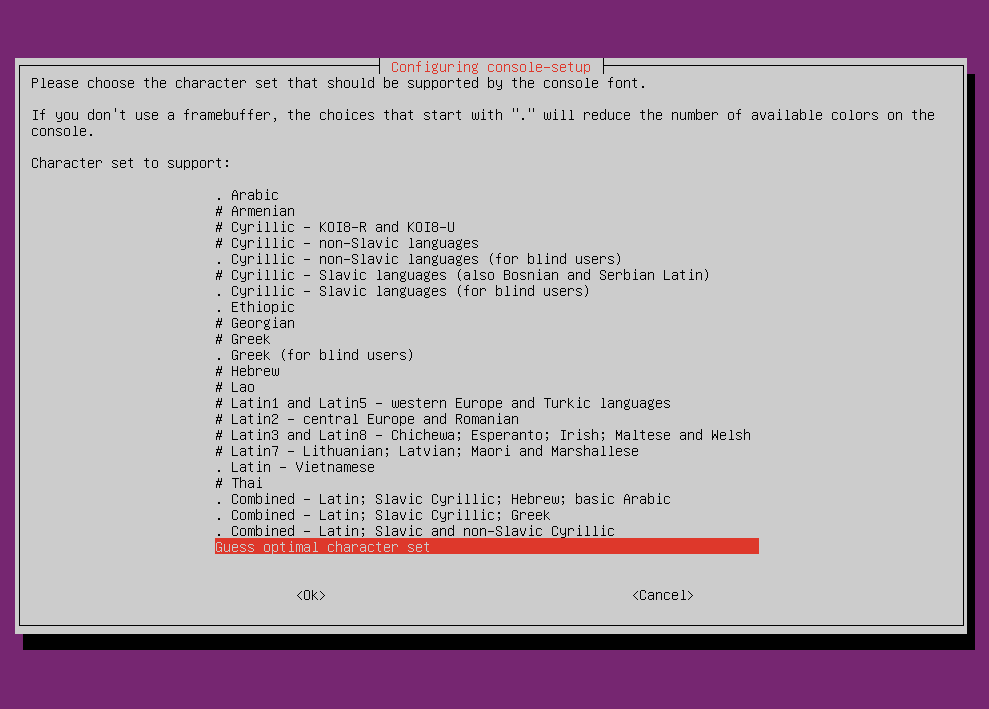
On the next screen, you need to choose the character set that should be supported by the console font. You can leave it to the default one which is Guess optimal character set.
Press the enter to move to the next screen.
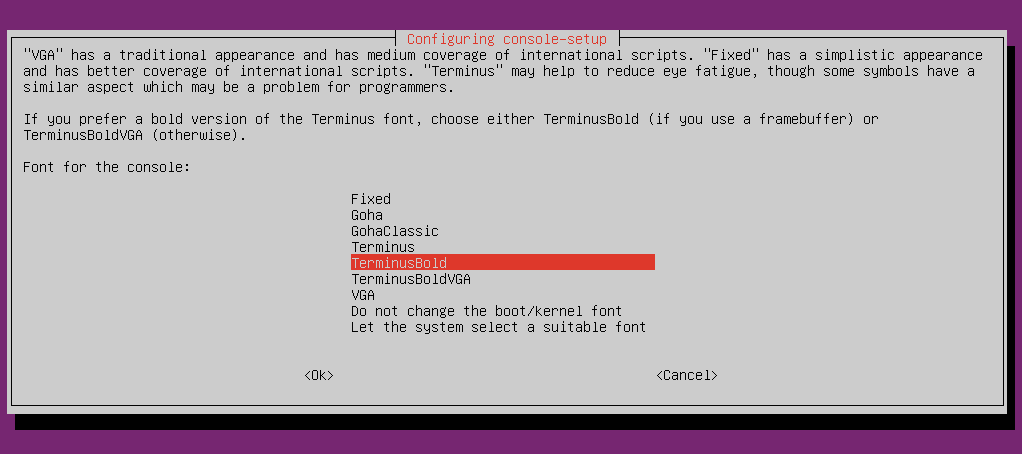
Now here you can choose the font for your console for exmaple I want to use TerminusBold then I will select it and then press enter.
In the final step, you have to select the size of the console font I will keep it to 8×16 and once again press the enter.

It will take a few seconds to process the changes and make them effective. Now you can see the updated font in your console.
Conclusion
The ways given here are the easiest ways by using which you can change the font and font size of your Ubuntu system.
Now if you want to say something then write to us in the comments below.